Do you want to know how the process of working in digital sculpting, specifically in the Zbrush program? Then read the detailed material about brushes from the curator of 3D graphics courses, Sergey Lyubashin. Yes, yes, 3D has brushes too 😉
The material will be useful for those who have already started working in Zbrush – Sergey reveals some tricks when working with brushes. These are the tricks we’ve labeled with the word “lifehack”.
Digital sculpting is similar to working with plasticine or clay, with the only difference that instead of real material you have an image on the monitor, and instead of real tools – a set of brushes in the program. But a digital lump of “clay” can also be crumpled, deformed, made into convexities, indentations, patterns and molded into desired shapes. Let me start by talking about the most popular brushes in Zbrush.
The brushes that are most often used in the work:
Dam Standart brush
A brush that creates an inner corner with a soft transition to the shape. Without Alt pressed, it makes the inside corner, and with Alt it makes the outside corner. Suitable for creases, wrinkles, hair sketches.
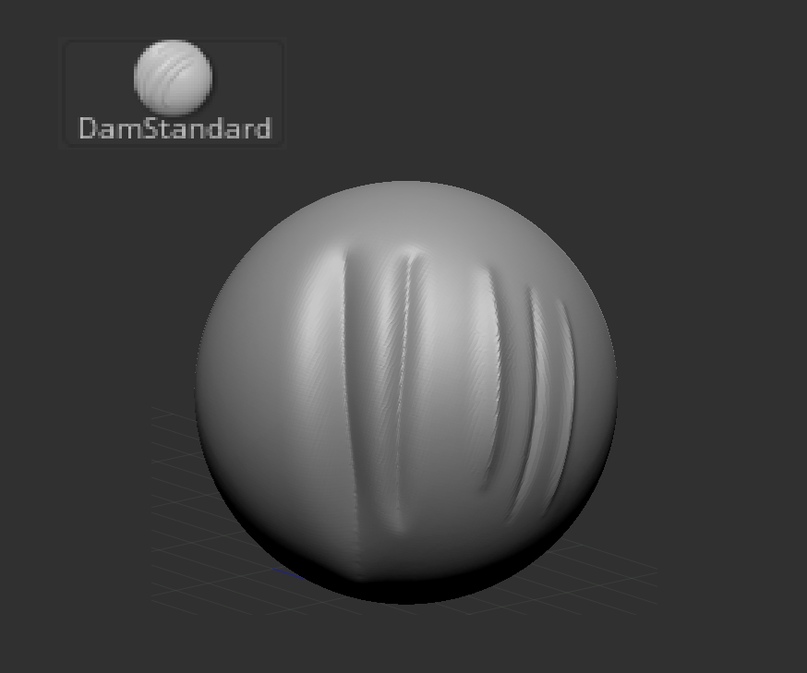
Lifehack: If you set a large brush diameter and a small Z intencity, you will get corners on soft shapes, so you can make more stylized shapes and make transitions contrasting.
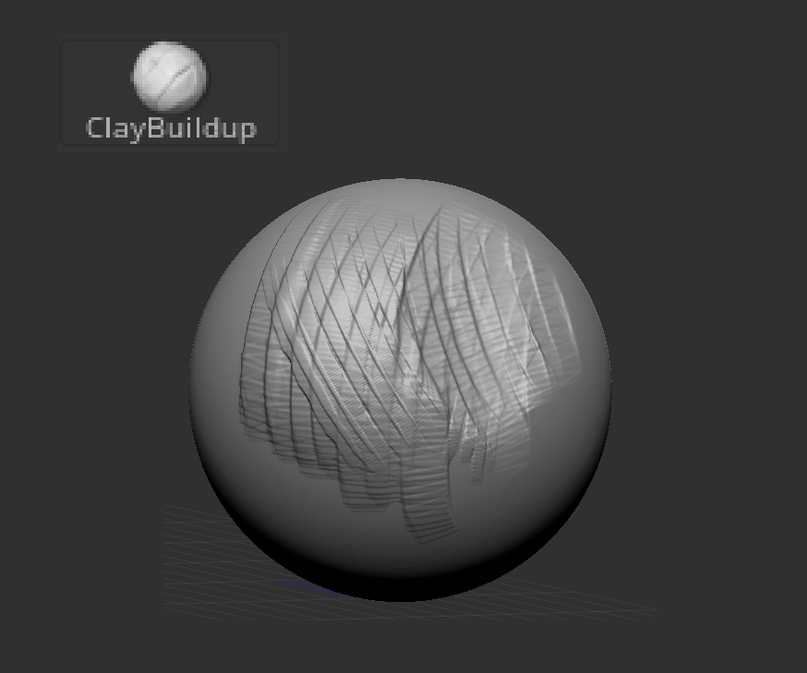
Clay Buildup brush
Depicts real clay: it is as if you are adding or removing “clay” on your object. Without the Alt button pressed, it builds up the shape, with Alt it “cuts” the shape. This is a brush I use a lot. Suitable for sketching. It is also very convenient to make speedsculpts with this brush.
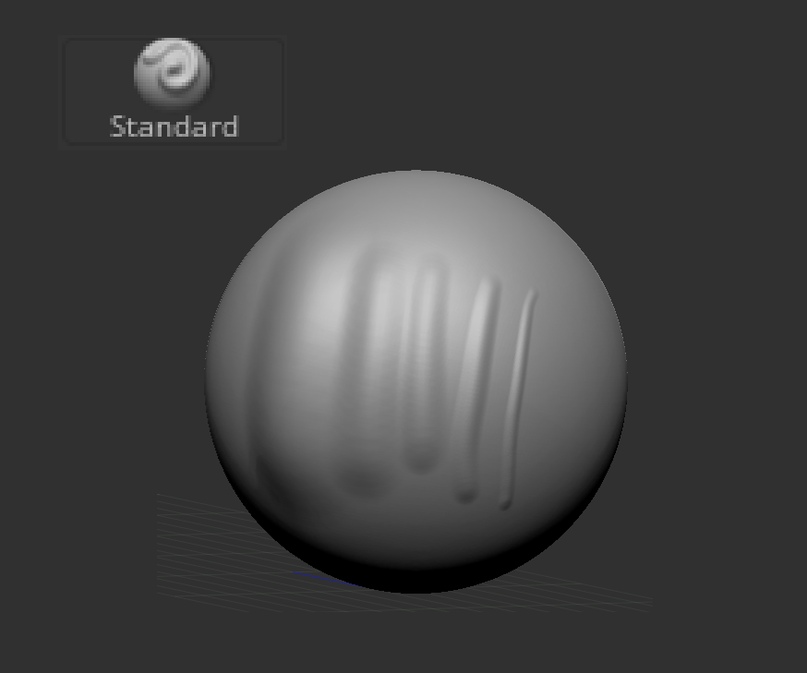
Standart brush
Just a normal soft brush, without customization I very rarely use it. I use it more often to apply alphas (an alpha is a kind of “stencil”, an image that can be transferred to your object).
To apply an alpha, select alpha in the brush settings, Stroke switch to Drag Rect. Be sure to adjust the RF and MidValue parameters (they are in Alpha/modify, I suggest you move them to your interface) and apply the alphas. With the alt clamped, of course, the shape will be “cut”.
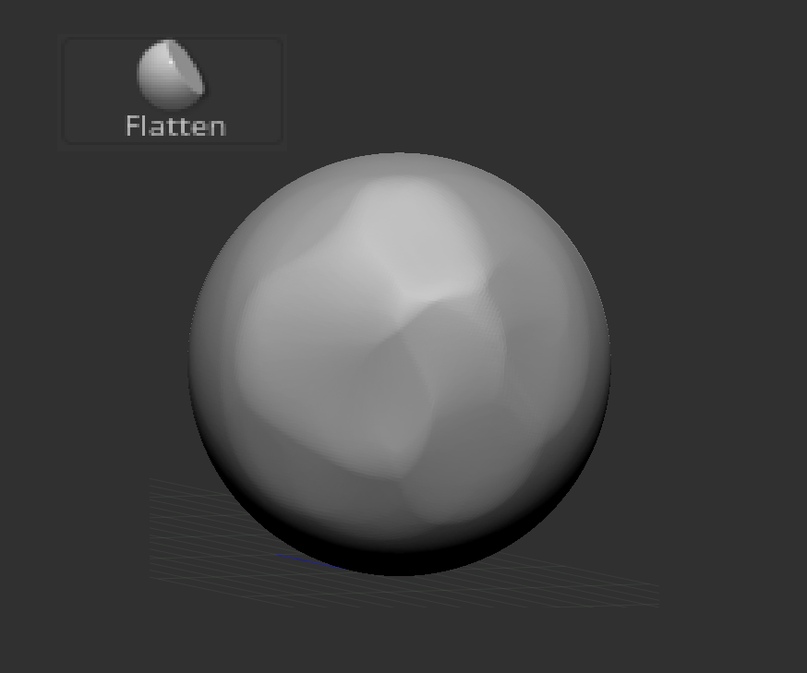
Flatten brush
Big brother of hPolish ( see below). Easy to cut corners, harder to crumple the mold. Gives a soft edge. The brush is good for creating bevels as well as for speedsculpting – for example, as an alternative for smoothing.
Move / Move Topology brush
Both brushes are essential, I use them all the time. Essentially they both move some of the geometry that falls within the brush’s sphere of influence. Move topology, unlike Move, ignores geometry that is not connected to the one you started the brush with.
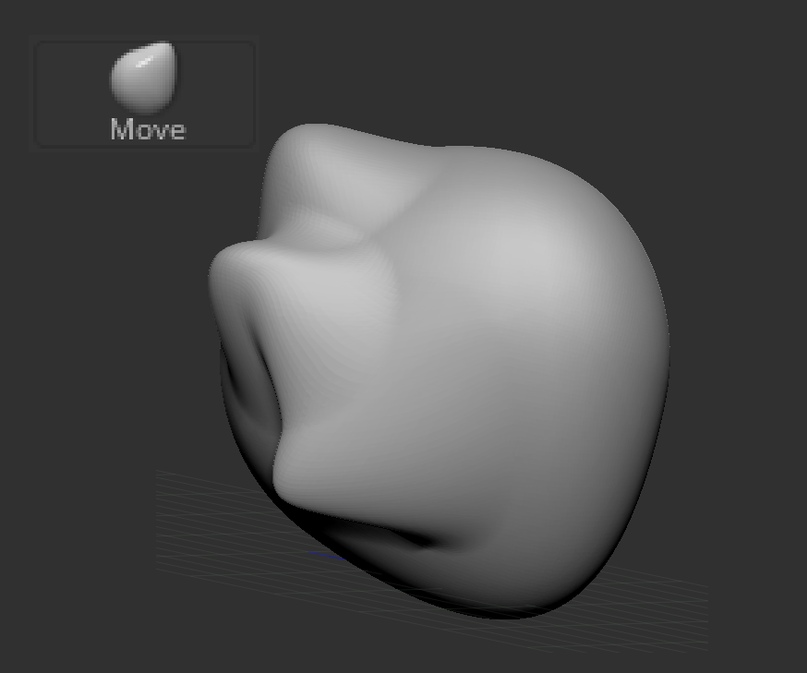
Lifehack: To better understand how Move Topology works, I suggest you try it on a “spring” primitive. With the alt clamped, moves the geometry relative to the surface (outward or inward).
Pinch brush
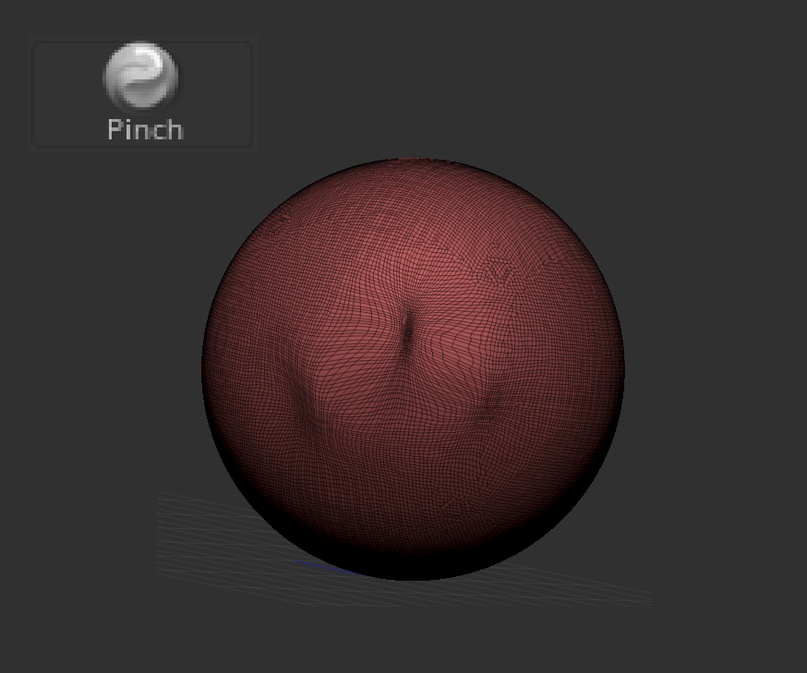
Acts like a black hole and pulls all the geometry down into the center of the brush. Handy for working with branches, for example, as it can make the desired areas thinner.
Inflat brush
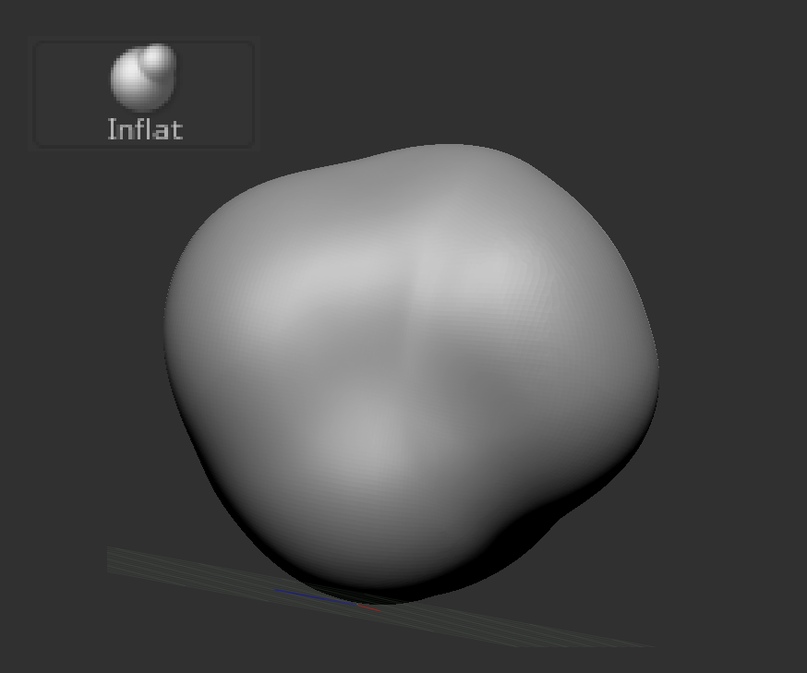
Twin brother of the Pinch brush – inflates, thickens geometry. With the alto clamped down, it “blows the mold” or turns it inside out)
SnakeHook brush
Kind of like Move, but leaves a trail of geometry behind it. Handy for creating horns, teeth, sketching hair.
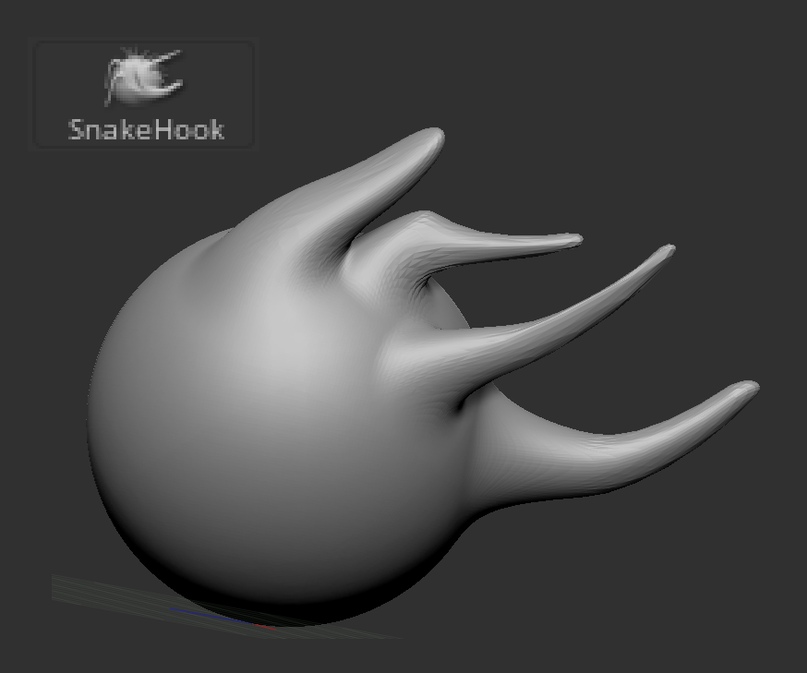
Lifehack: Note that this brush can pull out polygons if you make long “horns”, so I advise you to use it in dynamesh mode. And after creating these forms, recalculate the grid. Also this brush will be useful for sharpening shapes, for example, leaves on trees: for this purpose I advise you to lower its Z Intencity to 90-80.
Additional brushes – for those who have already mastered the classics and want new knowledge:
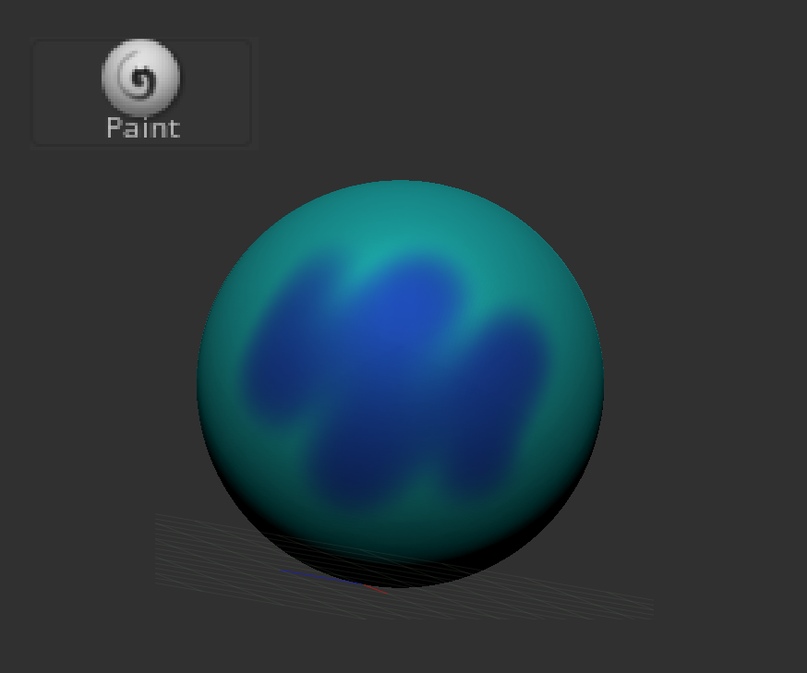
Paint brush
Polypaint brush. That is, to colorize geometry directly in Zbrush. To use it, just turn on paint mode on the sabtool (brush icon), choose a color and voila, you can paint) The paint is not a texture, technically it’s a vertex color. The alternate name is Vertex Color or Vertex Paint.
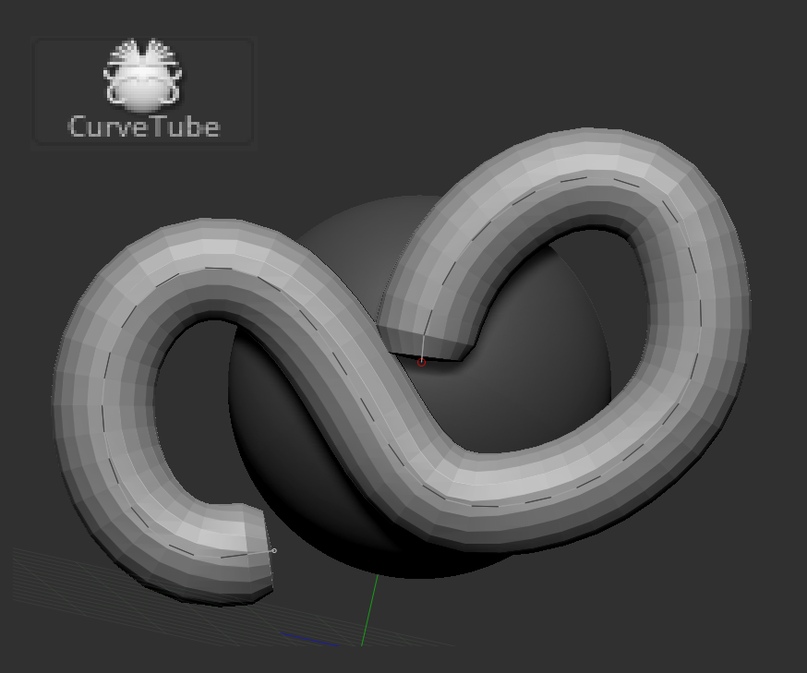
CurveTube brush / CurveTubeSnap
Many people don’t use it because they don’t understand its logic. I advise you to get used to it, after that it will seem easier than the ZSpheres tool) It is convenient to do anything: from wires for cyborgs, to 5 minute sketches of human body plastic. That way it’s convenient to use it to make a character blank. The thickness can be adjusted by the brush size and its flattening by the Z Intencity parameter.
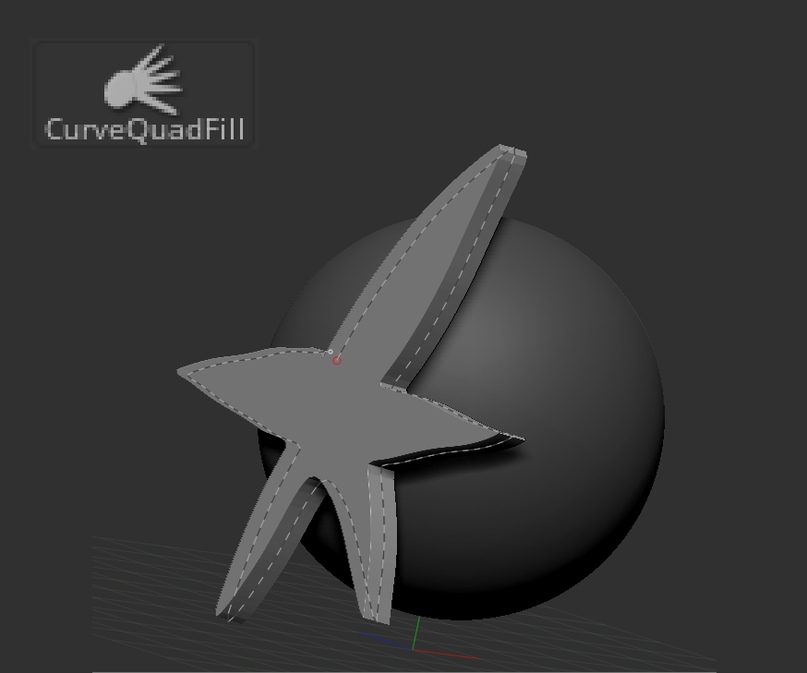
CurveQuadFill / CurveTriFill brush
Brushes, with which you can quickly make planes of the desired shape. The difference between these two brushes is the geometry you get on the surfaces.
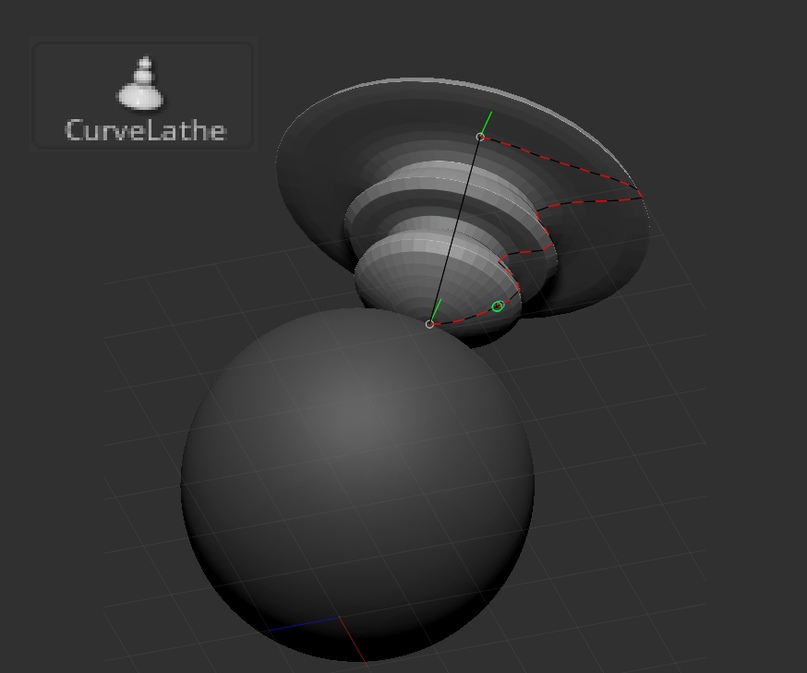
CurveLathe
Create rotational objects with a single stylus movement. The axis of rotation here becomes a straight line from the beginning of the line to its end. It’s worth a little practice to understand how this brush works.
IMM brush
The most powerful and trickiest brushes in ZBrush. As you can see, there are many brushes in the program that have IMM in their name. They all work in the same way: growing new geometry on the current sabtool. They don’t work with sabtools that have divide levels. But they can be used on any other sabtool, they lay down on any visible mold. Also IMM can be done by yourself. Just make the desired geometry, rotate it in the viewport with the “grow” point to the background and press brush/create/create insert mesh brush. And to add new geometry to the same brush, that brush must be selected and append must be selected in the dialog box.
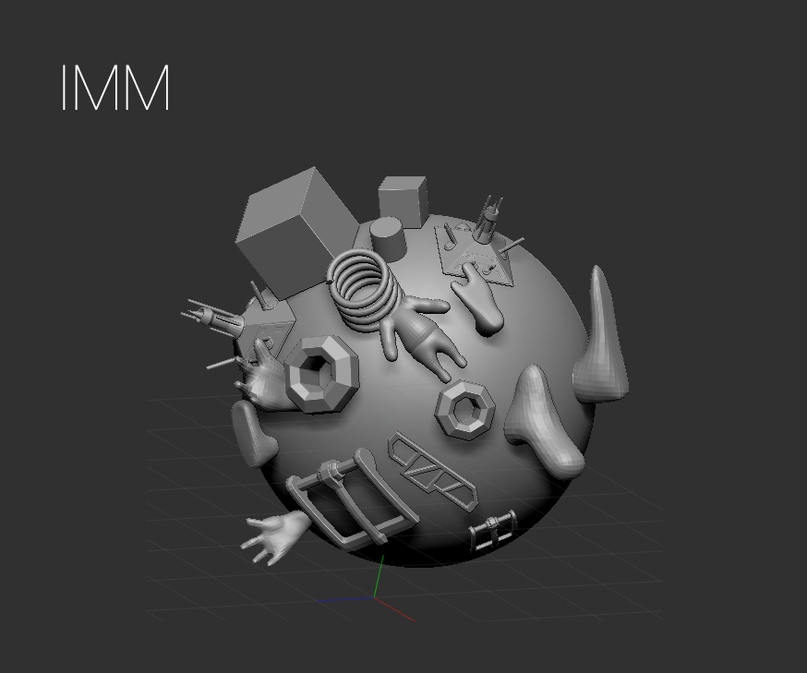
A few facts about brushes in Zbrush:
- Almost all brushes are affected by the pressure force of the pen on the tablet.
- There are standard brushes for which hotkeys are already prepared:
- When Shift is held down, the “Smoothing” brush is enabled. If you press Ctrl, the masking brush appears, if you press Alt, the brush unmasks.
- When Ctrl+Alt is pressed, the select brush is enabled, which can be used to hide part of the geometry – for example, to separate it into another sabtool.
- All brushes have an alternate mode: if you press Alt, the action is reversed (usually). For example, if a brush builds up shape, with a clamped viola it will cut the shape.
Take a look at our helpful articles:
