TutorialUpdated: June 14, 2026
Free lesson in Blender. Part 2. Handles
In short
Free lesson and video lesson on modeling in Blender for beginner artists. Part 2. Handles of the jug.
Skills Up School
Online school of drawing and CG
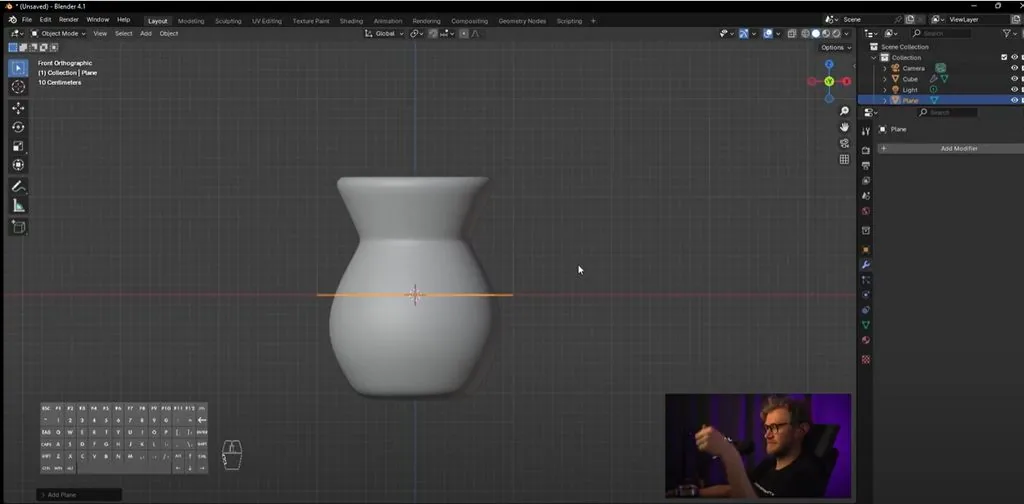
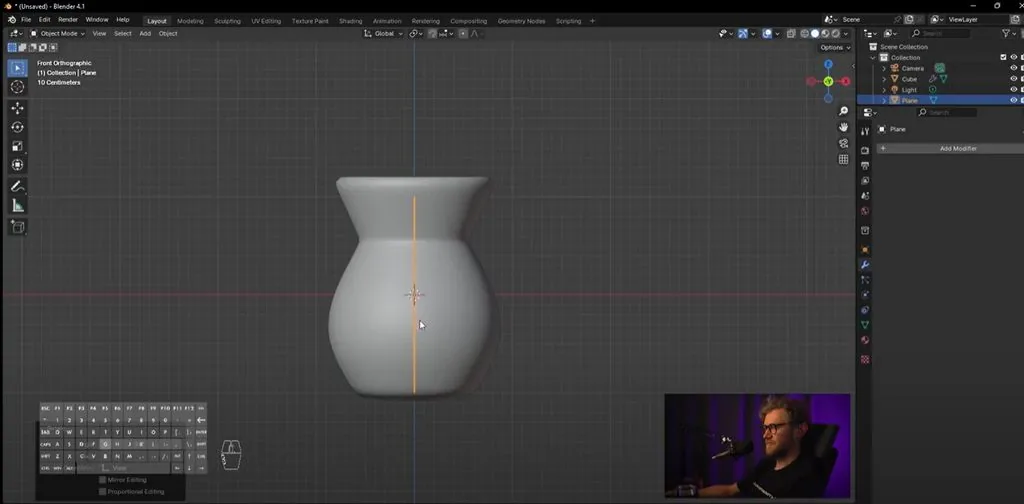
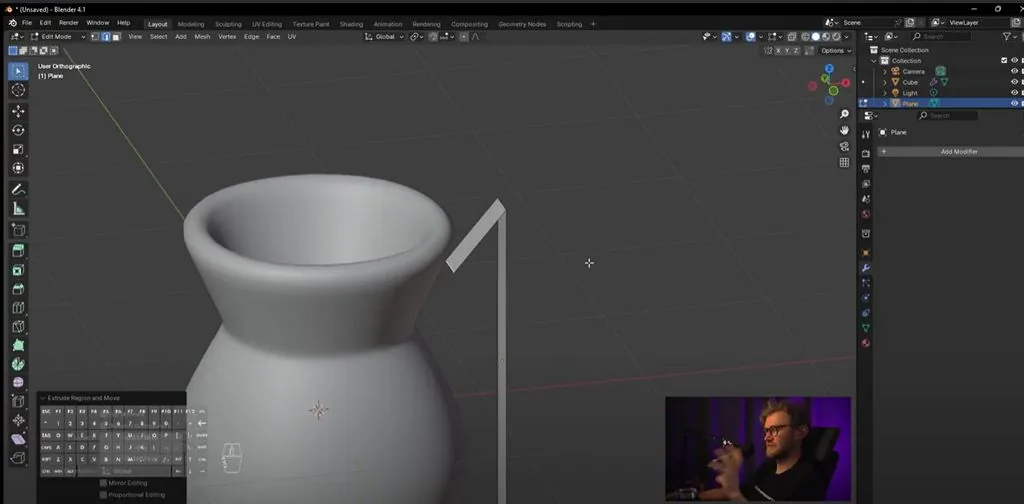
Let's add a plane from which we will make our handles. Since we always have symmetry working along the X axis, we need to rotate along this axis so that we look parallel to the Y axis. The Y axis should face us and the X axis is located from left to right.
 We will rotate the plane by 90 degrees. You can first rotate not by 90, but open the menu on the left bottom and in the angle parameter enter a more accurate value, instead of 72 degrees, enter 90 and move to the side. Enable editing with the Tab key, select the polygon.
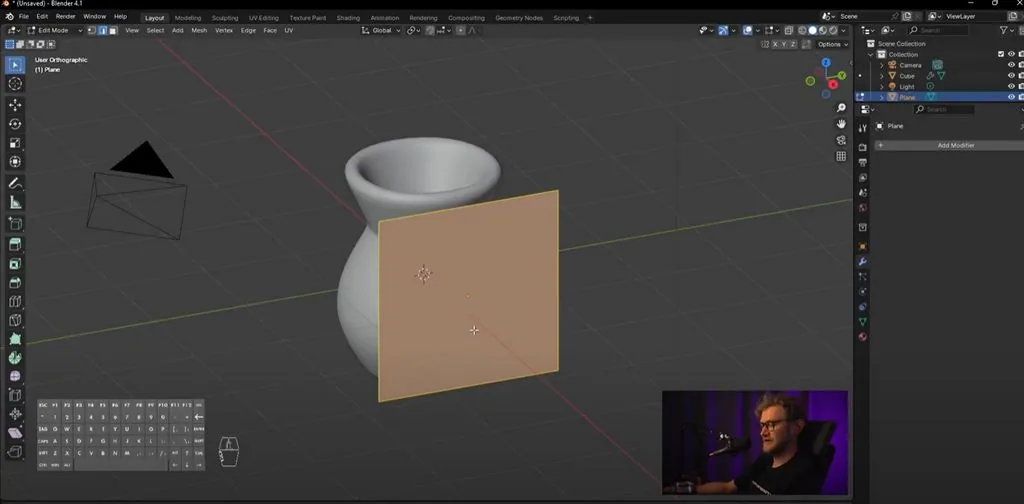 We make Scale along Y, reduce it so that this is the thickness of our handle. Next, we enable Edge mode, select the topmost Edge.
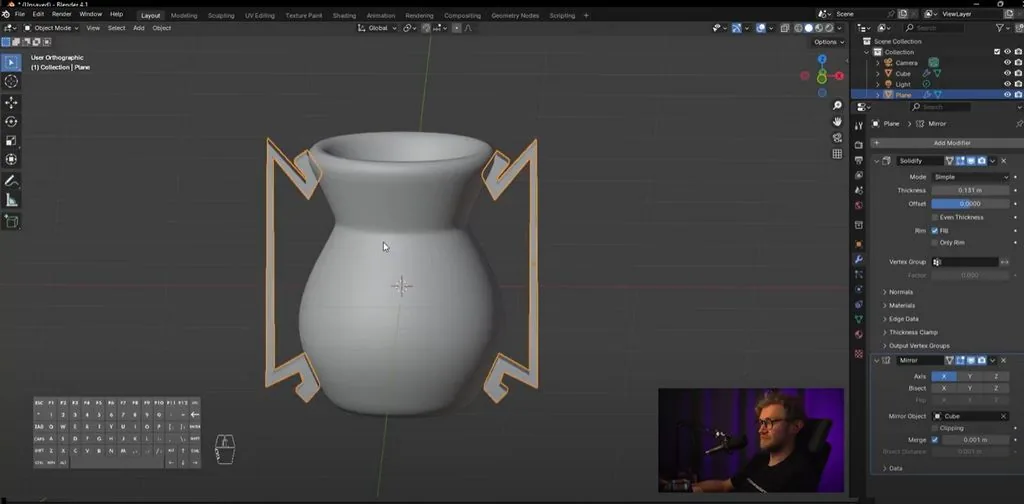
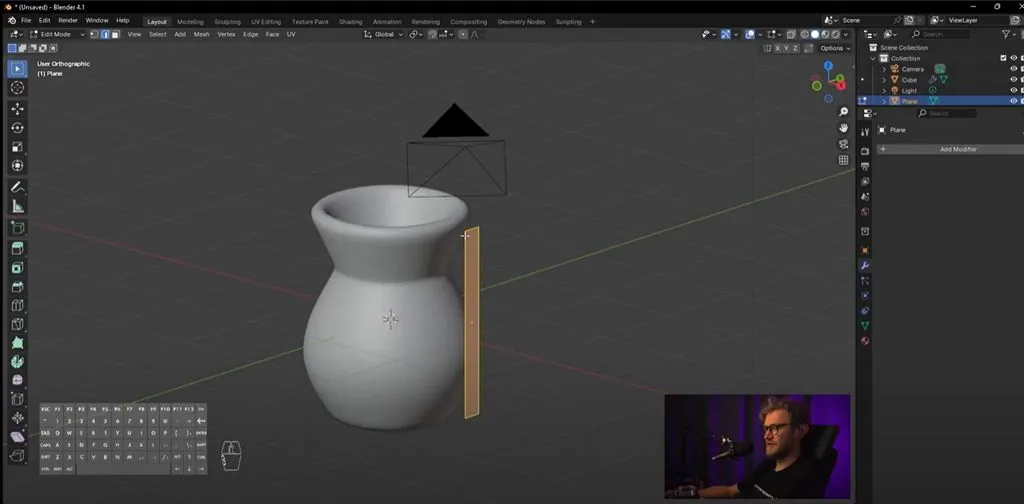 We enable the front view with Alt. Check that isometry is enabled. Here the Edge is selected and press E. A polygon is added. From this side we do not see anything. Rotate the camera to just look that we have appeared. Go back to Edge mode. Press E again. Let's make such a shape on top, and the same shape on the bottom. Also E, turned, E, check, and again E, the shapes should stick out both on top and bottom.
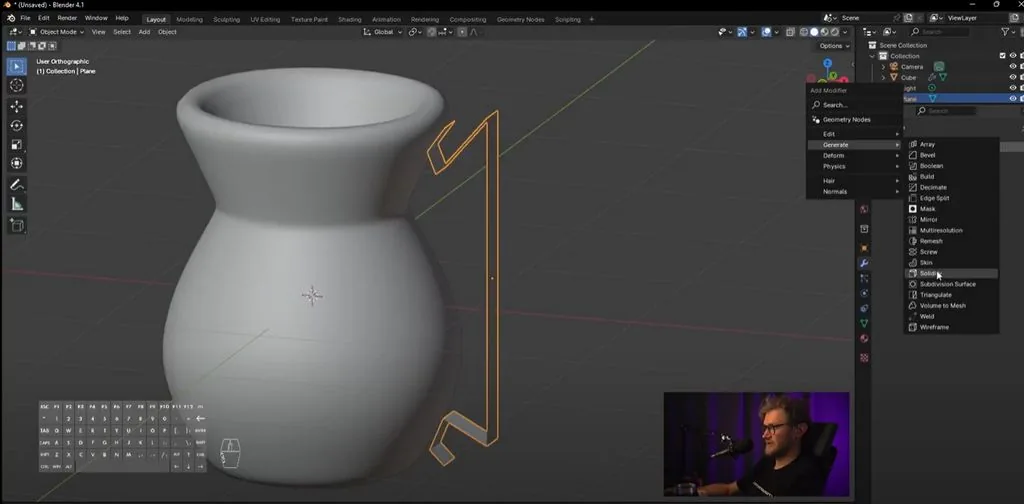 Now we will also work through modifiers. Disable editing so that modifiers can be assigned.
First, we add a modifier that sets the thickness for us, set offset to 0 and change thickness to have the thickness of our handle.
Now we will also work through modifiers. Disable editing so that modifiers can be assigned.
First, we add a modifier that sets the thickness for us, set offset to 0 and change thickness to have the thickness of our handle.
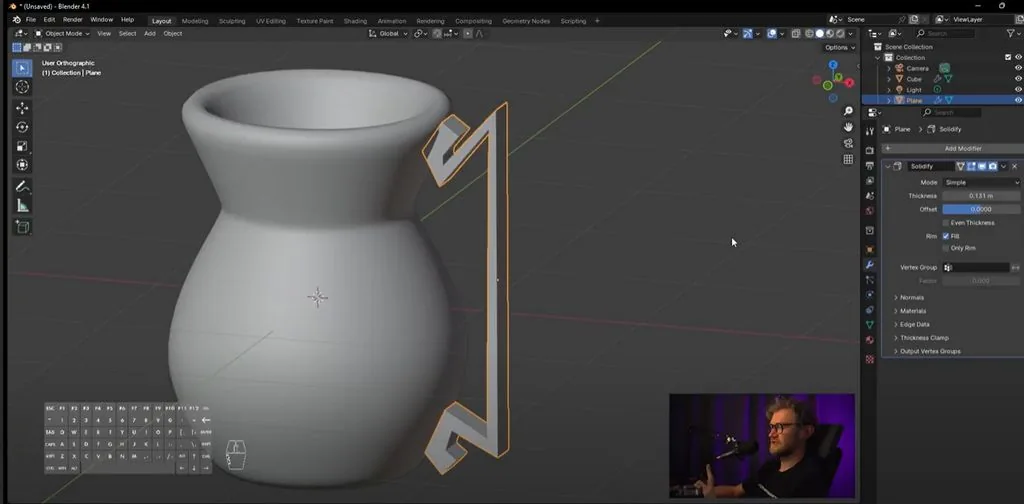
 We also add a mirror modifier, you can see that along the X axis our symmetry now works not very correctly, it makes symmetry from its own point, and we need symmetry from the jug. There is such a function: mirror object, press the pipette to select this object, and click on the jug. Look, now everything is along the X axis. There is no need to enable the remaining parameters.
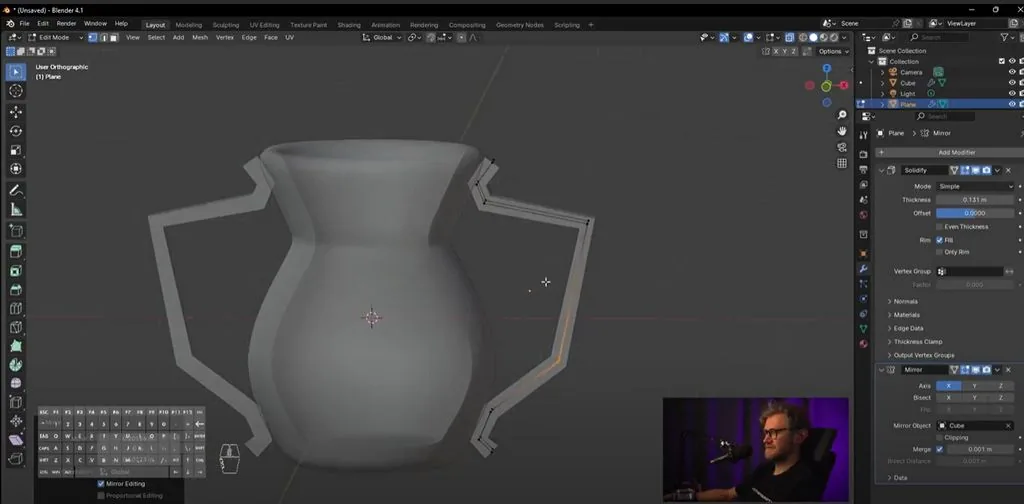 Let's press Tab again, make a smooth front view, switch to vertices with the 1 key and enable the viewing through mode, this is Alt Z. Now, moving the points, we can change the shape of our handles.
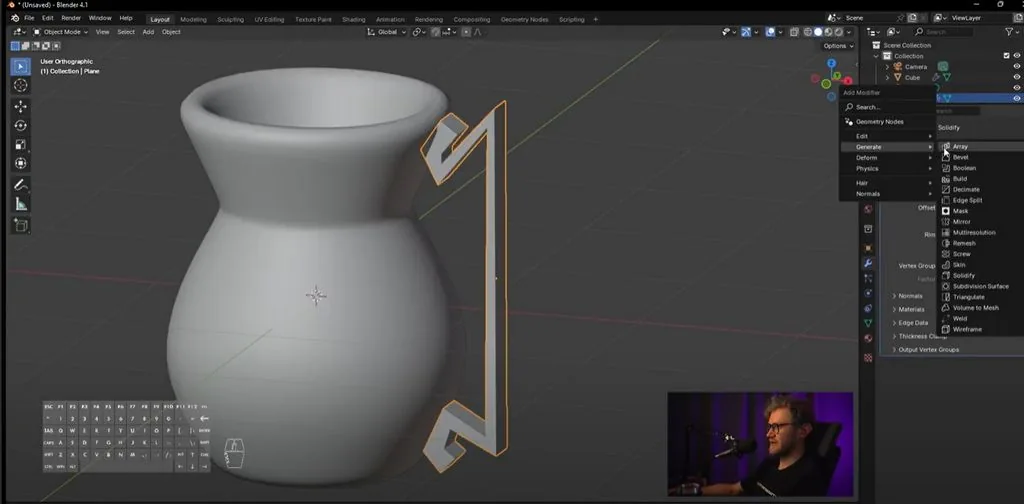
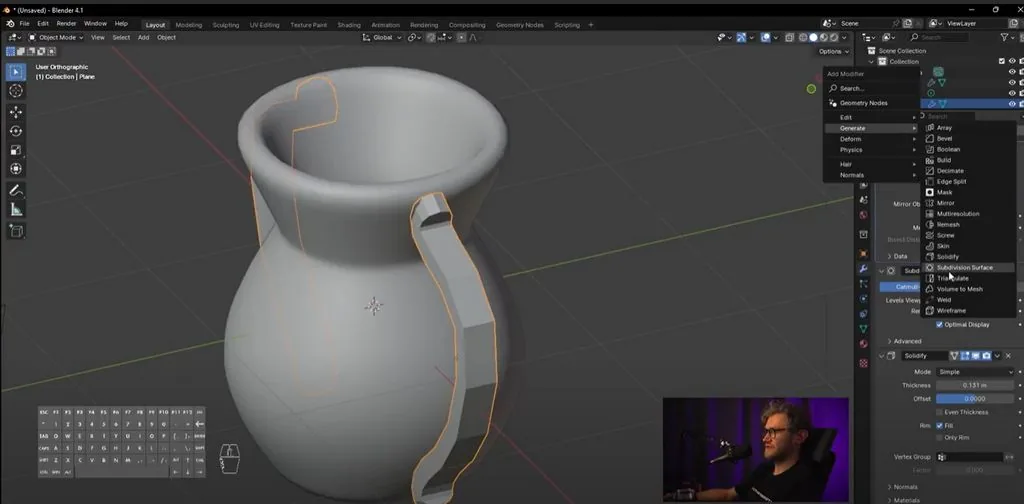
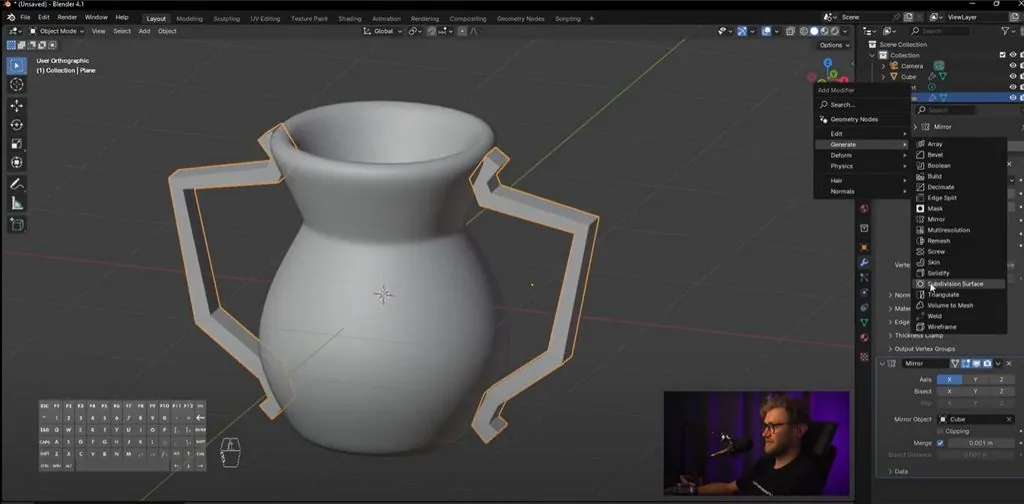 Let's add another Subdivision Surface modifier. And here we advise to place Subdivision Surface one on the very top, so that we first have Subdivision, then Solidify, then mirror here. As you could notice, solidify and mirror can be changed places, nothing will change in the geometry even if we put mirror in the very beginning. Since the functionality of these modifiers does not overlap, but it is subdivision that goes under solidify.
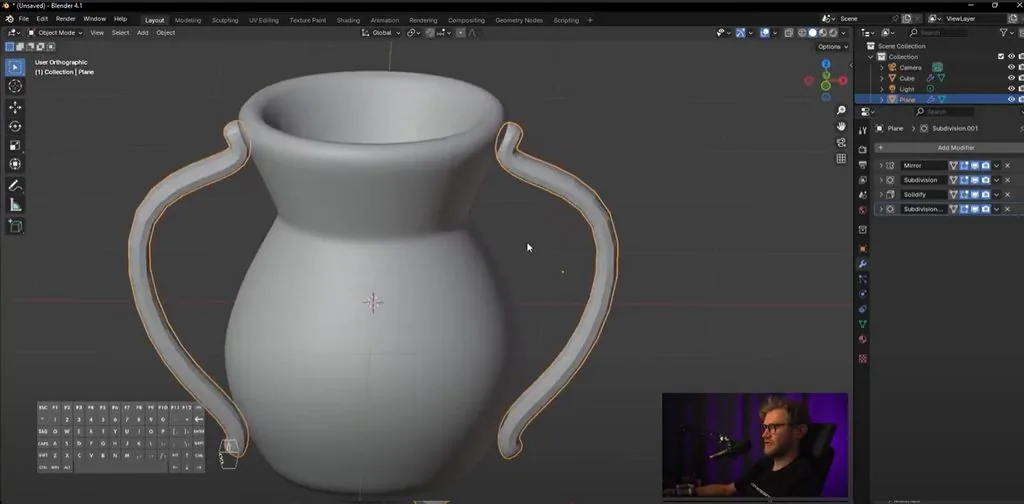 On top we add another Subdivision. First Mirror, then Subdivision, Solidify and another Subdivision. An interesting shape of the handles turns out.
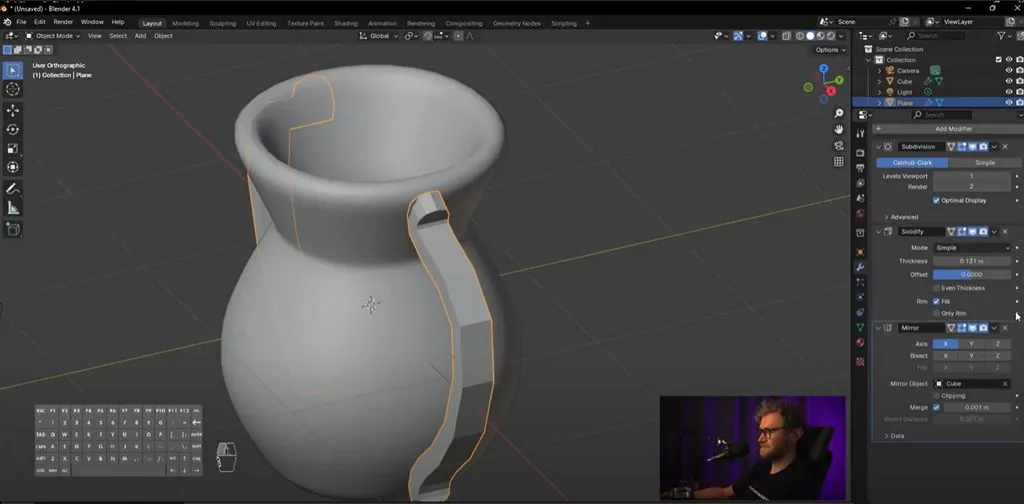
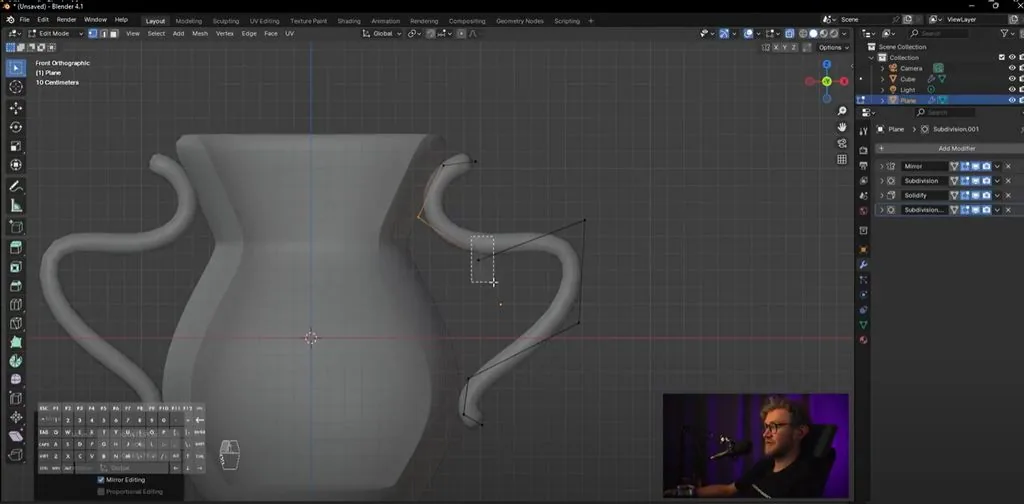
 If we want to add another Edge, we already know how to do it, Ctrl-R, select where this edge will be. Here again we choose the front view, select the points, we can move them a little. We can make very interesting shapes by changing the movement of the points separately. You can play with this to make some interesting handle, they can be rotated if you select several vertices.
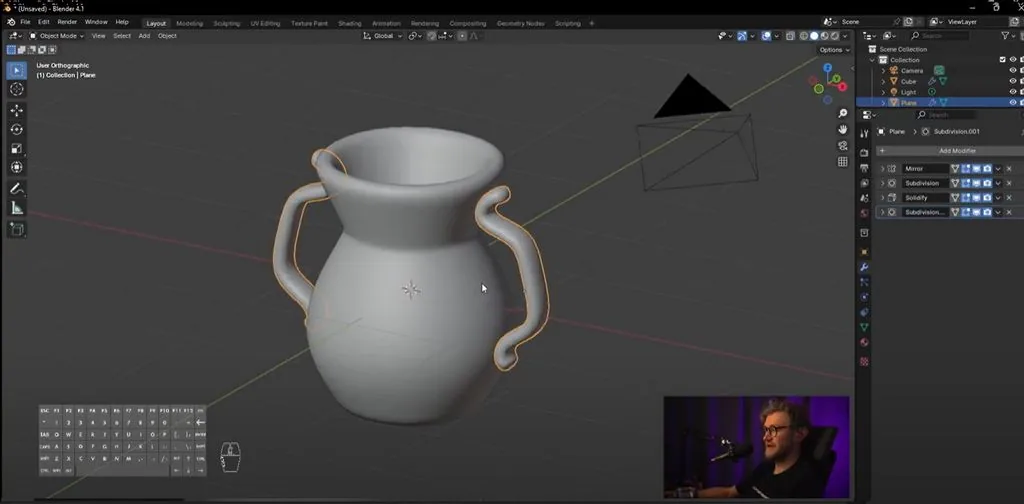 Such handles turned out. I turn off X-Ray mode. Quite interesting!
We will rotate the plane by 90 degrees. You can first rotate not by 90, but open the menu on the left bottom and in the angle parameter enter a more accurate value, instead of 72 degrees, enter 90 and move to the side. Enable editing with the Tab key, select the polygon.
We make Scale along Y, reduce it so that this is the thickness of our handle. Next, we enable Edge mode, select the topmost Edge.
We enable the front view with Alt. Check that isometry is enabled. Here the Edge is selected and press E. A polygon is added. From this side we do not see anything. Rotate the camera to just look that we have appeared. Go back to Edge mode. Press E again. Let's make such a shape on top, and the same shape on the bottom. Also E, turned, E, check, and again E, the shapes should stick out both on top and bottom.
Now we will also work through modifiers. Disable editing so that modifiers can be assigned.
First, we add a modifier that sets the thickness for us, set offset to 0 and change thickness to have the thickness of our handle.
We also add a mirror modifier, you can see that along the X axis our symmetry now works not very correctly, it makes symmetry from its own point, and we need symmetry from the jug. There is such a function: mirror object, press the pipette to select this object, and click on the jug. Look, now everything is along the X axis. There is no need to enable the remaining parameters.
Let's press Tab again, make a smooth front view, switch to vertices with the 1 key and enable the viewing through mode, this is Alt Z. Now, moving the points, we can change the shape of our handles.
Let's add another Subdivision Surface modifier. And here we advise to place Subdivision Surface one on the very top, so that we first have Subdivision, then Solidify, then mirror here. As you could notice, solidify and mirror can be changed places, nothing will change in the geometry even if we put mirror in the very beginning. Since the functionality of these modifiers does not overlap, but it is subdivision that goes under solidify.
On top we add another Subdivision. First Mirror, then Subdivision, Solidify and another Subdivision. An interesting shape of the handles turns out.
If we want to add another Edge, we already know how to do it, Ctrl-R, select where this edge will be. Here again we choose the front view, select the points, we can move them a little. We can make very interesting shapes by changing the movement of the points separately. You can play with this to make some interesting handle, they can be rotated if you select several vertices.
Such handles turned out. I turn off X-Ray mode. Quite interesting!
Video lesson in Blender. Part 2. Jug handles
Related materials

Tutorial
Free lesson in Blender. Part 4. Materials and color of the jug
July 23, 2024

Article
Drawing faces of people of different ages
December 26, 2023

Tutorial
Free lesson in Blender. Part 3. Jug label
July 23, 2024

Tutorial
Free lesson in Blender. Part 1. The basis of the jug
July 23, 2024

Tutorial
Blender 3D lessons for beginners
December 27, 2024

Article
References for the artist: hand references. Part 2
September 18, 2023

News
Взгляните на этот пасторальный пейзаж XIX века, созданный в Blender
June 22, 2026