TutorialUpdated: June 24, 2026
Free lesson in Blender. Part 4. Materials and color of the jug
In short
Free lesson and video lesson on modeling in Blender for начинающие artists. Part 4. Materials and color.
Skills Up School
Online school of drawing and CG
Let's set up the materials.
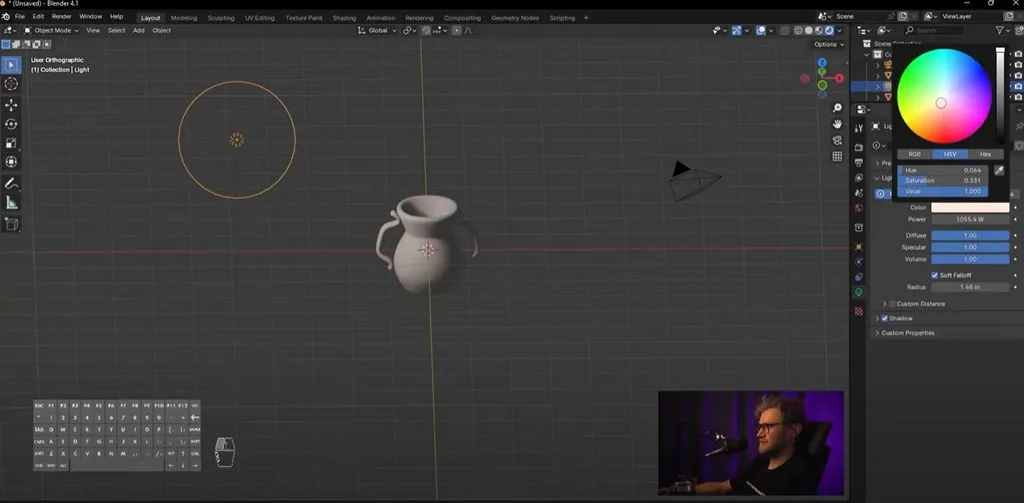
Hold down Z, switch to Rendered. The light we had in the scene can be moved. You can also increase the radius, the shadows were softer, and increase the intensity. If necessary, you can change the color, but I don't recommend changing the light too much. You can slightly move it towards yellow, then it will be warm, or slightly move it towards blue, then it will be cool light. By default, we have white light, that is, saturation at 0.
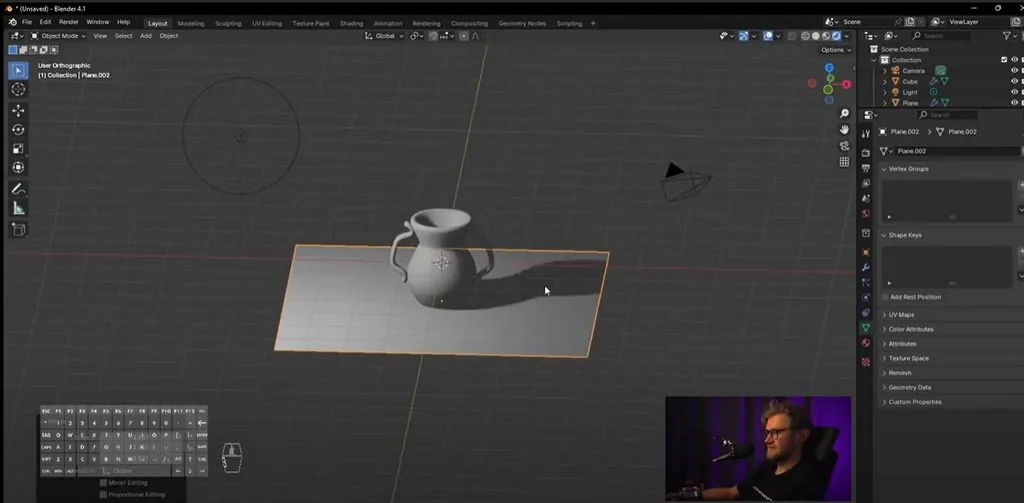
 Let's add a plane on which our jug will stand so that we can see the падающую shadow.
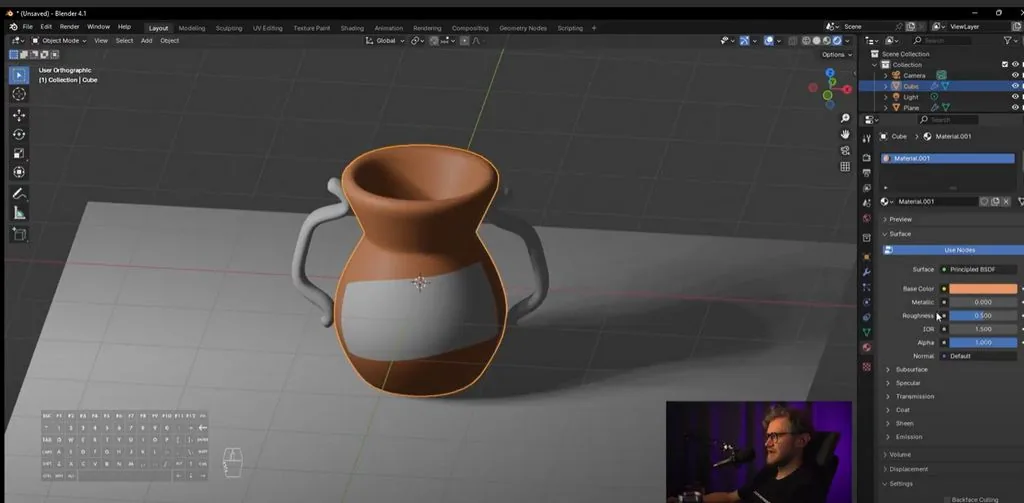
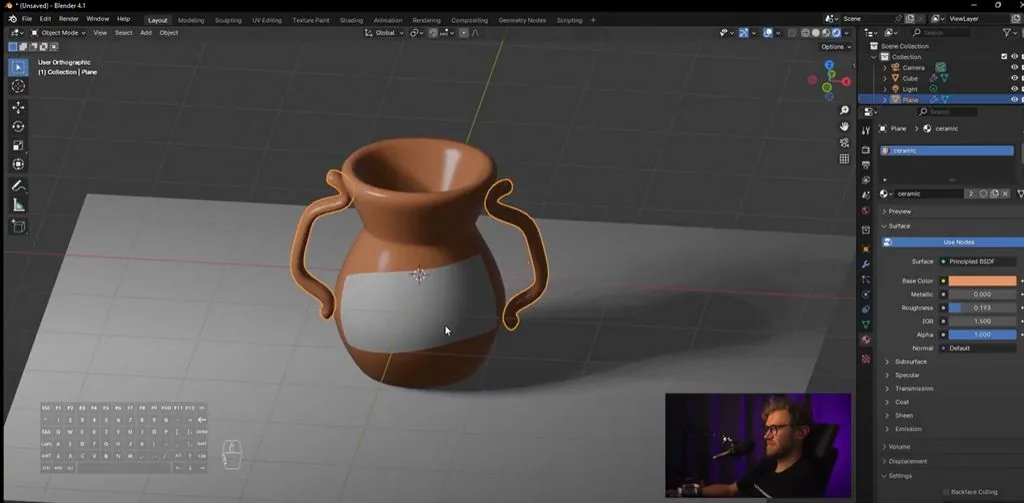
 We select the jug, go to material settings. There is some material, if we don't need this material, we press minus, we press add new.
We choose the color of the jug. You can remember what colors jugs generally come in.
We select the jug, go to material settings. There is some material, if we don't need this material, we press minus, we press add new.
We choose the color of the jug. You can remember what colors jugs generally come in.
 And we change the Roughness parameter, this is our roughness value, to something more acceptable, so that it either shines or, on the contrary, is more matte, because ceramics can be completely different. And we call this material Keramic.
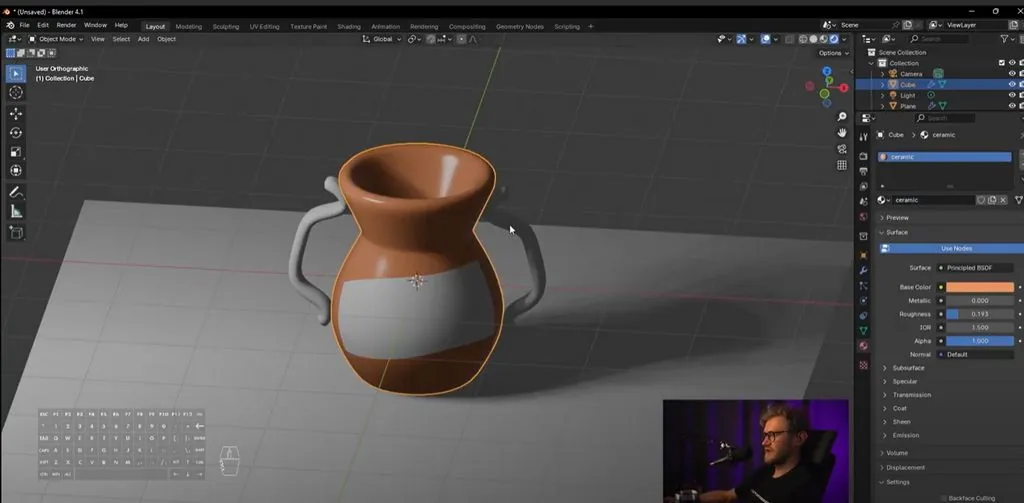 We also select the handles, we also choose this Keramic material.
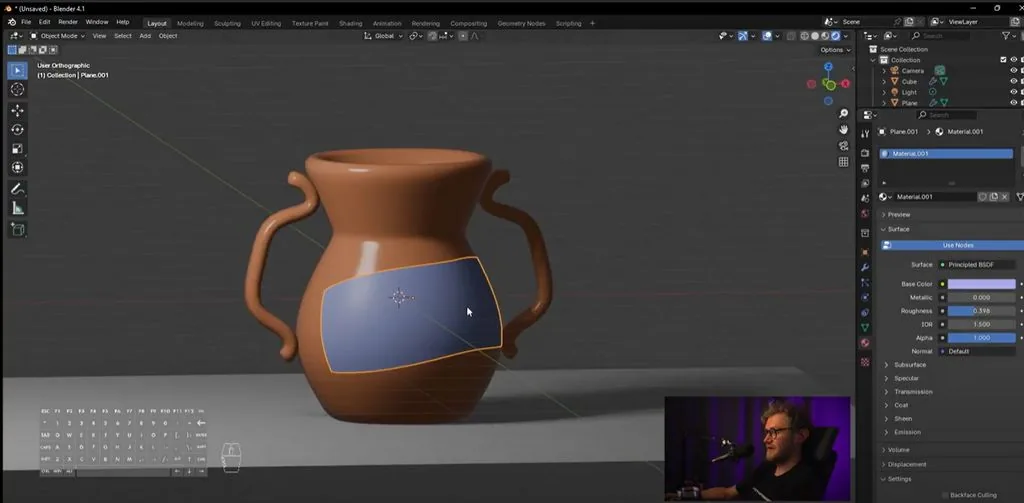
 On the sticker, we make a different material. We press New, we will make a blue sticker. It can be more shiny, or, on the contrary, more matte, compared to the jug.
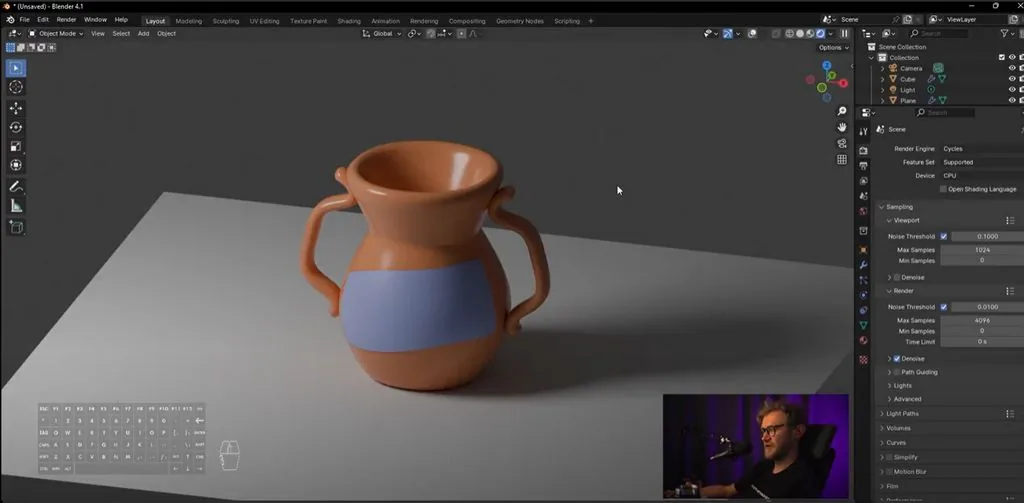 Let's switch to Cycles mode, and see how the jug looks now in Cycle. Good one!
Let's add a plane on which our jug will stand so that we can see the падающую shadow.
We select the jug, go to material settings. There is some material, if we don't need this material, we press minus, we press add new.
We choose the color of the jug. You can remember what colors jugs generally come in.
And we change the Roughness parameter, this is our roughness value, to something more acceptable, so that it either shines or, on the contrary, is more matte, because ceramics can be completely different. And we call this material Keramic.
We also select the handles, we also choose this Keramic material.
On the sticker, we make a different material. We press New, we will make a blue sticker. It can be more shiny, or, on the contrary, more matte, compared to the jug.
Let's switch to Cycles mode, and see how the jug looks now in Cycle. Good one!
Video lesson in Blender. Part 4. Materials and color of the jug
Related materials

Tutorial
Free lesson in Blender. Part 3. Jug label
July 23, 2024
Tutorial
Sketching for beginners
January 30, 2024

Tutorial
Free lesson in Blender. Part 1. The basis of the jug
July 23, 2024
Tutorial
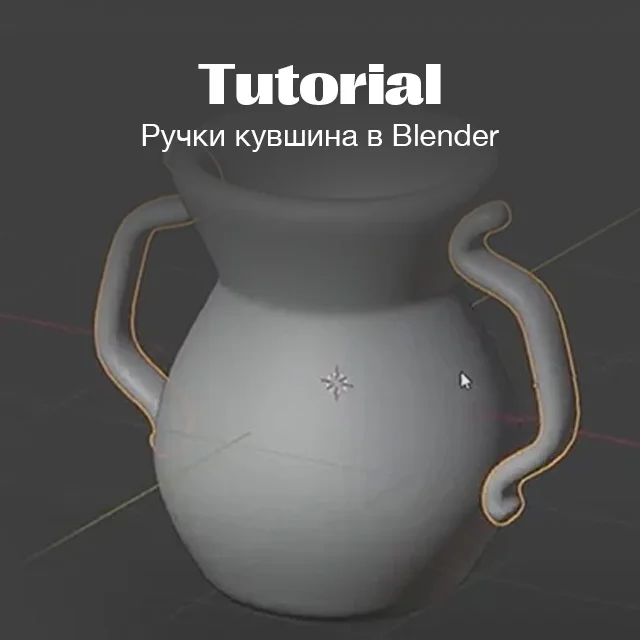
Free lesson in Blender. Part 2. Handles
July 23, 2024

Tutorial
Blender 3D lessons for beginners
December 27, 2024

Article
About color and light in simple language: a comprehensive guide
March 21, 2025

News
Создание научно-фантастического материала с помощью Blender и Substance 3D
December 8, 2025