TutorialUpdated: July 2, 2026
How to draw silhouettes: basics, tricks and step-by-step lesson
In short
Learn how to draw a silhouette: basic principles, tricks and step-by-step lesson. Master the creation of expressive silhouettes for characters, environments and dynamics.
2D artist
What is a silhouette and why is it important?
Imagine you went on a photo hunt like Sharik from Prostokvashino. You are sitting in the bushes and watching that meadow in the distance. All the animals that come into the frame of your lens will have individual outlines. You will always distinguish a deer from a wolf, and a wolf from a goose. And this is the merit of the silhouette. The silhouette is the foundation for an artist. It creates a clear and recognizable image that conveys the character of the object through its outlines. Today we will look at how to create silhouettes that speak louder than words. Without too much noise, just lines, shapes and a little magic.Why is the silhouette the superhero among artistic techniques?
- It immediately tells you who your character is
- Shows character and dynamics even without details
- Allows you to quickly outline ideas and not get confused in the little things
How silhouettes help in the artist's work
It may seem that this is a waste of time, and you need to start as quickly as possible with complex detailing and rendering. However, drawing silhouettes gives a lot in the early stages and will save you from mistakes and failed decisions. And it will reward you with experience in composition techniques, coloristics, and also allow you to practice and learn to draw more complex things more confidently. Now let's talk about the areas where silhouettes are irreplaceable:- In character design:
Main techniques for creating silhouettes
Now let's talk a little about small life hacks that help to draw absolutely different things. If you combine all three tricks together, you will become a drawing guru!- External silhouette
What tools to draw silhouettes
In fact, you can draw silhouettes even with your fingers, but there is one big BUT, everything in order. Both traditional artists and digital ones use silhouettes. For drawing in our usual reality, it is best to choose tools with a wide imprint. Thin pens, liners, automatic pencils are useless for this process, because the silhouette is best filled with tone. Therefore, we advise you to use:- Wide brushes of any texture. Such a brush can draw both widely with the whole body and thinly with the very tip of the pile. This is in case you suddenly need to add little things.
- Markers and thick graphite rods or crayons of soft material (charcoal, pastel, sanguine, sauce). There are markers with thick nozzles that are convenient for making fills. And the rods are even as wide as a finger and are similar in principle to brushes: the cut draws widely, and the edge draws thinly. Moreover, their prints are very textured and can imitate the material qualities of objects. For example, wood, the roughness of stone or the wrinkled fabric.
- Stencil. For this you will need paper, a knife and scissors. A silhouette is cut out in the paper, and then it is placed on a clean sheet and rolled with a roller. You can also use wide brushes and soft materials. This is a longer way, but it is distinguished by its special effectiveness.
- Brushes also large in size. You can choose a simple round or textured one. The main thing is not to go into details, but to set a large mass to the object or character. The irregularities of the print of textured brushes can also be used to convey the material.
- Lasso. In the digital world, the lasso resembles a knife or scissors. It is easy to select the desired areas and fill them with tone. The lasso can create not only large forms, but also add small elements if necessary.
Step-by-step lesson: Drawing a character's silhouette
Step 1: Geometry basis
Who do you think we will draw today: maybe an apple, maybe a puppy, maybe a knight? But no, we will draw Fenik the warrior fox. First, let's look for a silhouette from simple geometric shapes. Since our fox is a fighting one, and also cunning, triangular shapes will suit her very well. They have sharp corners that will emphasize the character of our hero. He will stand with a sword and in a cloak, so at first we will have to set an external general silhouette, and then move on to the internal one (1). Yellow triangles denote the head, ears, limbs, sword. And the red area is the cloak, inside it the hatching is the предполагаемое place for the body (2).Step 2: Clarification
Let's arm ourselves with an eraser or lasso and start removing the extra pieces of gray tone to clearly outline the shape of the muzzle, we will mark the tail on the right, paws and cloak (3). From a distance it looks convincing, the silhouette of a fabulous fighter is already guessed, but we can add more details to make the figure more graceful (4). On the small diagram, the sides that were touched by the clarifications were marked in pink.Step 3: Line
Now let's add a light line without much detail to check our silhouette for accuracy (5). But first, we will lower the transparency of the layer with the silhouette so that it is easier for us to see the lines on the gray tone. The left paw turned out to be a bit short, in some places you need to add small reliefs of folds on clothes and body. Let's draw the protruding sheath, and also curl the pigtail on the back of the head playfully. Let a weightless butterfly sit on the tip of the sword, and our character look at her. Let's finalize our sketch with detailing and shading, clarify the location of the mouth, eyes, nose and emotions (6).Step 4: Internal silhouette
With the same fills with a hard brush without soft pressure or with the help of a lasso, we fill in the silhouettes. First, let's highlight Fenik together with clothes and attributes with a slightly lighter gray (7). Then we fill the belt with the darkest gray, slightly lighter gray than the belt, we fill the gloves, and the lightest gray tone is given to the shirt (8).Step 5: Gradient
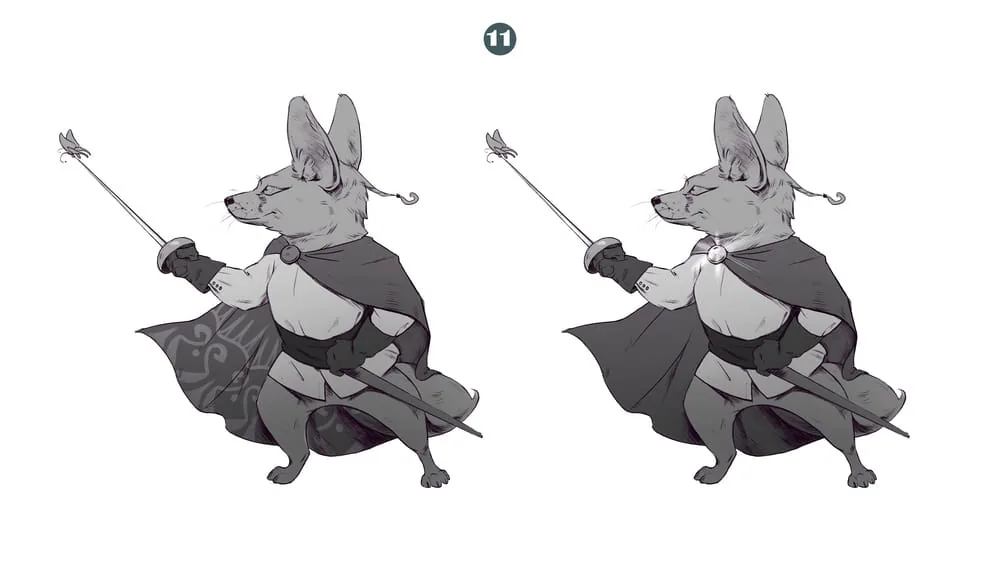
We shade the scabbard and fibula with medium gray. All the details have different tones, which makes the internal silhouette easily recognizable and all the important accents are preserved. Below we have compiled a tone gradation. Check that the tones on your sheets also smoothly flow into each other and do not match. And we will mark the highlight on the eye and on the sword (9) with white. The final touch is the gradient. To do this, we create a new layer and define it in the "Clipping Mask" mode, set the blending mode to "Multiply". We select the "Gradient" tool and then darken Fenek downward. In this simple way, we created a light volume for the entire figure, it seems as if it is illuminated from above. And that's it for our tutorial. As you can see, you can start not with drawing a line, but with creating a silhouette, inside which we will see the image and movement of the character.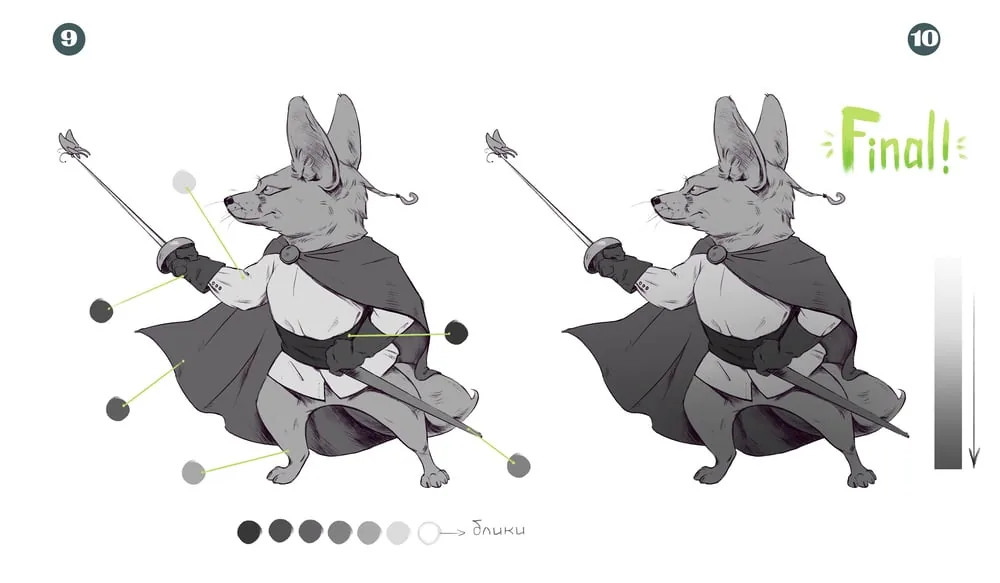 Lifehack (11): If you want to add magic, try an internal silhouette inside an internal silhouette: add a pattern on the inside of the cloak using "Clipping Mask" and the "Multiply" blending mode. Or you can make the fibula glow in white through the layer blending mode "Overlay". After that, your imagination is not limited, try and add new inputs!
 Silhouette is your best friend at the initial stage. It is simple but powerful. It helps to place accents, understand the shape and tell a story without words. Experiment, add details and look for your style. And most importantly, enjoy the process!
Clouds are built from silhouette and form. See in practice how to draw clouds step by step, from composition to tone.
Related materials

Tutorial
How to draw a crystal. Step-by-step guide for artists
March 24, 2025
Tutorial
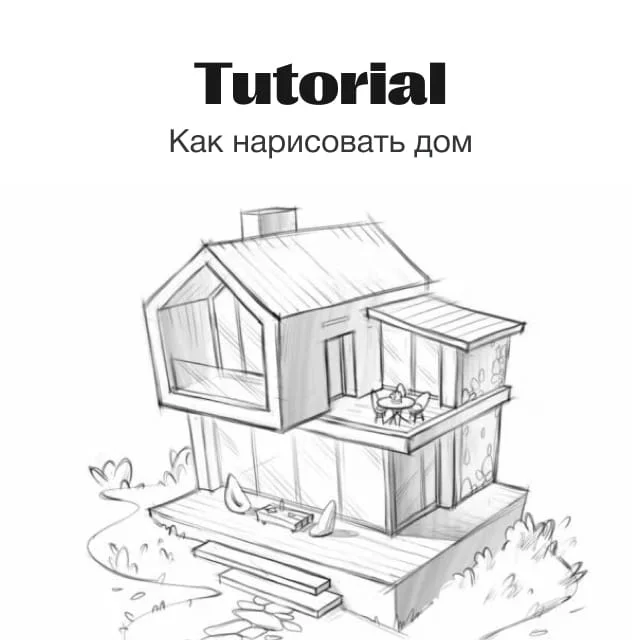
How to draw a house
October 25, 2024

Tutorial
Step-by-step lesson on VFX or visual effects
August 8, 2024

Tutorial
How to learn to draw on a tablet. Tips and lessons for beginners
December 31, 2023

Tutorial
Learning to draw glow
March 21, 2025

Article
Basics of color theory and composition
December 27, 2024
News
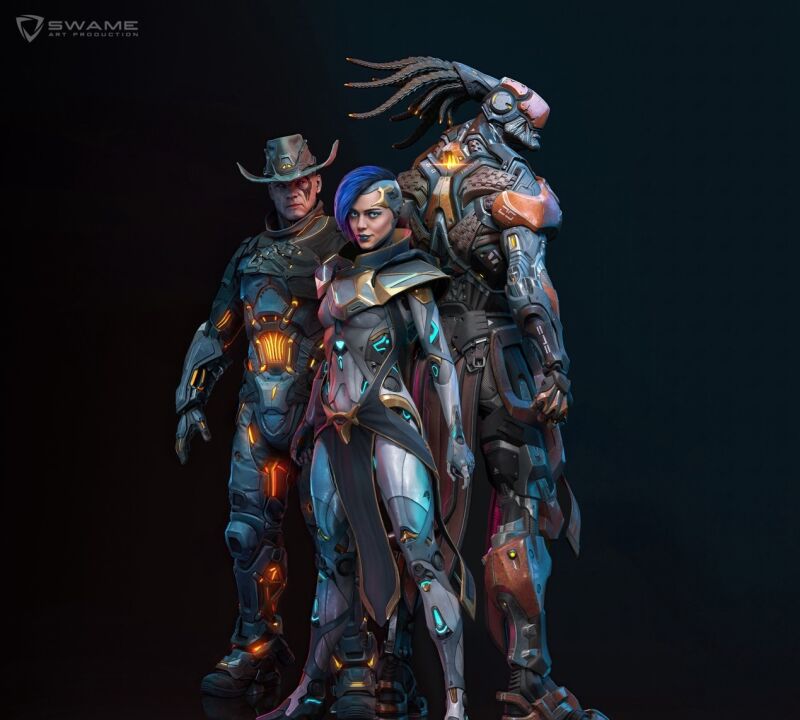
Основательница Swame Art Анна Сиаредич о создании систем производства AAA-игр
June 18, 2026