TutorialUpdated: July 2, 2026
How to draw a crystal. Step-by-step guide for artists
In short
Learn how to draw a crystal with a simple step-by-step lesson. Useful tips and techniques for creating realistic crystals!
2D artist
Crystals always attract attention with their unique shape, bright colors, and magical glow. Drawing such elements is a way to create something truly mysterious and add brilliance to your work. This tutorial will help you study the process of creating crystals in detail, from their shape to light effects.
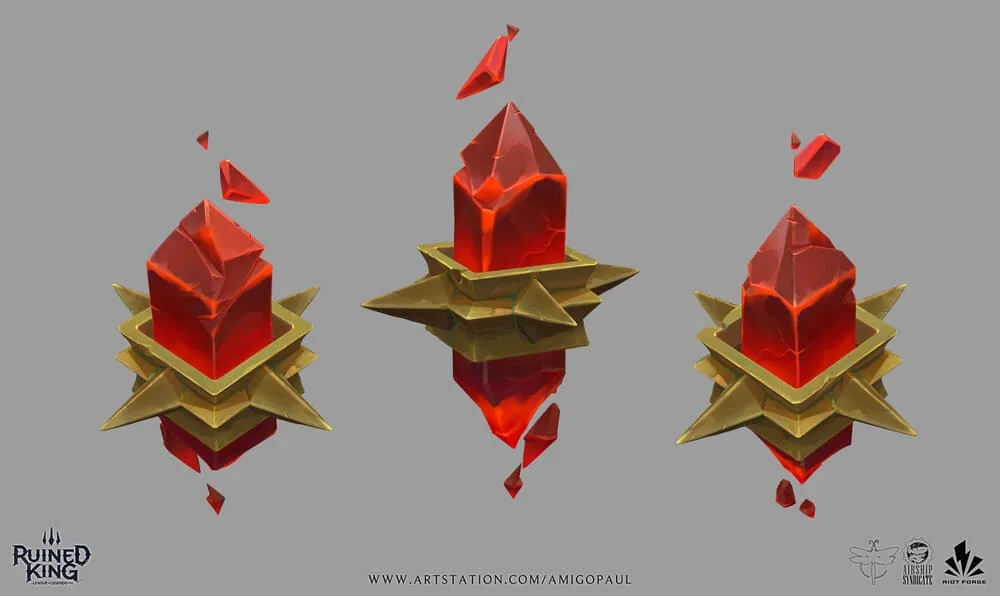
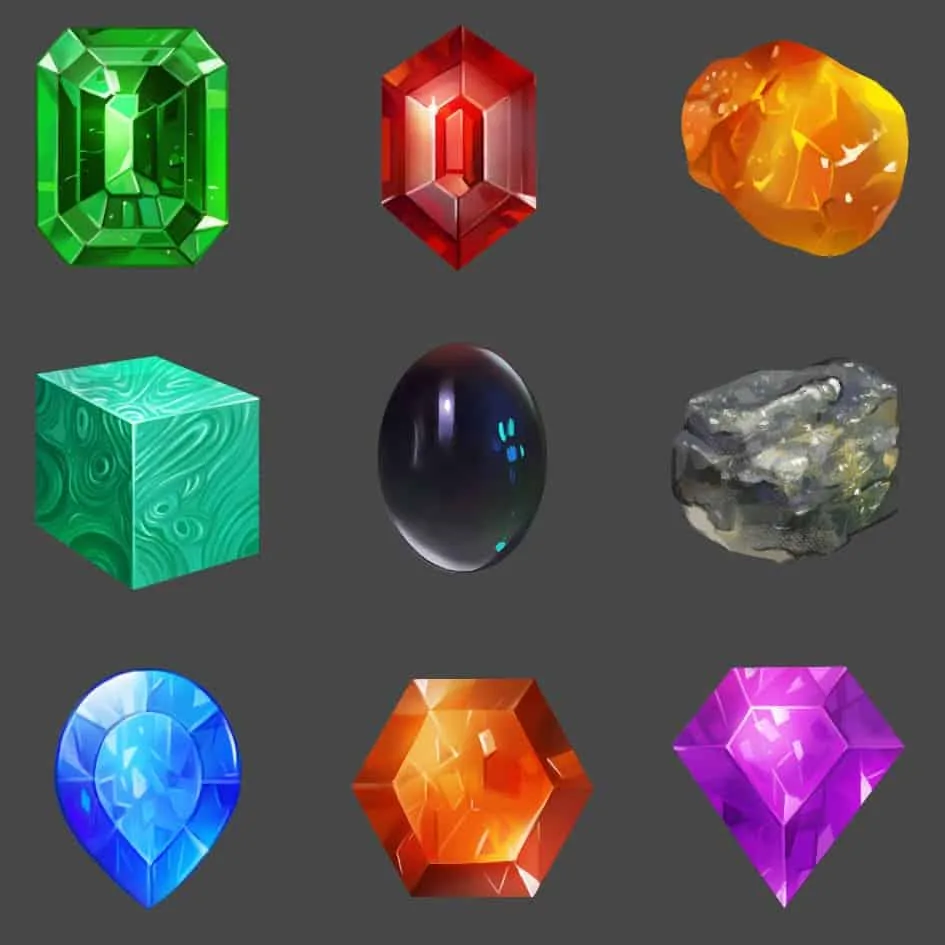
Exploring Crystal Shapes
Crystal shapes are incredibly diverse. They can be:- Faceted: with clear edges, like processed minerals.
- Curvilinear: with rounded edges, resembling a ball, or conversely with concave edges.
- Natural: with irregularities, cracks, and roughness.
- Complex compositions: groups of crystals connected to each other.
How to study shapes:
- Use references. Pay attention to raw minerals and polished gems.
- Study how other artists stylize crystals, adapting them to their works, don't be afraid to make copies for study.
- Pay attention to the features of symmetry and structure of crystals.
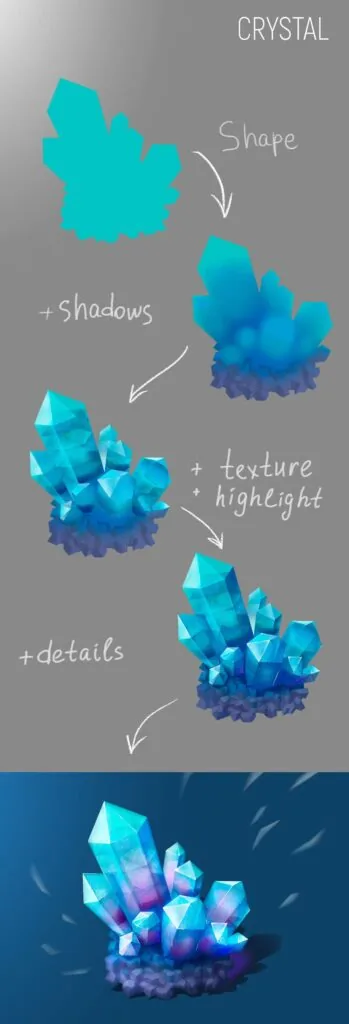
Light and Color: Creating Depth and Volume
Crystals have a special light and shadow structure:- Transparency: Light passes through the crystal, creating rich bright colors on the opposite side.
- Reflexes and highlights: Illuminated edges stand out brightly, while shaded ones contain deep shades.
Related courses
All courses
from 3 900 ₽
-57%
Book illustration: The first page page
9 000 ₽3 900 ₽
Learn more

from 12 000 ₽
-20%
Векторная иллюстрация для начинающих
15 000 ₽12 000 ₽
Learn more

from 4 500 ₽
-55%
Character Concept: My First Hero
10 000 ₽4 500 ₽
Learn more
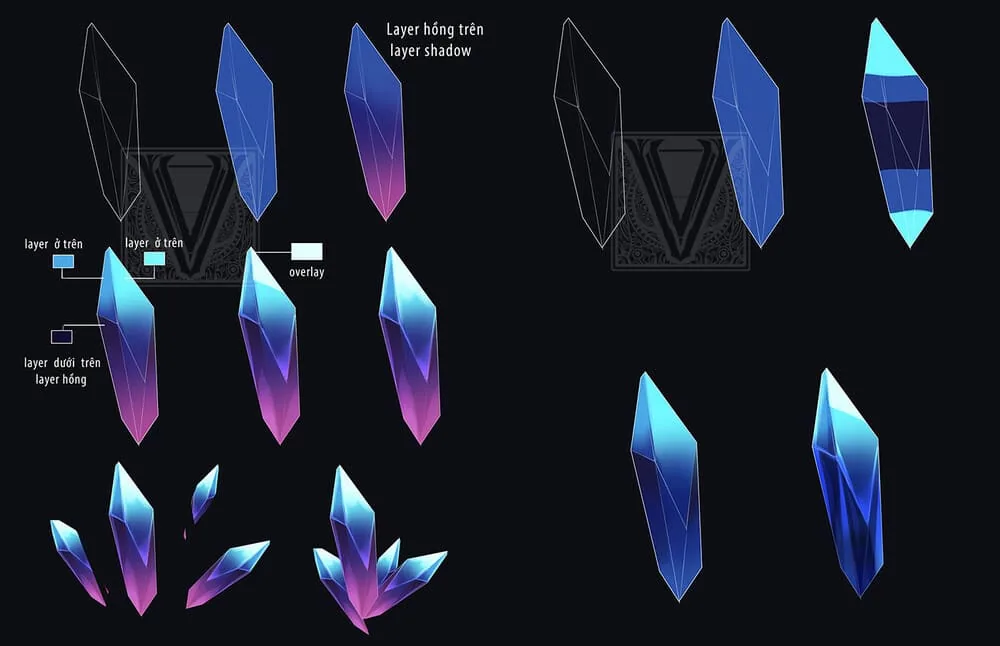
Techniques for working with light and color:
- Use gradients for smooth transitions between shades.
- Apply layer blending in Soft Light, Hard Light mode to enhance the color effect.
- Add internal textures: lines, dots, spots, chips that give crystals realism.
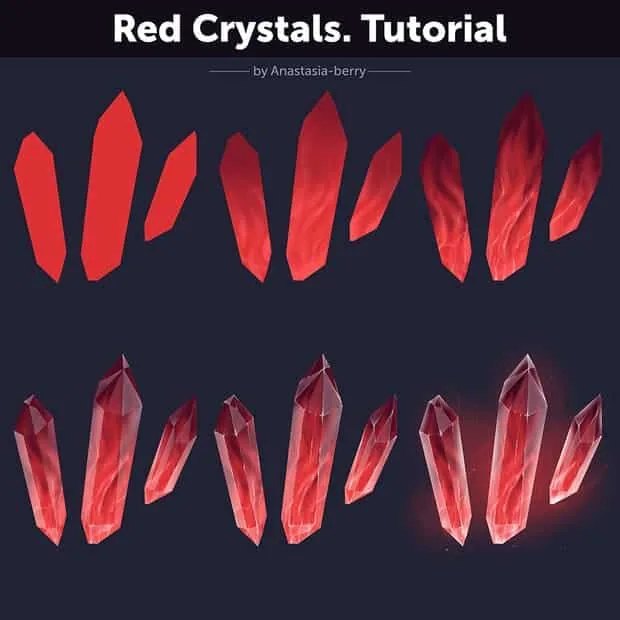
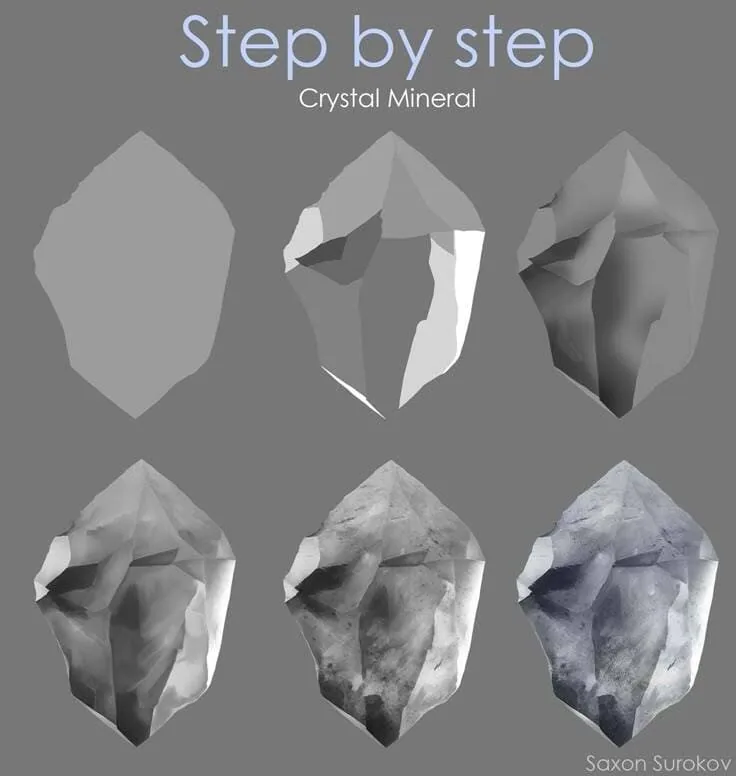
Dividing into faces: detailing the structure
Dividing crystals into faces helps to emphasize their complexity and make the image more voluminous.- Light and dark faces: The brightness of the faces depends on the location of the light source, first we will make a black and white dummy
- Contrast transitions: Now you can apply a layer with colors. Use different shades for each face to add depth, do not forget about the warm and cool light and shadow.
Techniques:
- Hard brushes will help create clear lines of the faces.
- Soft gradients will emphasize the transitions of light and shadow.
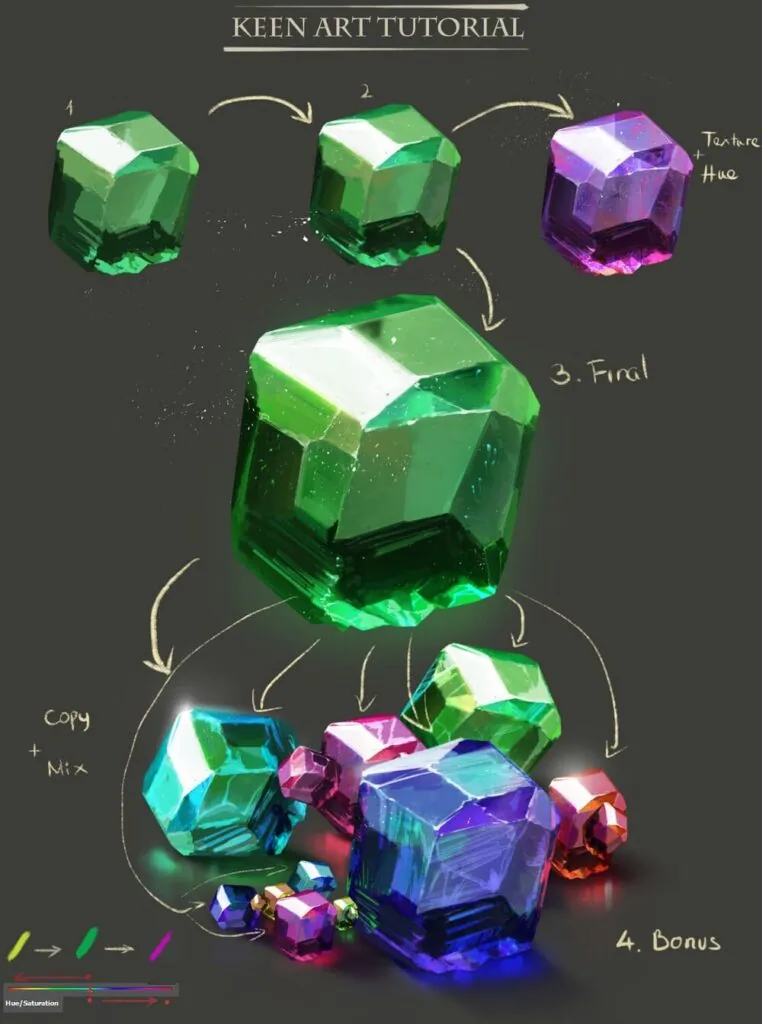
Gradients and color transitions
Gradients play a key role in creating realistic crystals.- Soft color stretches: Transitions between light and dark areas should be smooth.
- Bright accents: Highlight the faces by adding light lines.
Useful techniques:
- Use transfer brushes for soft transitions and gradient fills
- Add glow around crystals to enhance the magical effect.
Adding textures: realism and detailing
Textures give crystals uniqueness. They can include:- Microcracks: Thin lines that mimic natural damage.
- Spots and scratches: Add realism and depth.
- Light reflections: Highlight the transparency of the material.
How to work with textures:
- Apply texture brushes to create a roughness effect.
- Add fine details using hard and soft lines.
- Do everything on a separate layer, then reduce the layer transparency and slightly blur the details with the finger tool.
Working with shadows and highlights
Shadows and highlights add volume and make the image more realistic:- Shadows: Soft and transparent, colored in the color of the crystal.
- Highlights: Create bright accents on the most illuminated parts, apply them at the very end in white color or an additional layer with the Hard light or Color Dodge blending mode.
- Use the rectangular lasso to get clear edges.
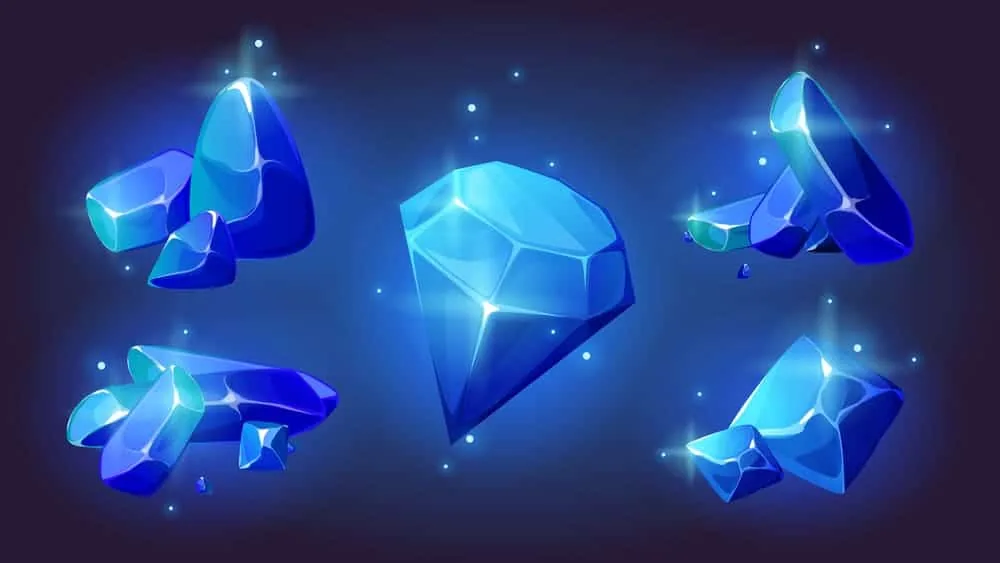 Drawing crystals is a great opportunity to improve your skills in working with shape, light, and texture. Experiment with shades, add environmental elements, and create unique compositions. Let your crystals shine brighter, attracting attention and adding magic to your work!
Fig. 9 Fig. 10
Drawing crystals is a great opportunity to improve your skills in working with shape, light, and texture. Experiment with shades, add environmental elements, and create unique compositions. Let your crystals shine brighter, attracting attention and adding magic to your work!
Fig. 9 Fig. 10Related materials

Tutorial
Learning to draw glow
March 21, 2025

Article
Time management for an artist
September 18, 2023

Tutorial
Drawing stones
March 10, 2025

Tutorial
How to draw basic emotions
February 12, 2025

Tutorial
How to draw silhouettes: basics, tricks and step-by-step lesson
January 30, 2025

Article
3 tips for a beginner character artist. How to draw emotions
September 18, 2023

News
Художник по 3D-персонажам делится забавной моделью викинга с драконом, похожей на картину
June 13, 2026