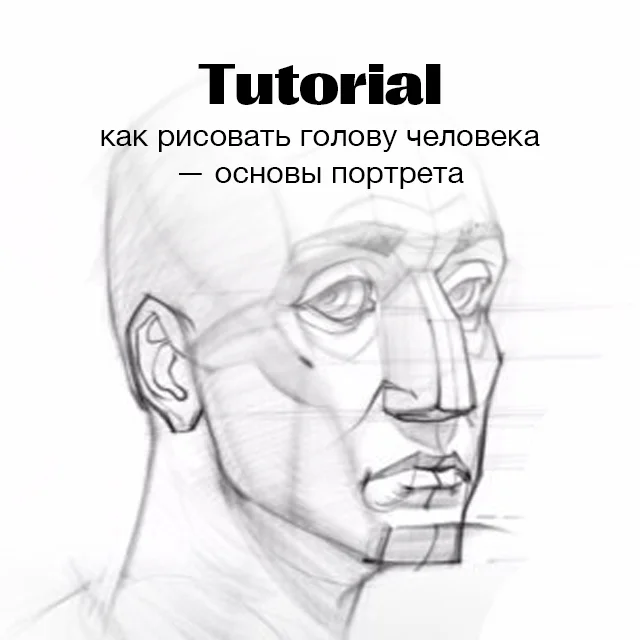
How to Draw a Skull
Learning to draw a skull through two video lessons: I analyze anatomy through ecorche (skull under the head muscles) and paint a study in color. Skull drawing from bone structure to volume and color, step by step with Azat Nurgaleev.
Skull and Muscles: Anatomical Analysis
In this lesson, I am drawing an ecorche: a skull that has become covered with muscles. This is an anatomical primer: to understand the shape of the head, you need to know which muscles lie on it and what their volume is. The process is simple: first, I construct the skull as a base, then I add large muscles to it. I will not touch the small facial muscles, there are too many of them for one lesson.
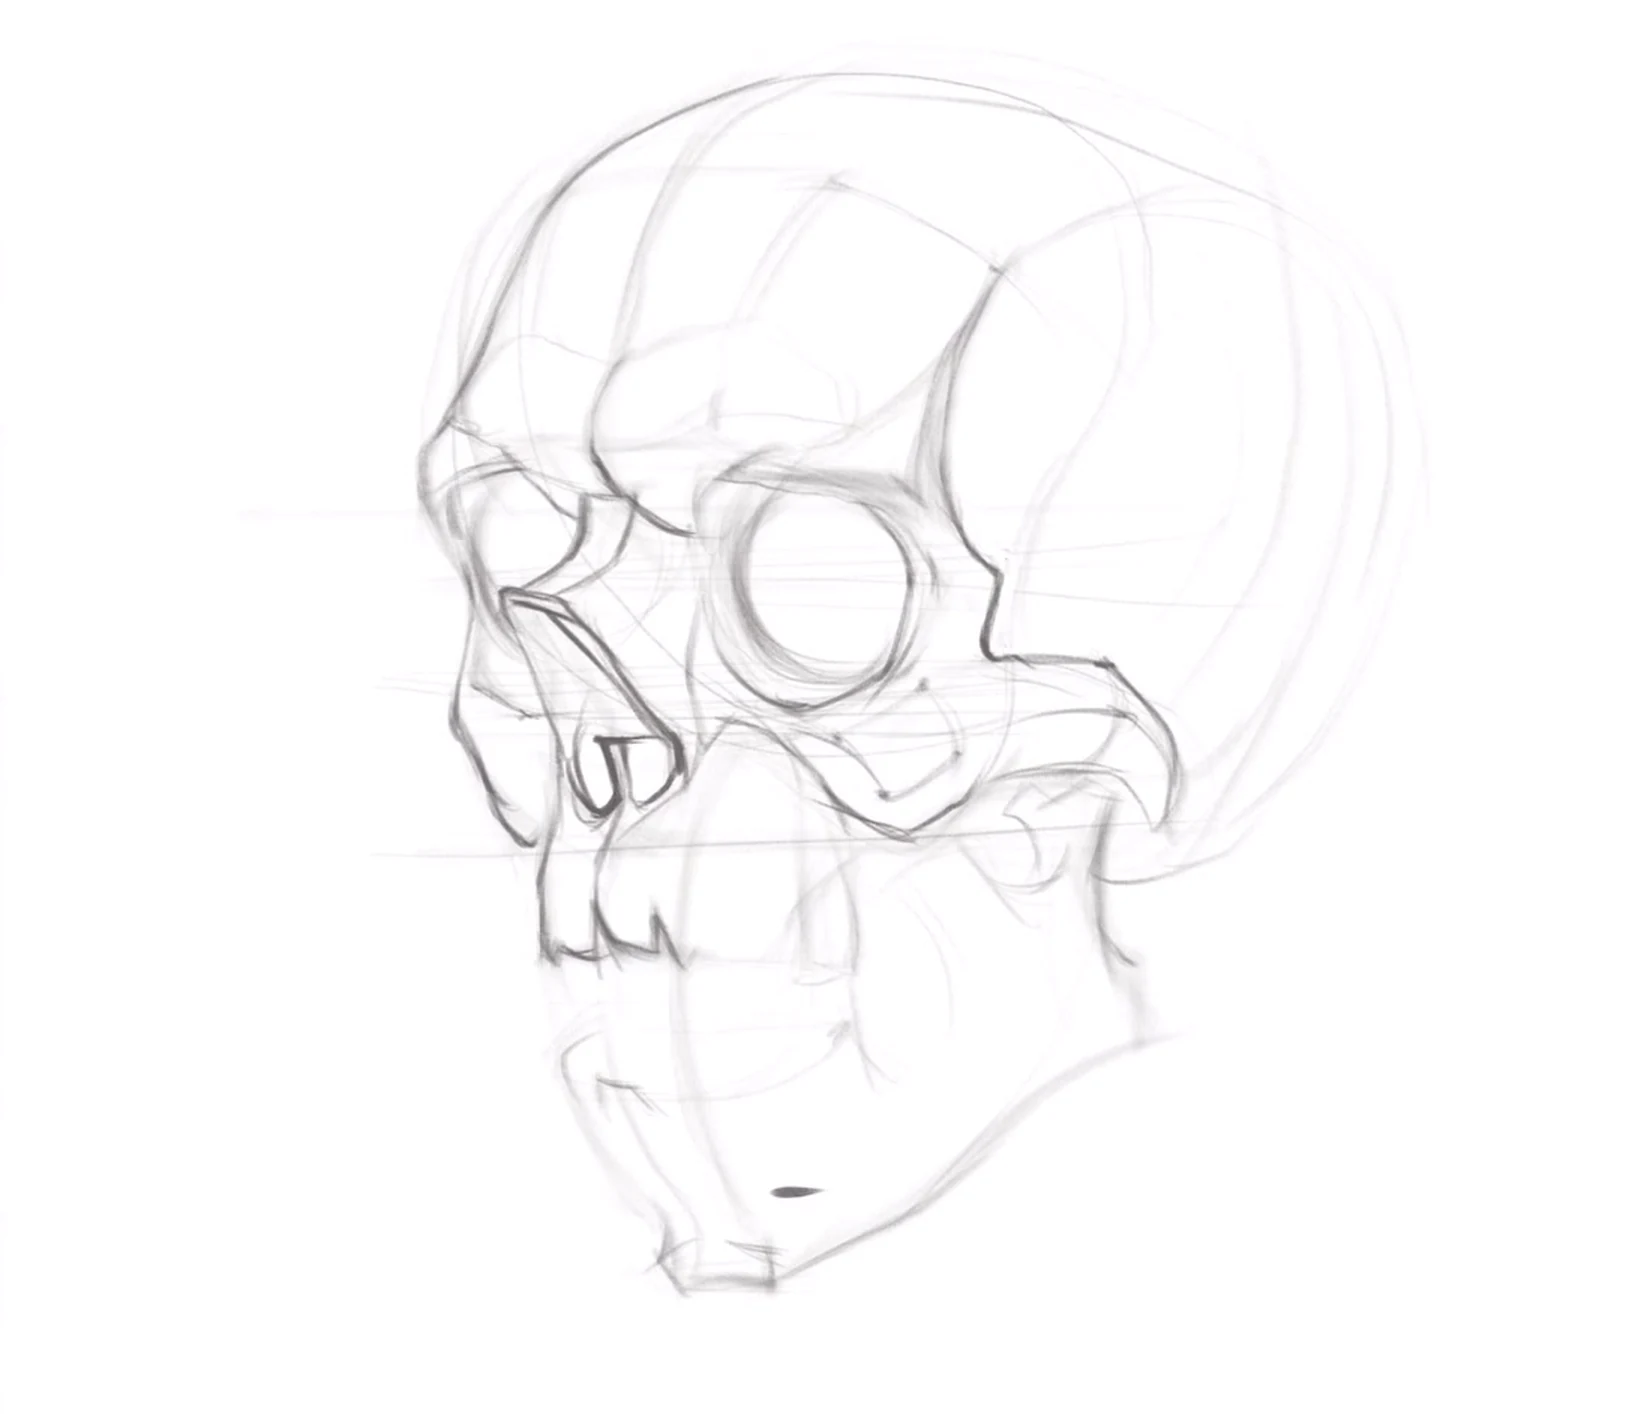
First, the skull: the base for muscles
I start, as always, with the cranium. This is the base to which everything else is added. I outline the zygomatic bones and zygomatic arches, the midline, and the nasal bone. My ghoul will be without a nose, so instead, a cartilaginous protrusion sticks out. It is very important to draw the bones correctly: if something goes wrong, the whole drawing will suffer. I make the eye sockets a little smaller, the muscles will attach to their edges. I place the eyeball inside the eye socket: it is smaller than the socket itself and is held by muscle растяжки, otherwise it would just fall out.
Adding large muscles one by one
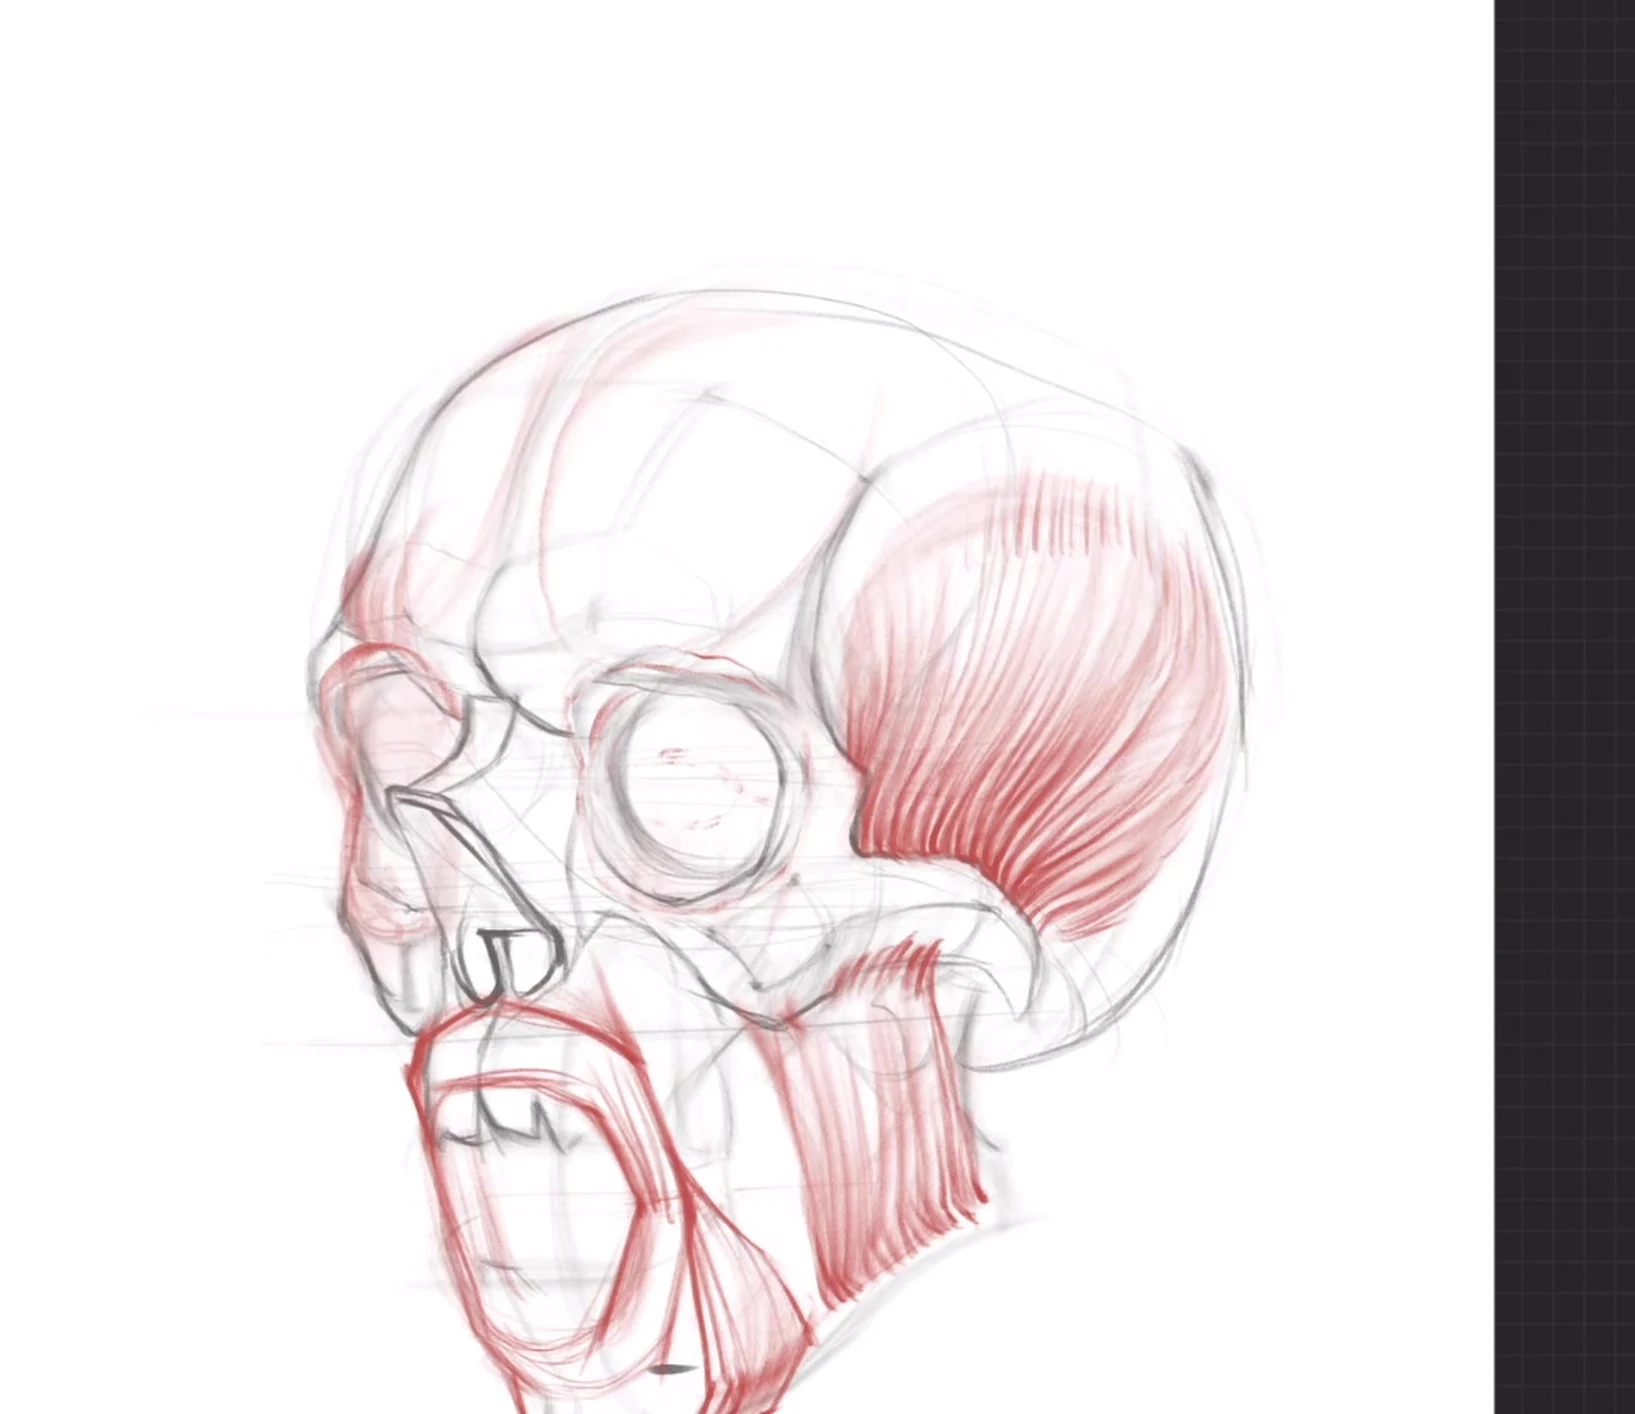
I outline the bones and cartilage in gray, the muscles in reddish-pink, it's more наглядное. I go through the large masses:
- Orbicularis oculi encircles the eye socket, we squint with it.
- Orbicularis oris runs through the entire mouth area and moves the lips.
- Masseter is attached to the zygomatic arch and lower jaw, filling the cheek with a dense lump.
- Temporalis muscle fills the temporal fossa and smooths the silhouette of the cranium.
- Occipitofrontalis stretches across the entire upper part of the skull, we wrinkle our forehead and move the scalp with it.
- Procerus is small, in the center between the eyebrows, it gathers the skin into a fold.
- Zygomatic muscles are attached to the zygomatic bone and run to the corner of the mouth.
- The muscle that lowers the corner of the mouth is woven into the corner of the mouth and pulls it down, then it is visible in the silhouette.
I also mention the mental muscles and the muscle that lowers the lower lip: I exaggerate their volume a bit to make it clearer how they run. I don't forget about the relief: the muscle lies on the bone, so the bones under it still need to be shown.
Graphic culture: sharp angles should ring
The artist's task is not only to be correct but also interesting. I highlight all sharp corners so that they ring. I pull the nasal bone a little, it's closer to the viewer. Where the muscles are removed, I show the canine fossa on the zygomatic bone. On the illuminated part, on the contrary, I don't overload it with contrast, it is flooded with light. Somewhere I add muscle fibers with a stroke, somewhere I sharpen the shape, set the rhythm. The result is an expressive muscular ghoul, on which it is convenient to study how muscles build the head.

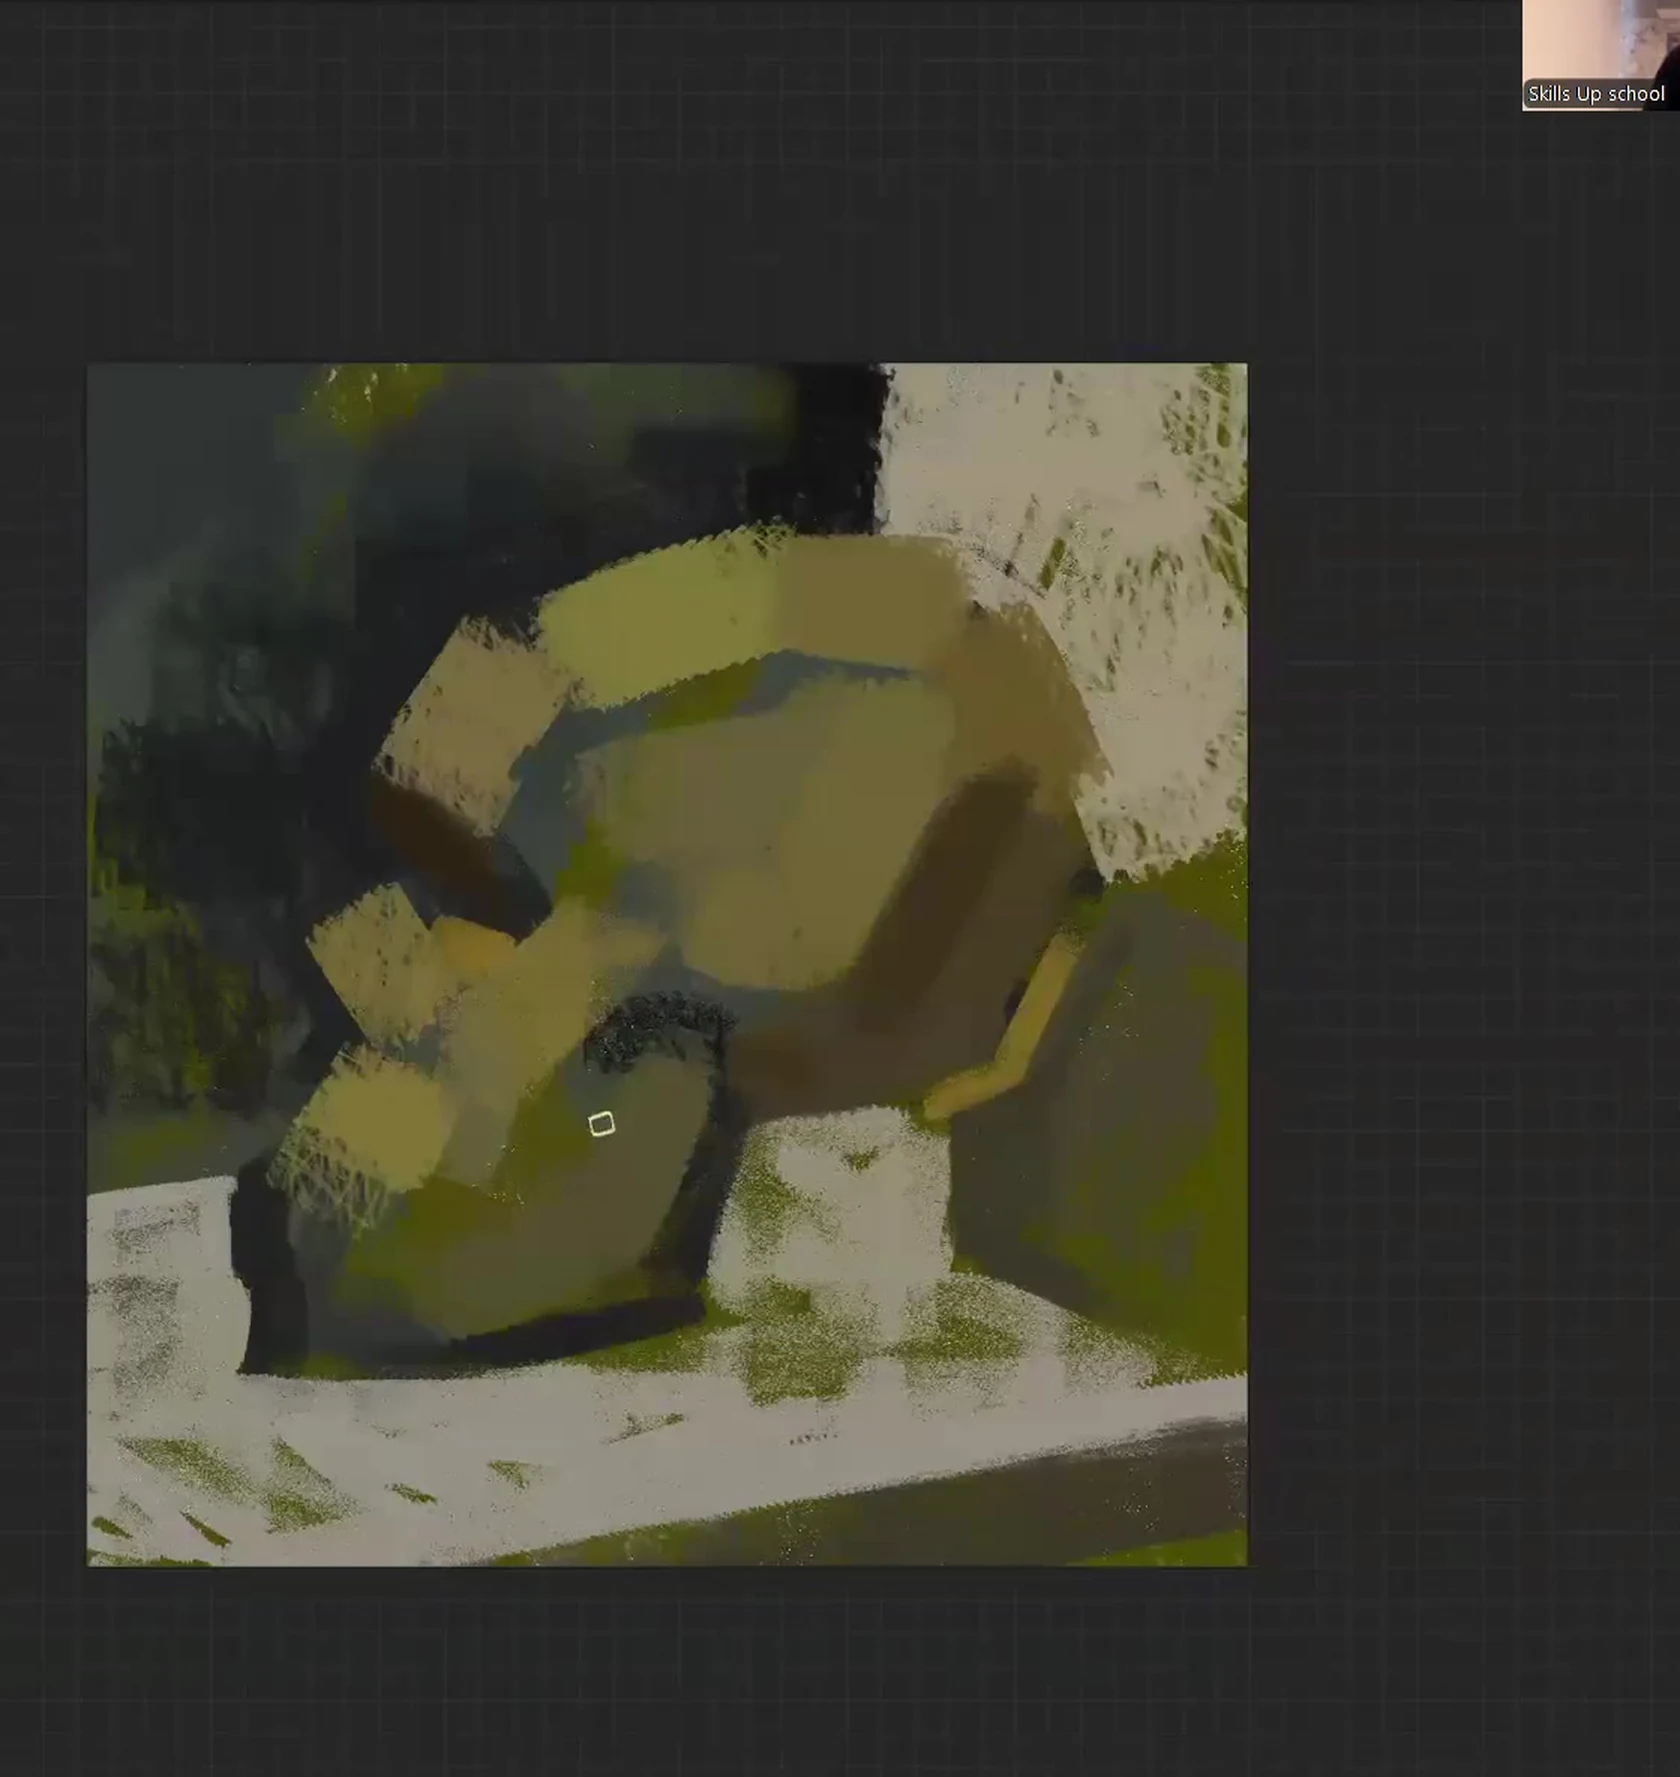
Skull study: painting with color
Here I am painting the skull as a pictorial study: with color, not with line. The logic is different than in construction: here spots and value are what matters. I deliberately push anatomy aside at the beginning so it doesn't interfere, and I only think about the relationships between the shapes.
Base layer and earth tones
I start with the base layer, filling it in плотно with a more accentuated color. It's an earthy story: warm tones are the most active, I handle cool tones through gray. The warmest part for me is the skull itself. I immediately organize the space around it: dark and light shapes, like with eyes in a portrait, where we don't draw the eye itself but the space around it. I stuff the skull with lots of different colors: ocher, greenishthe more painterly, the better. It doesn't have to be exactly like the reference.
First shapes, then value
At the beginning, I take the color a bit stronger than it is, then it will neutralize anyway. First, I lay down color shapes, and refine the value later. Remember: value is about 60% of the success of any painting. If you get the value right, the picture reads, even when the color is bold. If you don't get the value right, even good color won't save it. I keep a tonal concept: medium values are the most, lighter ones are less, dark ones are even fewer. I intentionally subdue the darks so that the shape relationships are beautiful.
Chiseled form and large brushes
Don't draw everything with one small brush; that's the main mistake of a beginner, everything gets blurred. First, large masses with a large brush, then small strokes with a small one. I take the form chiseled, with hard shapes, even harder than it actually is; I can always soften it later. Chiseled form is more expressive than rounded, even if I make a mistake somewhere. I leave "dirt" along the silhouette in some places, not outlining it entirely. In the jaw, I put ocher next to gray, creating a warm-cool relationship. I constantly change brushes: where I can use a large one, I use a large one; I use a small one only for details. If you fill everything with one small brush, the drawing dies. And I don't forget about chamfers, small beveled planes that hold the volume.
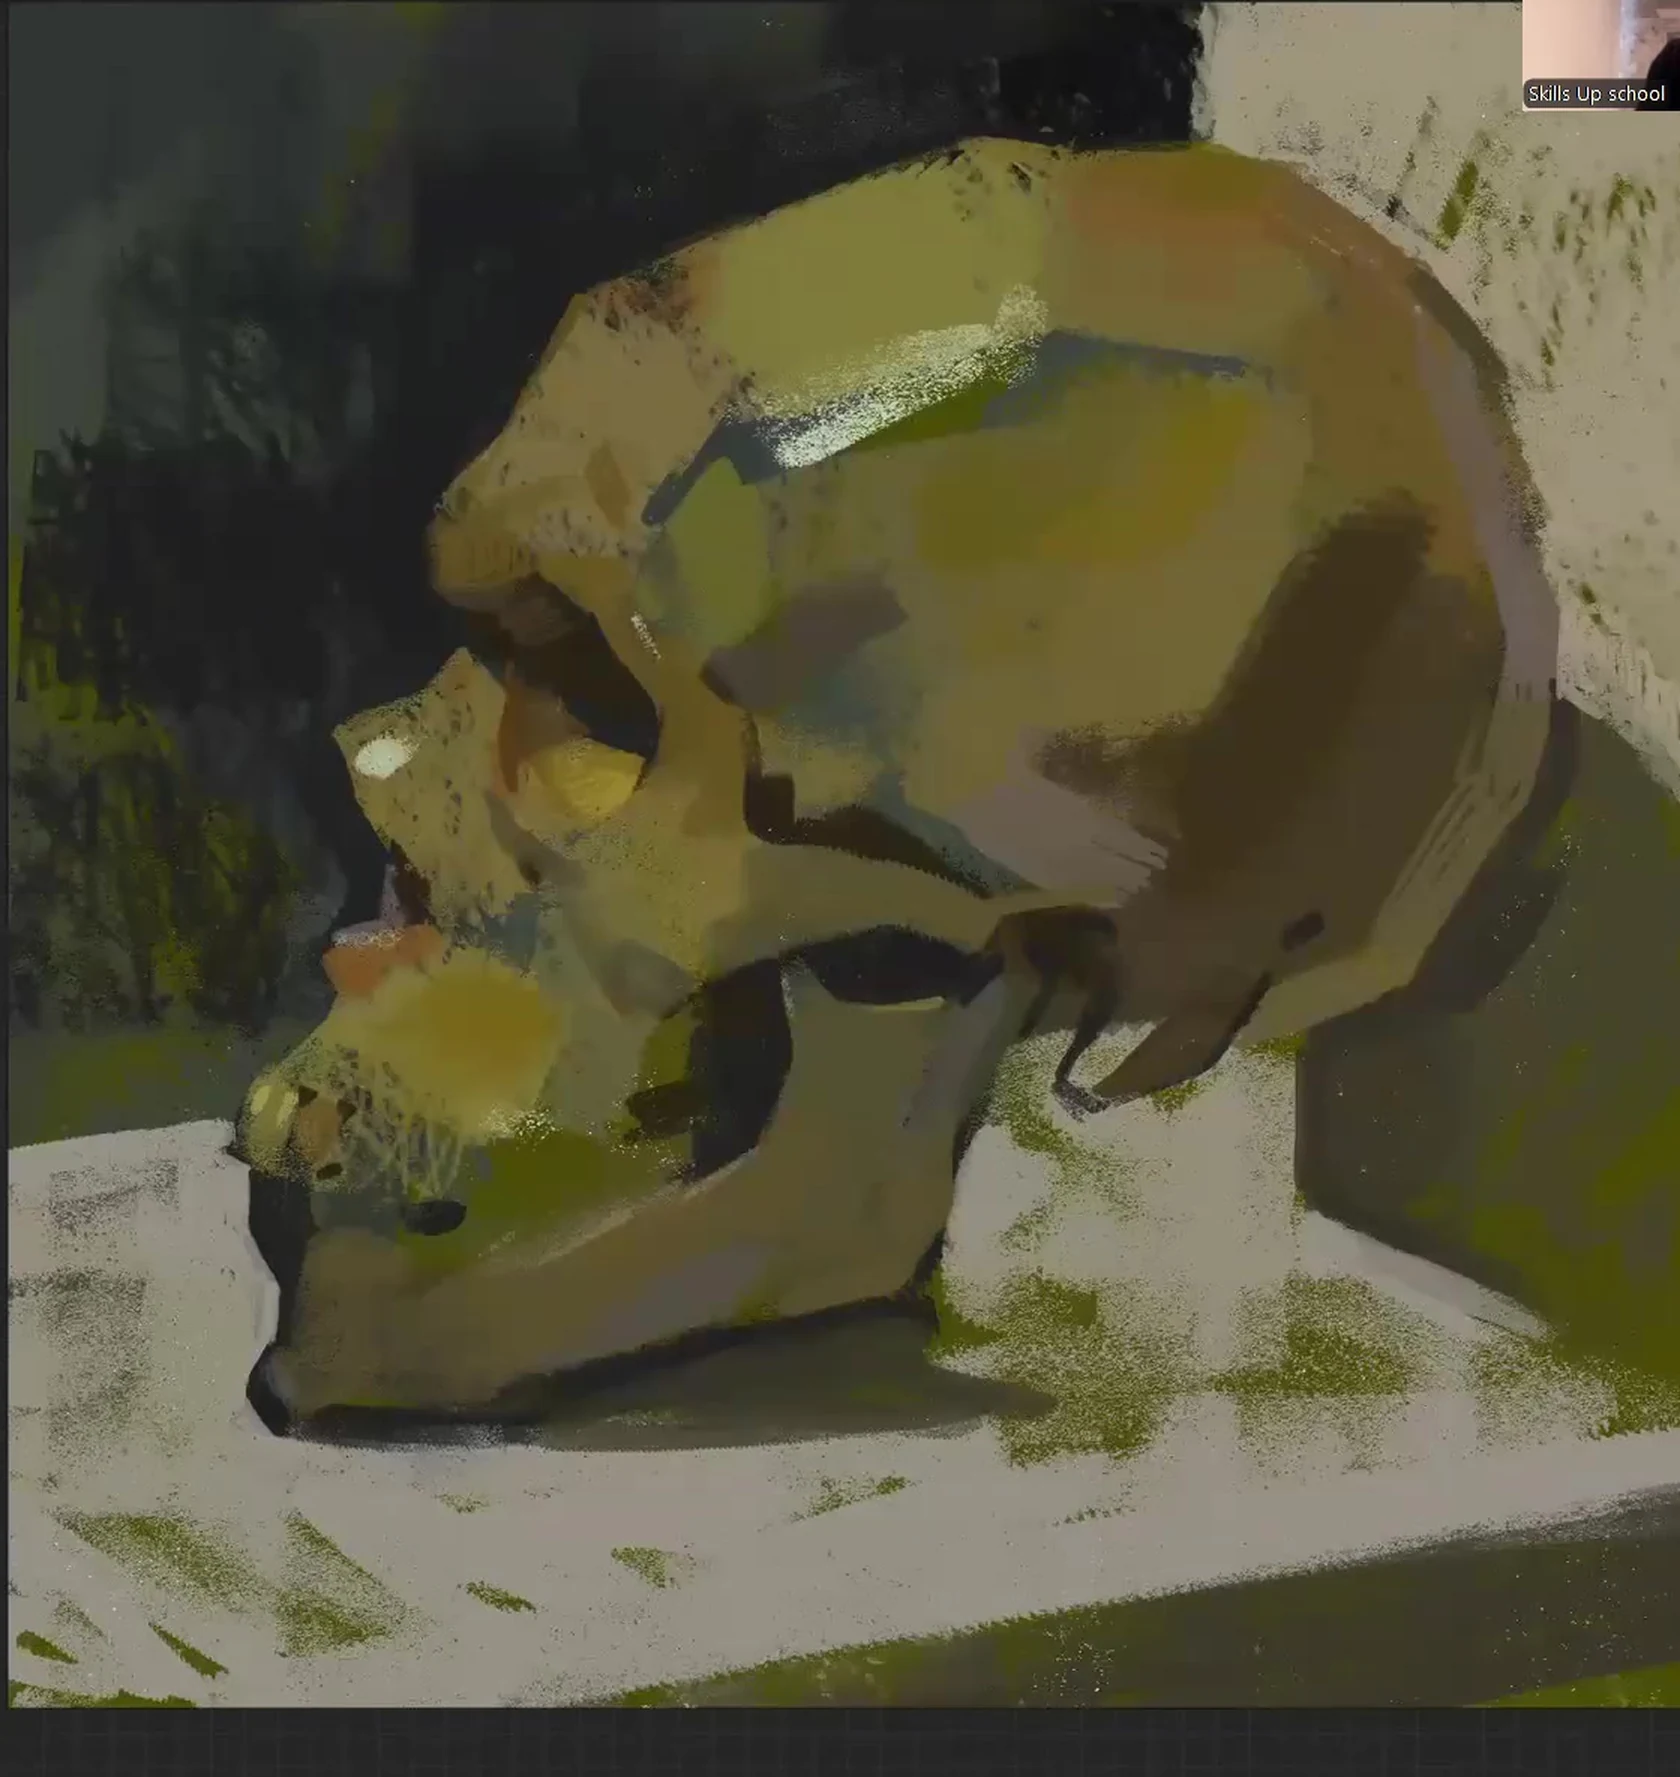
Teeth through negative space
I don't draw each tooth separately. A tooth is like a letter: the letter isn't the strokes themselves but the space between them. To get a tooth, I draw the shadows between the teeth, and the tooth appears on its own. If I draw each tooth individually, it will be boring and overload the picture, like five separate fingers in a sketch. Towards the end, I add color contrasts: next to the greenish, I put pinkish, remembering about color pairs. Color can also be embellished: if a successful combination lies next to each other, it doesn't matter what color the skull actually is; let it be greenish, it's an artwork. You can lead with either line or shape: a simple form I take with a shape right away, and if there are many different shapes, it's faster to sketch them with a line and then refine; it depends on the angle. I make the background no more complicated than the skull itself. And I stop in time, before I start overloading it, while there's still some resource left.

Common mistakes that cause the skull to look distorted
- Rushing to create shapes without constructing the form. Shapes and visual estimation are good for speed, but when the form goes wrong, you need to use construction: axes, angles, perspective. Otherwise, the skull will come out crooked.
- Blurring everything with a fine brush. When you don't understand the form, your hand tends to round it off. Instead, use a firmer and larger brush, with chopped shapes, and the form will reveal itself in the process.
- Missing the value. You can choose a nice color and still end up with an unreadable picture. First, focus on the value, then on the color.
- Drawing each tooth individually. Drawing each tooth separately overloads the drawing. Draw the spaces between them, and the teeth will appear on their own.
- Overloading the lit part with contrast. The side flooded with light should remain light, otherwise the volume will be lost.
Short advice
Don't try to draw a "correctly beautiful" skull right away. First, make many quick sketches, practice your visual estimation, analyze the anatomy through ecorche, and then put everything together into a coherent study. Some things will turn out better, others worse, that's normal. The main thing is to keep moving forward: the fate is the same, keep going, rain or shine, whether the ice is crunching or not. Then everything will fall into place.