How to Draw the Ribcage: Female and Male
Learning to draw the ribcage: analyzing the female and male in two video lessons. The framework from an oval, the sternum and costal arch, the jugular notch, clavicles, breast placement, muscles, and angles. The voice of a practitioner, step by step.
Female ribcage
In the first lesson, I draw the female ribcage from the front, from a blank sheet to a volume. The order is strict: first, a generalized framework, then reference bones, then clavicles and muscles, then breasts, and only at the very end the tone. If you follow this order, the form does not fall apart and it can always be corrected.
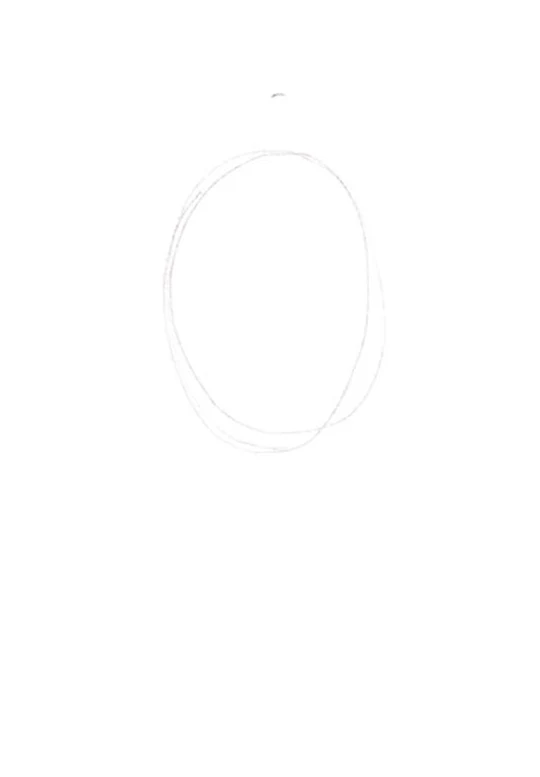
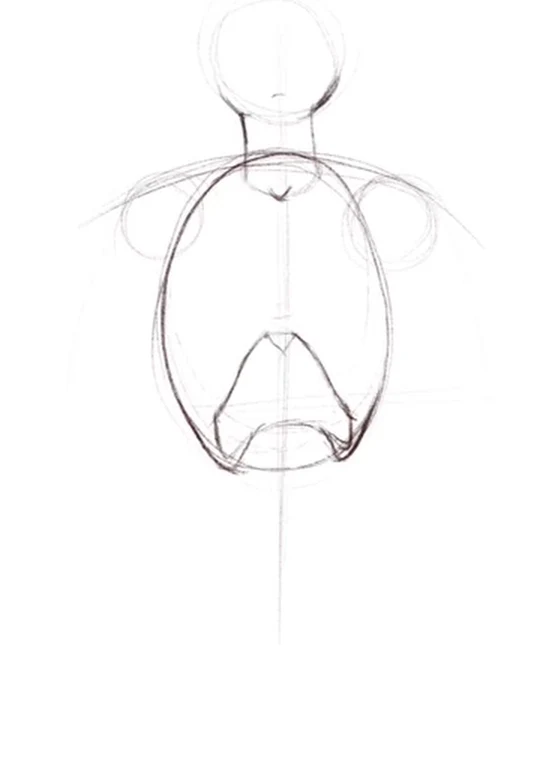
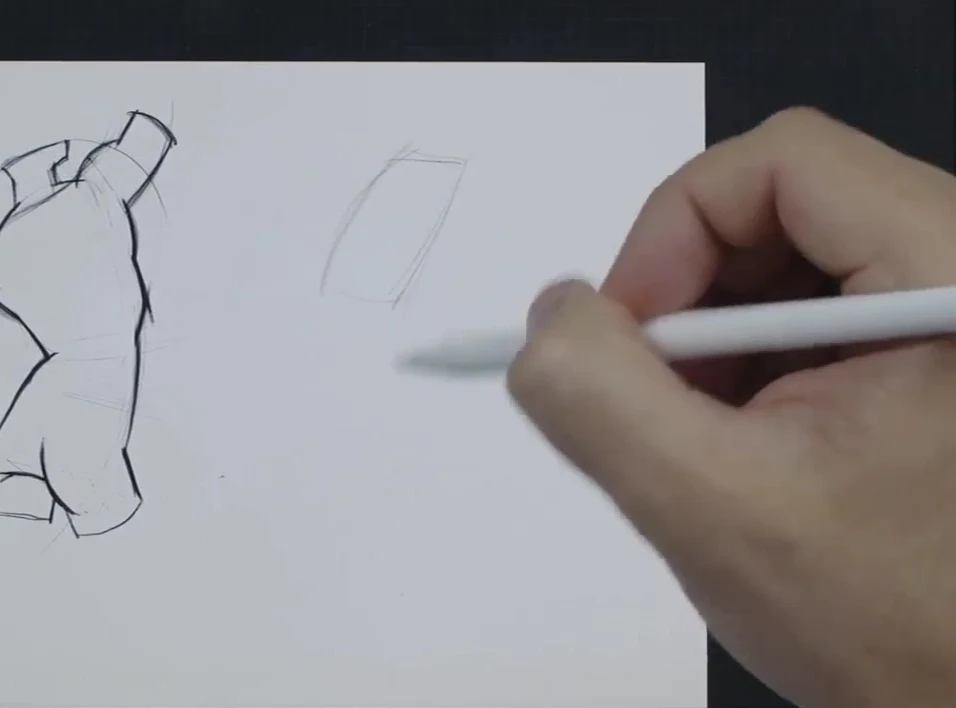
Framework: Oval, Axes, and Reference Bones
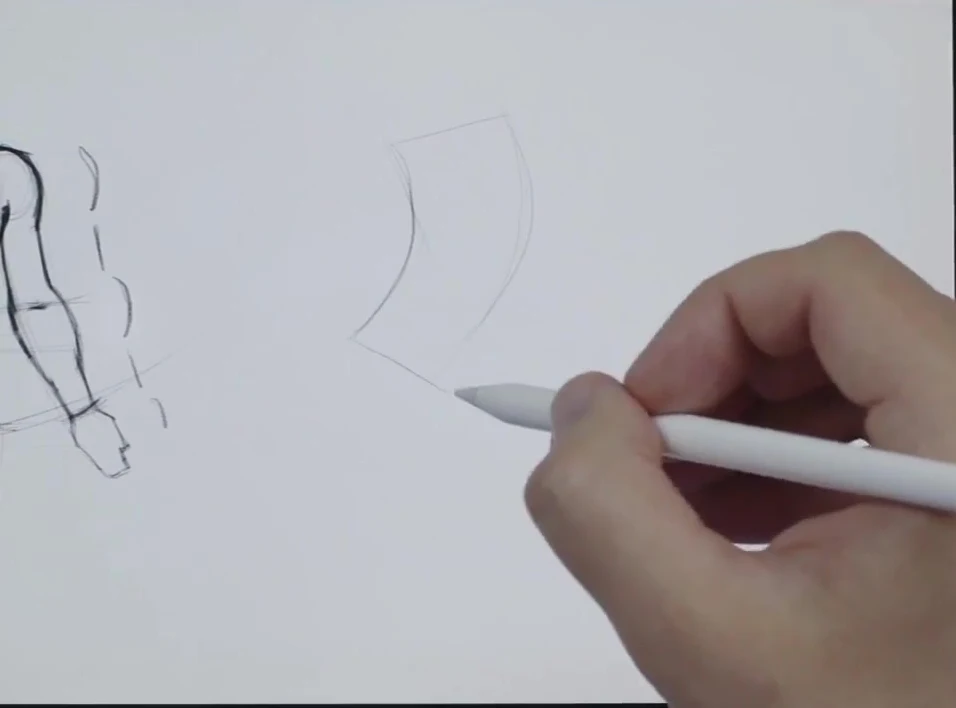
I start with an egg-shaped oval with a cut bottom. This is the generalized shape of the ribcage, everything will fit into it later. I immediately draw the midline and shoulder line, place the balls of the shoulder nodes and the projection of the neck cut. The lines are light so that there is something to change.
Now the bone references. At the bottom of the sternum, I look for the xiphoid process and costal angles, higher I mark the manubrium. On the sides, I estimate the costal arch: there's no need to draw each rib, it's important to feel the arch and understand how the ribs go through. At the top, I place the jugular notch and the seventh cervical vertebra, the trapezius will pass through it later.
Clavicles and Shoulder Girdle
I draw the clavicles with a shape, not a stick. They have a silhouette like a steering wheel, a slight S-bend and heads at the ends. From the clavicles, I go to the volume of the shoulder nodes and deltoids, show their cubature: the node has a top and a side. Here I slightly reduce the shoulders to make the figure look more graceful. This correction is minor, but it is what sets the femininity of the silhouette.
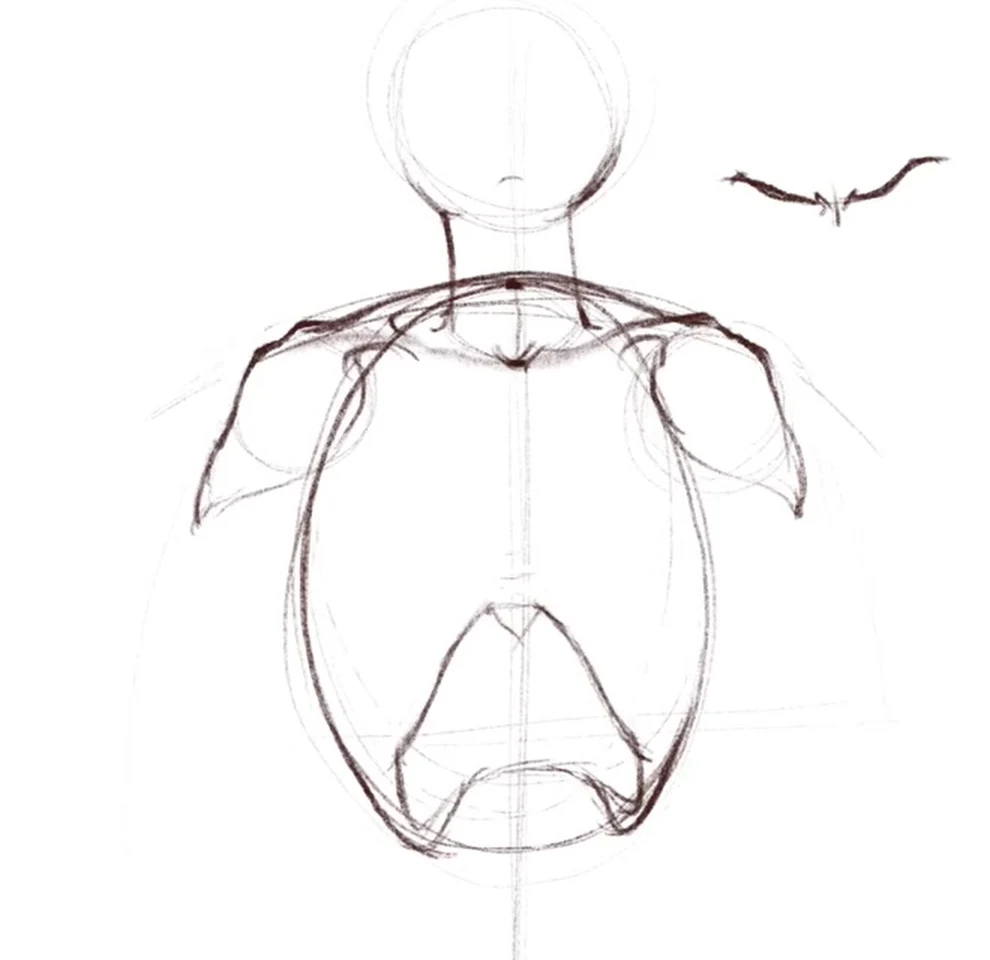
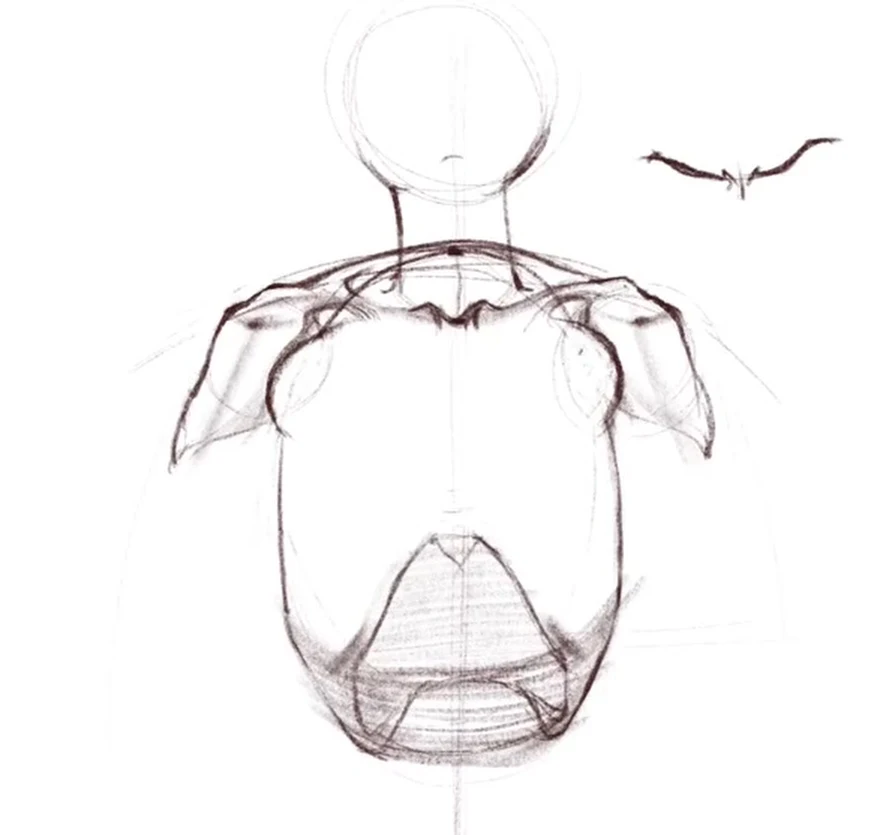
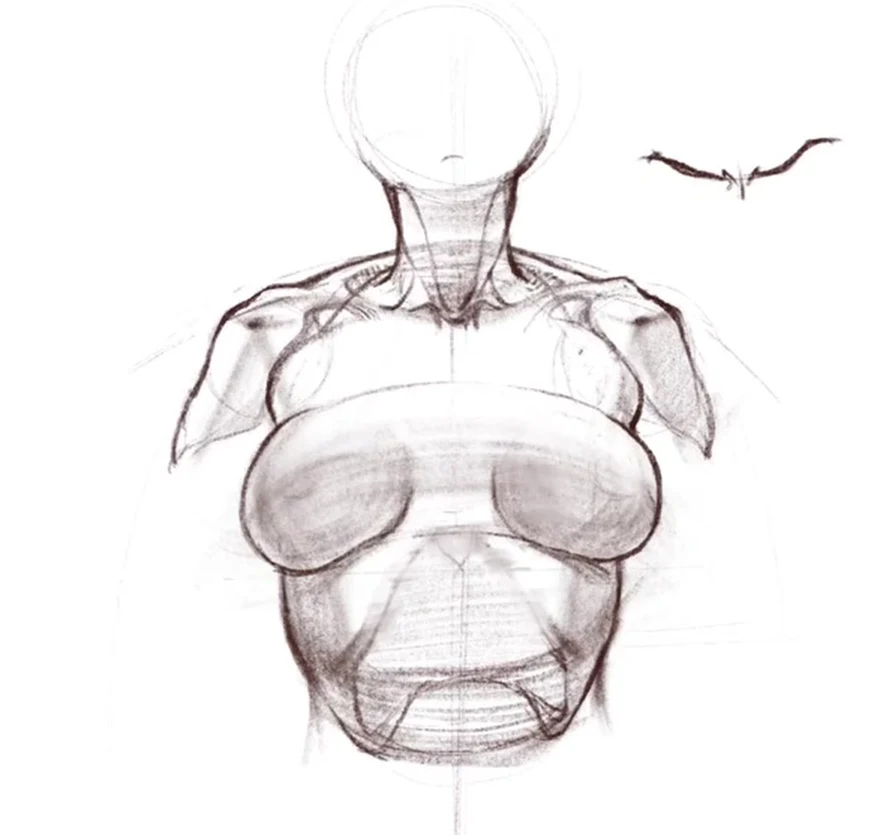
Pectoral Muscle and Breast Placement
I take the pectoral muscle with half-round lines from the shoulder node. When the framework and muscles are in place, I move on to the breasts. The main thing to remember is that the ribcage has a frontal, oblique, and lateral sides, and the breast lies on an oblique surface, not glued to a plane. The breasts are set wide, so they are visible in the silhouette both on the left and on the right.
I work with delicate lines: first the overall outline, then the volume of each gland, then refinement. You can't establish a hard contour right away, otherwise you can't correct the mistake. I connect the pectoral muscle with the gland, cut off the side plane with a line from the costal angle to the shoulder. At the top, I outline the sternocleidomastoid muscles, there are two of them, they run from the jugular notch to the ears.
Nipples, Light, and Tone
The nipple is drawn on the volume, following the direction of the shape, the areola is convex like a small lens. By default, the light comes from above and in front, so the top of the nipple and the top of the breast are flooded with light, and the shadow lies below. A flat nipple-patch kills all the volume that we built.
I apply the tone last. On top, I lighten it to create space and prevent the breast from sticking to the neck. Under the breast, I give a soft shadow, the costal arch is left with a light tonal hint, and I weaken the graphics of the shoulder girdle by the end so that it does not compete with the breasts.
Male ribcage
The second lesson is structured differently, and it's important to understand this in advance. Here, I don't draw a single ribcage step by step, but take it in conjunction with the pelvis and in motion. This is a constructive study: the task is to see the ribcage as a form-sign and learn to turn it in any perspective. For the male figure, this is more useful than a detailed render, because all male plasticity is based on mass and silhouette.
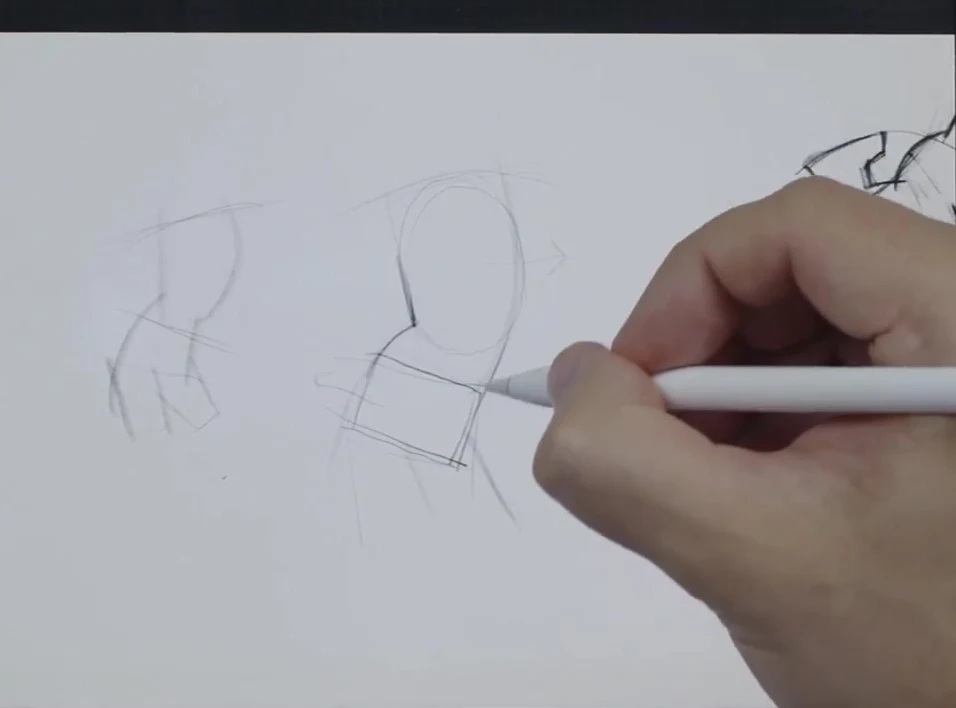
Ribcage plus pelvis connection
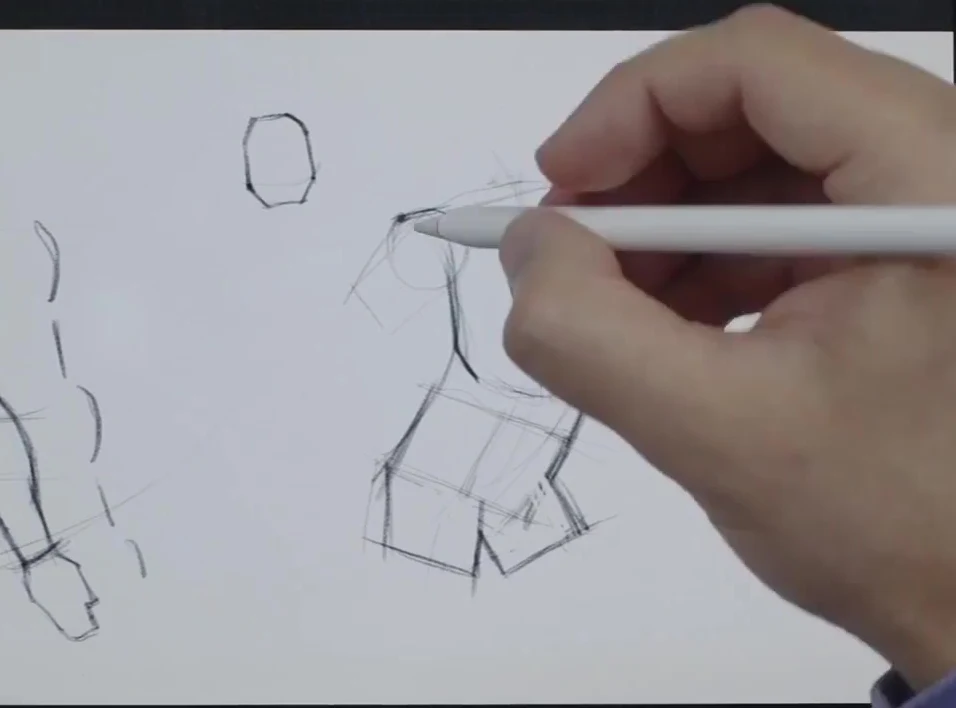
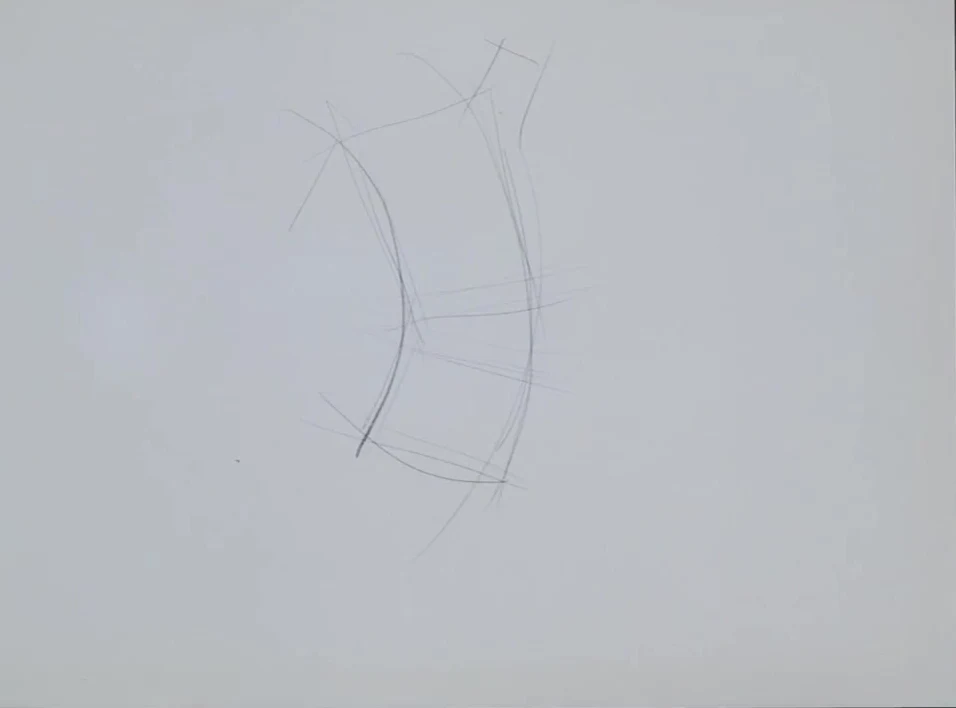
I start with two main volumes. I hold the ribcage like an egg with fractures at the top and bottom (the lower ones are especially needed), the pelvis like a matchbox. Between them, according to the classics, one-third of the height of the head or the width of the palm is inserted. This distance sets the proportion and plasticity of the entire figure, and beginners most often skip it.
Tilt, rotation and oblique muscles
Next is the tilt. The pelvis goes to one side, the ribcage to the other, and the figure immediately comes to life. On the compressed side, the distance between the volumes is minimal, on the stretched side it is maximal. The oblique muscles play this out: on the compressed side they are voluminous and gathered, on the stretched side they are flat and elongated. If you place the ribcage and pelvis parallel, the pose dies, so rotation is the main technique of the lesson.
Shoulder girdle muscles
The latissimus goes in an arc to the angle of the shoulder node, and the silhouette of the girdle protrudes slightly beyond the ribcage. The pectoral muscle reaches the middle of the ribcage, and the shoulder is inserted between the pectoral and latissimus. From the top, the trapezius extends from the width of the ribcage and converges at the jugular notch. I intentionally do not go into small bundles: at the start, the silhouette and how the forms interact are more important than each muscle.
Perspectives: back, profile, shift
From the back, I build along the arc of the spine, stringing the ribcage and pelvis on it like beads on a thread, drawing the shoulders in arcs. Then the trapezius, shoulder nodes, latissimus and large glutes: one is more voluminous and higher, the other is pressed.
In profile, the ribcage is almost always rotated relative to the pelvis, it's more interesting. And another detail: a person's neck always protrudes slightly forward, we are a bit animalistic. From the ribcage, I go down to the pelvis, glutes and leg.
The finale of the lesson is a complex movement, when the ribcage and pelvis are shifted in different directions. The main thing here is not the render, but a competent sketch one-two-three-four. If the connection of forms is outlined correctly, then any detailing can be added further.
How does the male ribcage differ from the female one
This is the first question that breaks the figure for beginners. The shape is the same in structure, but the proportions are different.
- The male one is wider, longer, and bulkier, closer to a barrel. The shoulders are noticeably wider than the pelvis, and the muscle relief overlaps the skeletal frame.
- The female one is narrower and shorter, more egg-shaped and rounded. The frame is softer, but the breasts lie on it, and the clavicles and jugular notch are usually more visible.
- The angle of the costal arch (substernal angle) is wider and blunter in men, narrower and sharper in women. This is what you should look at first when determining the figure's gender.
A bit of bone anatomy to get the shape right
A drawing doesn't need to know every bone, but it's useful to keep the basics in mind. The ribcage consists of 12 pairs of ribs and the sternum in the center. The upper ribs are true ribs, they are attached to the sternum by cartilages, below are the false ribs, and the lowest ones are floating and free in the front. The sternum consists of the manubrium, the body, and the xiphoid process at the bottom. At the top, it has the jugular notch, the same depression between the clavicles. When you understand where the true ribs turn into the arch, the silhouette of the ribcage ceases to be a random oval.
Related courses
All courses
Book illustration: The first page page
9 000 ₽3 900 ₽

Векторная иллюстрация для начинающих
15 000 ₽12 000 ₽

Character Concept: My First Hero
10 000 ₽4 500 ₽
Common mistakes
- Ribcage as a smooth oval. It has a frontal, inclined, and lateral sides and breaks at the top and bottom. Cutting the bottom under the costal arch is mandatory.
- No tilt or rotation. The ribcage and pelvis, placed parallel, give a dead static pose. Turning in different directions is the main technique from the male lesson.
- Flat nipple and pasted-on breast. The breast sits on a volume and turns with the shape, the nipple is directed along the surface, not drawn on top of the plane.
- Clavicle like a stick. It has an S-bend and heads, it sets the width and slope of the shoulders.
- Rigid lines right away. Sketch delicately, especially the chest, otherwise the mistake cannot be corrected.
Where to start right now
Take a simple oval, cut off the bottom, draw the center line and the shoulder line. Place the sternum, costal arch, and jugular notch. It takes five minutes, but this is where both the female and male ribcages begin. Then watch the lessons and follow me step by step.


