How to draw clouds
Learning to draw clouds from scratch: warm underpainting, sky gradient, large spots, volume of a cumulus cloud through light and shadow, colored shadows with blue from the sky, soft and hard edges, landscape under the clouds. Step-by-step video lesson by Azat Nurgaleev in Procreate.
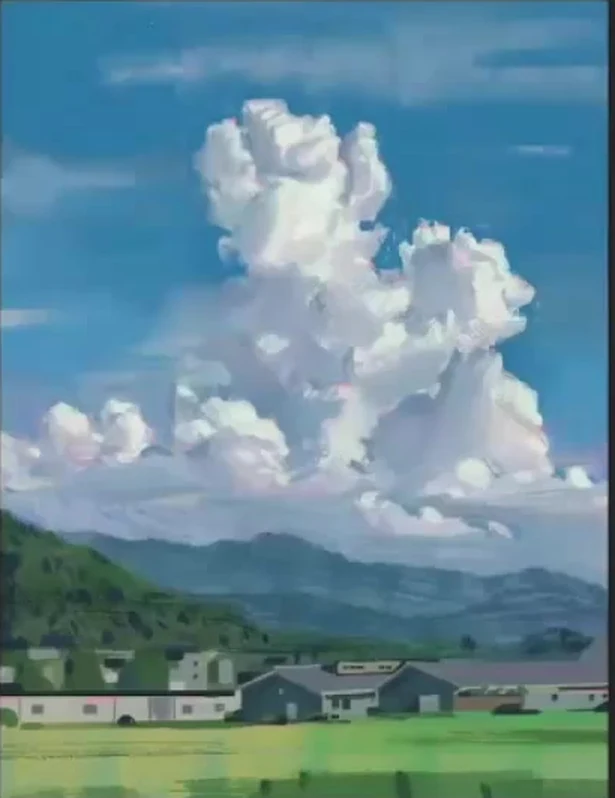
Hello, friends. Today we're learning how to draw clouds: I'm painting a large cumulus cloud over a summer landscape with mountains, a meadow, and a village. I'm working digitally in Procreate on an iPad, but you can easily repeat the same thing with gouache or watercolor. Right away, the main idea of the lesson: a cloud is not a flat white spot, it has volume. Therefore, we draw it like a sculpture or like a human figure, through large, medium, and small, through light and shadow, and not just trace the outline and color it in.
And the second rule that will immediately save your clouds: their shadows are not gray. Gray shadow is the most common mistake. Blue, lilac, pink live in the shadows of the cloud, and we add blue from the sky into the deepest parts. We are not drawing a landscape, but a portrait of a cloud, so we give all our attention to the sky and the cloud.
What you'll need
Procreate and a pen, or any familiar material. Take a fairly hard brush: the shape and volume are clearly visible on it. A soft brush is harmful for a beginner, everything blurs, and it's unclear what the shape is. You will also need a textured brush for grass and bushes, the smudge tool to soften and sign the edges, and the lasso to quickly punch out rectangles of houses. I work in layers and squint from time to time: squinting immediately shows where there is a lack of light and where the volume is sagging.
Warm underpainting
According to good tradition, I start with a colored undercoat. I fill the canvas with a warm pinkish-orange color that complements the future blue sky. Everything will be covered with sky and landscape on top, but in some places the warm underpainting will peek out from under the upper layers, and this gives a lively, interesting color instead of a flat fill.
Large shapes: sky, mountains, meadow
Next, I cover the main surfaces with large planes. I make the sky with a transition: at the top, closer to the zenith, it's blue and denser, and towards the horizon line it lightens and goes into grayish-purple. I paint the mountains in the distance not green, but bluish-purple, the farther they are, the bluer they get, so they recede into the depth. I don't make the meadow purely green either: pure local color is boring, so I mix the green through bluish and yellowish, and immediately outline the silhouette of the cloud with a basic spot. And right away I put down the dark spots, the shadows between the trees are denser, otherwise the picture will turn out to be weak.
The Village Below: Contrast for the Clouds
I don't draw the houses one by one, but as a whole mass: horizontal walls, diagonal roofs, rectangular windows, and definitely several dark windows among the light ones for contrast. I show the distant houses smaller, by the size of the windows. Why all this precise geometry? It will work as a hard contrast to the soft, organic biomorph of the clouds. This is the opposition, the solid man-made bottom and the soft natural sky, and it is the main compositional idea of the entire work.
Related courses
All courses
Book illustration: The first page page
9 000 ₽3 900 ₽

Векторная иллюстрация для начинающих
15 000 ₽12 000 ₽

Character Concept: My First Hero
10 000 ₽4 500 ₽
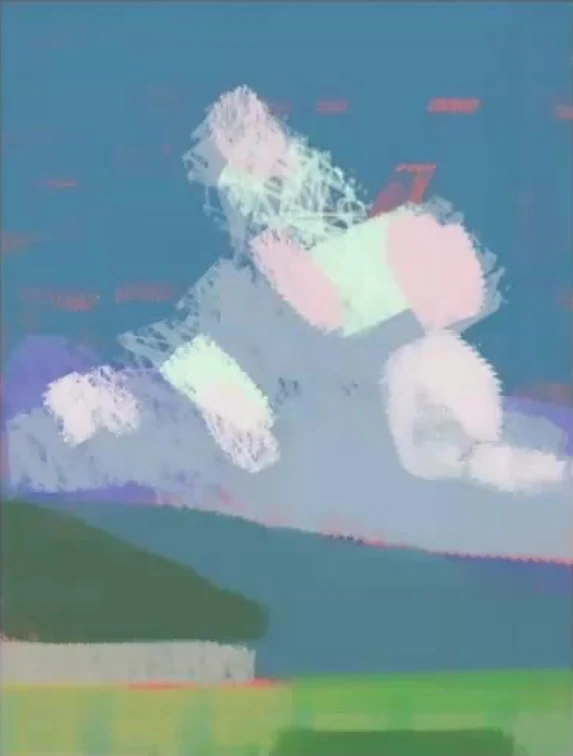
Entering the Cloud: Light and Shadow in Patches
The cloud is the main character, its portrait is what we are painting. Just don't grab the edges right away, that's a beginner's mistake. First, we take simple free forms inside the silhouette, get involved in the work through the patch, which at first is not even completely clear. As in classical drawing, we divide the cloud into light and shadow, at first only the basic light and shadow, and leave the halftones and subtleties for later. We take the color in the shadows gray-pink and blue to make clouds, not roses. And we immediately keep an eye on the tone: it's important to see where the cloud accidentally merges with the background, and where it merges on purpose, so that one edge is buried in the sky and the other stands out clearly.

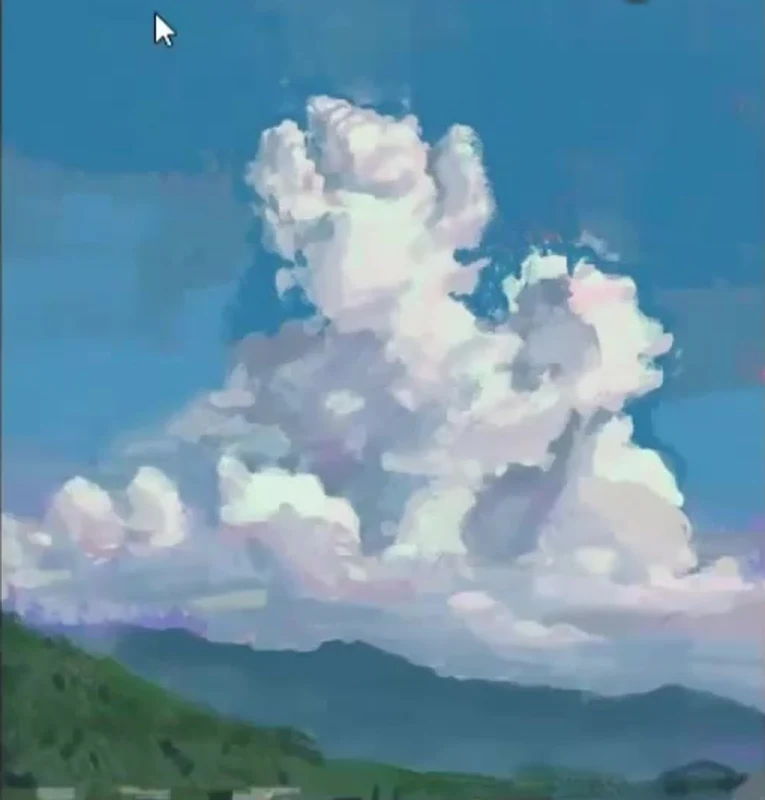
Cloud volume: breaking down into simple shapes
This is the core of the entire lesson. The light is coming from the top right. To create volume, I break the cloud down into simple shapes, the easiest being triangles and rolls. Each of these masses has a light side facing the sun and a shadow side turning away. Learn to see the upper plane of the cloud that catches the light and the side that goes into shadow. And the whole form is built hierarchically: the overall silhouette, within it are the medium masses, and within them are the small ones. I constantly go in a circle from the general to the particular and back: large, medium, small, and again large. It's useful to return to each cloud a couple of times. A cloud generally looks like a crumpled piece of paper or a rock, and it is molded like a sculpture, gradually carved out of the overall mass.
Halftones and colored shadows
When there's a lot of light, it turns out that not all of it is light; in many places, it's a halftone, something between light and shadow, pinkish or grayish. The main task at this stage is to separate the light from the halftone, otherwise everything will be lit up the same. We keep the warm-cool balance: the light is warmer, going into pink and ocher, the shadow is cooler, into blue and violet. And once again about grayness: where the shadow starts to fade, we add the blue of the sky, it's its reflected light, and the shadow comes to life immediately.
The lightest point and edges
In the cloud, there's one lightest part, for me it's the lower front of the illuminated mass. I make it even lighter than the rest, but not pure white, but through a light ocher, because the sun hits there. I tone down the rest a bit so that this accent stands out. Then I work on the edges: in some places I soften them with my finger, it's more picturesque, and in others I leave them hard. The background around the complex cloud is kept deliberately simple, not overloaded, because the complex should always be adjacent to the simple. And I alternate brushstrokes: you can't just do fine, even rendering, it would be terribly boring, you need both large and small brushstrokes.
Landscape Under Clouds
I'm finishing up the landscape. I keep the distant mountains blue and simple, closer to the print mark, I slightly adjust the foreground woods and add some detail. The distant planes are paler and bluer, the nearer ones are denser and more contrasting, this creates air and depth. And don't be afraid to remove unnecessary elements: power lines, for example, are not needed, I would simply not draw them. I add pink touches sparingly, they give the picture a mood.
Common Mistakes
- Gray shadows of clouds. The shadow of a cloud is colored: blue, lilac, with a blue reflection of the sky inside.
- Flat cloud. If you don't understand where the light is coming from and don't figure out the shape, the cloud will remain a flat spot.
- Grabbing the edges of the cloud right away. First, simple shapes and light and shadow within the silhouette.
- Pure green meadow and pure local colors. Mix through neighboring shades, it's more lively.
- Only small identical brushstrokes. Alternate large and small ones, otherwise it's boring.
- White in the lightest place. The lightest point is lighter than the rest, but not pure white.
- Copying a photograph one-to-one. A reference is a canvas, liveliness is more important than literal truth.
Short Advice at the end
A cloud is a whole treasure trove of working with shape, and it's worth studying its physics, not substituting it with a beautiful white ball. In the summer, get out of the city, paint plein airs from life or from photographs, and just observe the clouds, it's the best training. When an artist understands the shape, it's a formidable weapon that hits the target precisely. Draw your own sky, send us your work for review. Good luck and beautiful skies to you.