How to Draw an Ear
Learning to draw an ear: I analyze the five parts of the ear, I start with the block-in, I show the volume through the form breaks, I draw the ear from different angles and from the back. Drawing the ear step by step with Azat Nurgaleev in Procreate.
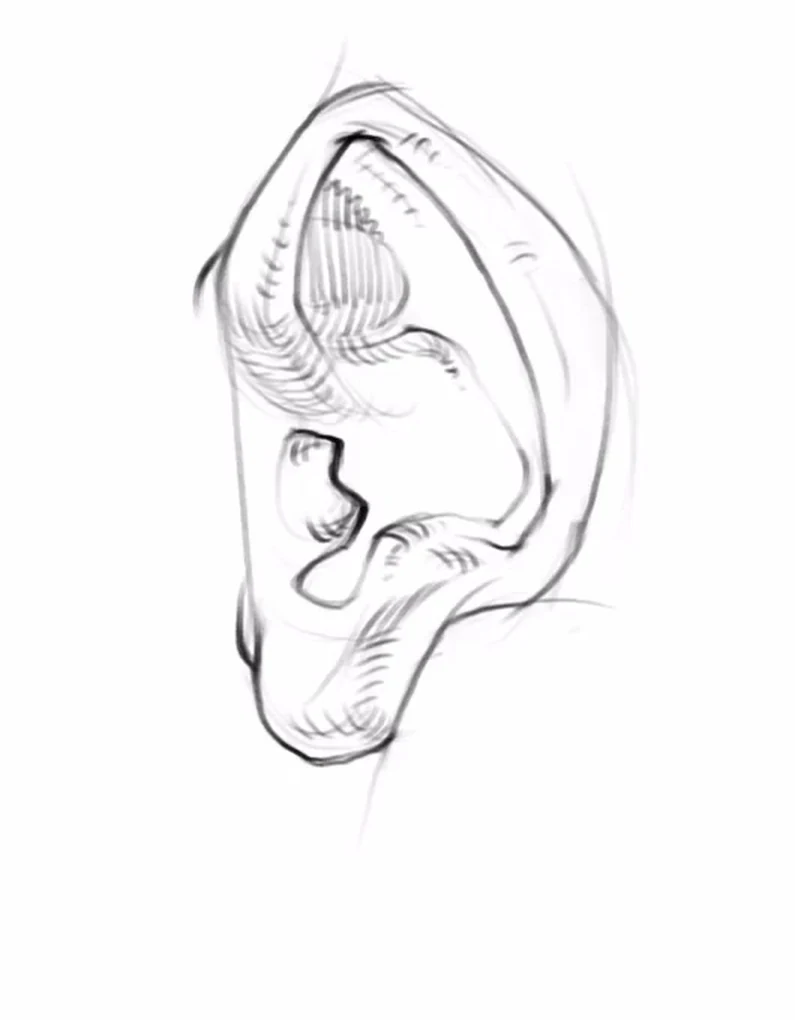
What the ear consists of
Before drawing, let's look at what the ear consists of. At the bottom, we have the earlobe. Above is the tragus, and opposite it is the antitragus. Along the upper edge, the entire auricle is outlined by the helix, which descends and dissolves in the area of the earlobe. And inside, following its course, there is another cartilaginous formation, the antihelix, which slightly bifurcates. These are the five parts I keep in mind: helix, antihelix, tragus, antitragus, and earlobe.
Between the helix and antihelix lies a long depression, the scapha, and in the center of the auricle, at the very entrance to the ear canal, is the concha. The tragus often appears double, with a slight bifurcation. These details don't necessarily need to be fully drawn, but it's useful to keep them in mind: they give the ear its recognizable, uneven shape.
Where the ear sits on the head
In this lesson, I draw the ear large and separately, but on a portrait, it must first be correctly positioned, otherwise the whole head will be off. In height, the ear fits between two reference points: the upper edge is approximately on the line of the eyebrows, and the lower edge, at the earlobe, is approximately at the level of the base of the nose. It sits on the side of the skull and is tilted slightly backward, following the slope of the jaw. If you keep these reference points in mind, the ear won't go up or down and will immediately fall into place.
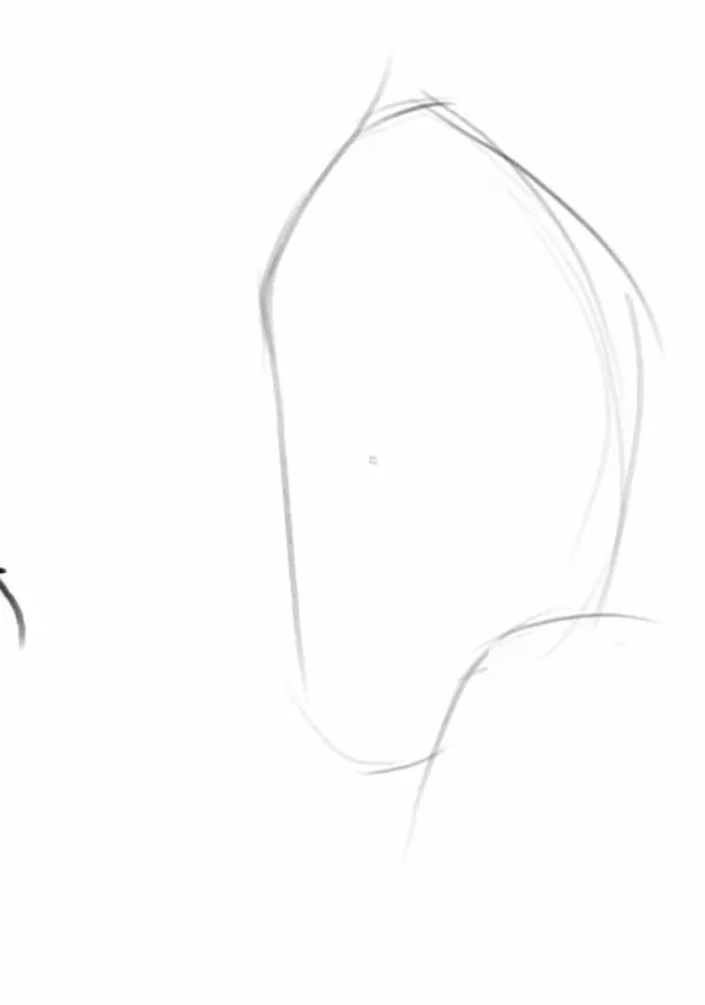
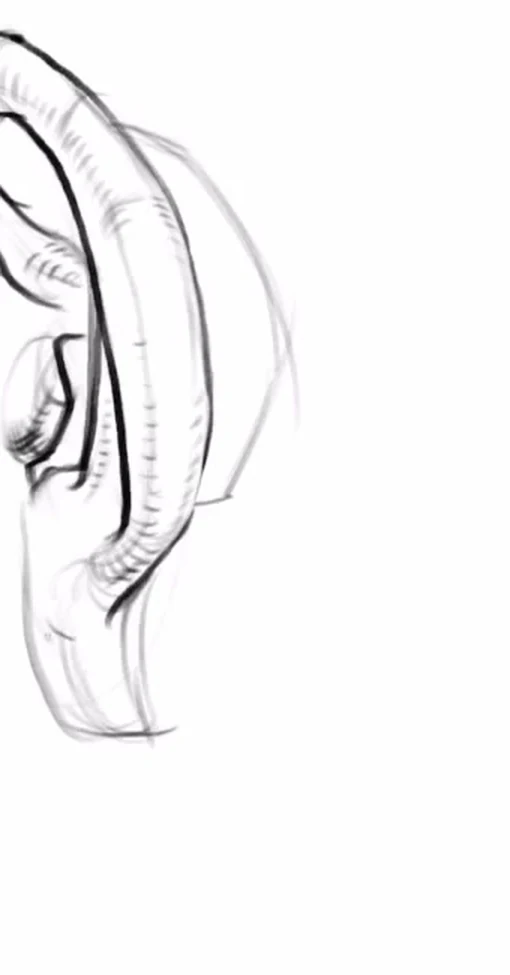
Starting with the block-in
I start with the direction and block-in: what the general, even slightly grotesque shape of the ear is. When the silhouette is outlined, I show what's inside. I outline the silhouette of the helix and remember the main thing: the cartilage is never straight and parallel. There are always twists, expansions, and narrowings. That's why we love the textured subject, for its interesting shape.
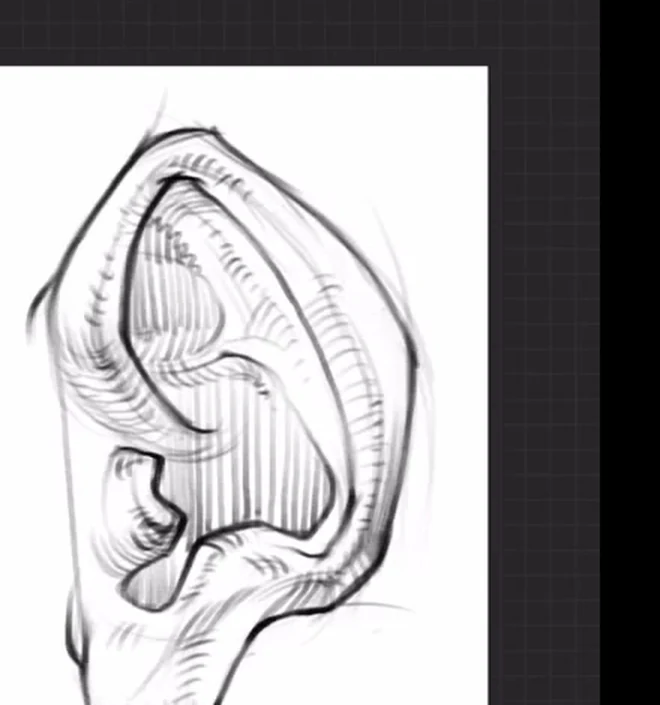
Volume and form breaks
The ear shouldn't be round; it has break points, and they give it structure. I show the volume of the tragus and antitragus, cover the valleys and dimples. Along the edge of the form, I reinforce the line again: when you start working on the form with hatching, the line becomes less active, so it needs to be reinforced to hold the harder hatching. I cover the shaded parts with shadow, but not tone for tone, but lightly: the drawing remains more linear than tonal. The deepest places, the concha and the depression under the helix, I shade more densely, leaving light on the convexities and catching a slight reflex in the shadow. Then the ear reads as volumetric, not like a flat curl on paper.
Related courses
All courses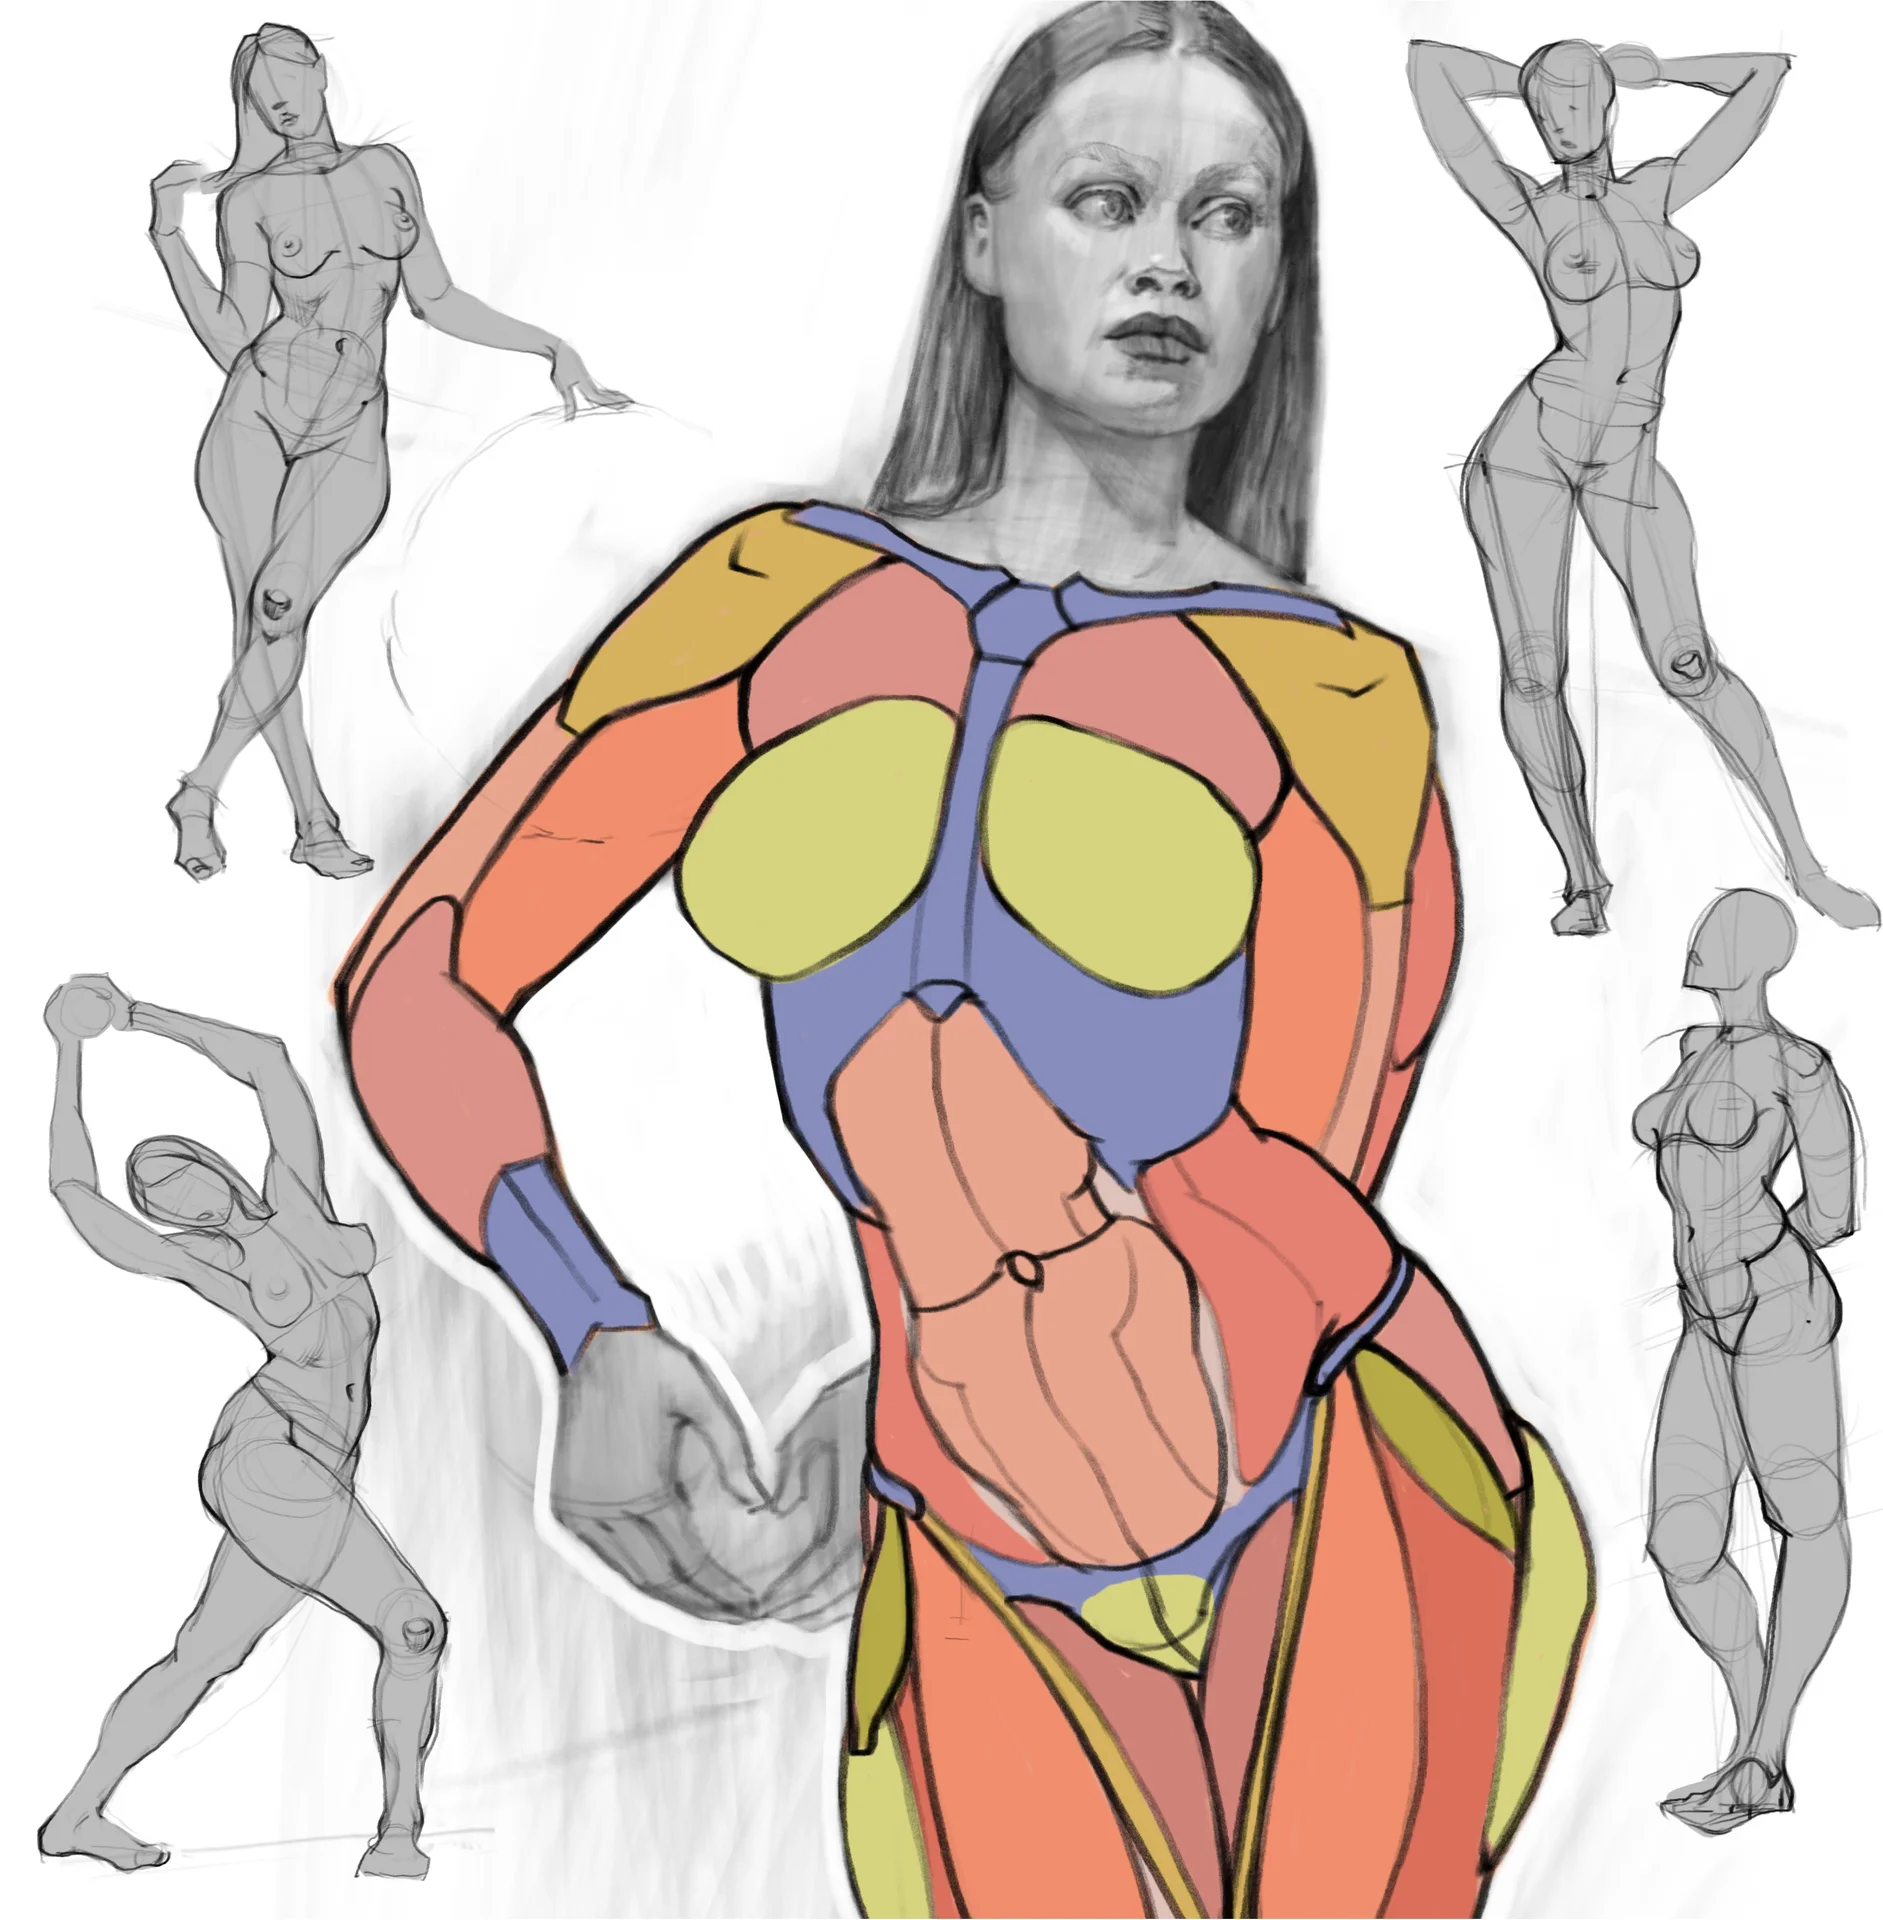
Моя первая фигура
5 000 ₽2 500 ₽

Prop concept: render and atmosphere
9 000 ₽3 900 ₽

Book illustration: The first page page
9 000 ₽3 900 ₽
The ear in angle and from behind
From behind, the silhouette of the auricle forms a wave plus the shape of such a basin at the base, where the ear joins the skull. With a small fold, I just attach the ear to the head; without it, it lives separately. From the reverse side, the antihelix is almost invisible, only the helix is visible, and that's normal: you can either imagine it or leave it as is, if there's enough information.
Plans: what's closer, what's farther
Next, I figure out what's closer and what's farther. I weaken the tragus because it goes to the second and third planes, and I strengthen the helix in the foreground. Each cartilaginous curl has its own shape and volume, and they need to be emphasized. At the base, for example, the antihelix will be closer, and in the upper part, the helix will be closer, so I weaken the far edge.
Stylization: square, round, triangular
When I want not just to copy the subject but to interpret it, I take the main visual idea, for example, the iconic shape of the helix, and twist the rest in the desired direction. If I want to make the ear square, then I square everything a bit: the forms go along horizontals and verticals, leaving a minimum of obliques. This results in a hybrid between the subject and drawing from imagination. Try making the ear rounder or more triangular on the same reference.
Common mistakes
- Drawing the ear round. Without break points, the form becomes soft and unclear. Look for the breaks; they give structure.
- Making the cartilage straight and parallel. The helix always twists, expands, and narrows; there are no straight lines in it.
- Forgetting to attach the ear to the head. Without a fold at the base, the ear hangs in the air; connect it to the skull.
- Losing the line under the hatching. When you hatch the form, the line along the edge weakens; reinforce it to hold the tone.
- Making all the planes equally contrast. The foreground curl is stronger, the far edge is softer, otherwise the ear will become flat.
Short tip
Don't try to copy the ear line by line. First, sort out the five parts, then draw one ear in a block-in, and then the same ear in a different angle and from behind. When the form settles in your mind, start squaring it, rounding it, stretching it. This way, the ear will cease to be a scary place on the portrait.