How to Draw a Pelvis
Learning to draw the pelvis from scratch: I build the pelvis from a truncated cone and a cylinder, place the iliac crests, the pelvic notch, the pubis, and the greater trochanter. I rotate the pelvis-block in different angles and perspectives. Constructing the pelvis step by step with Azat Nurgaleev.
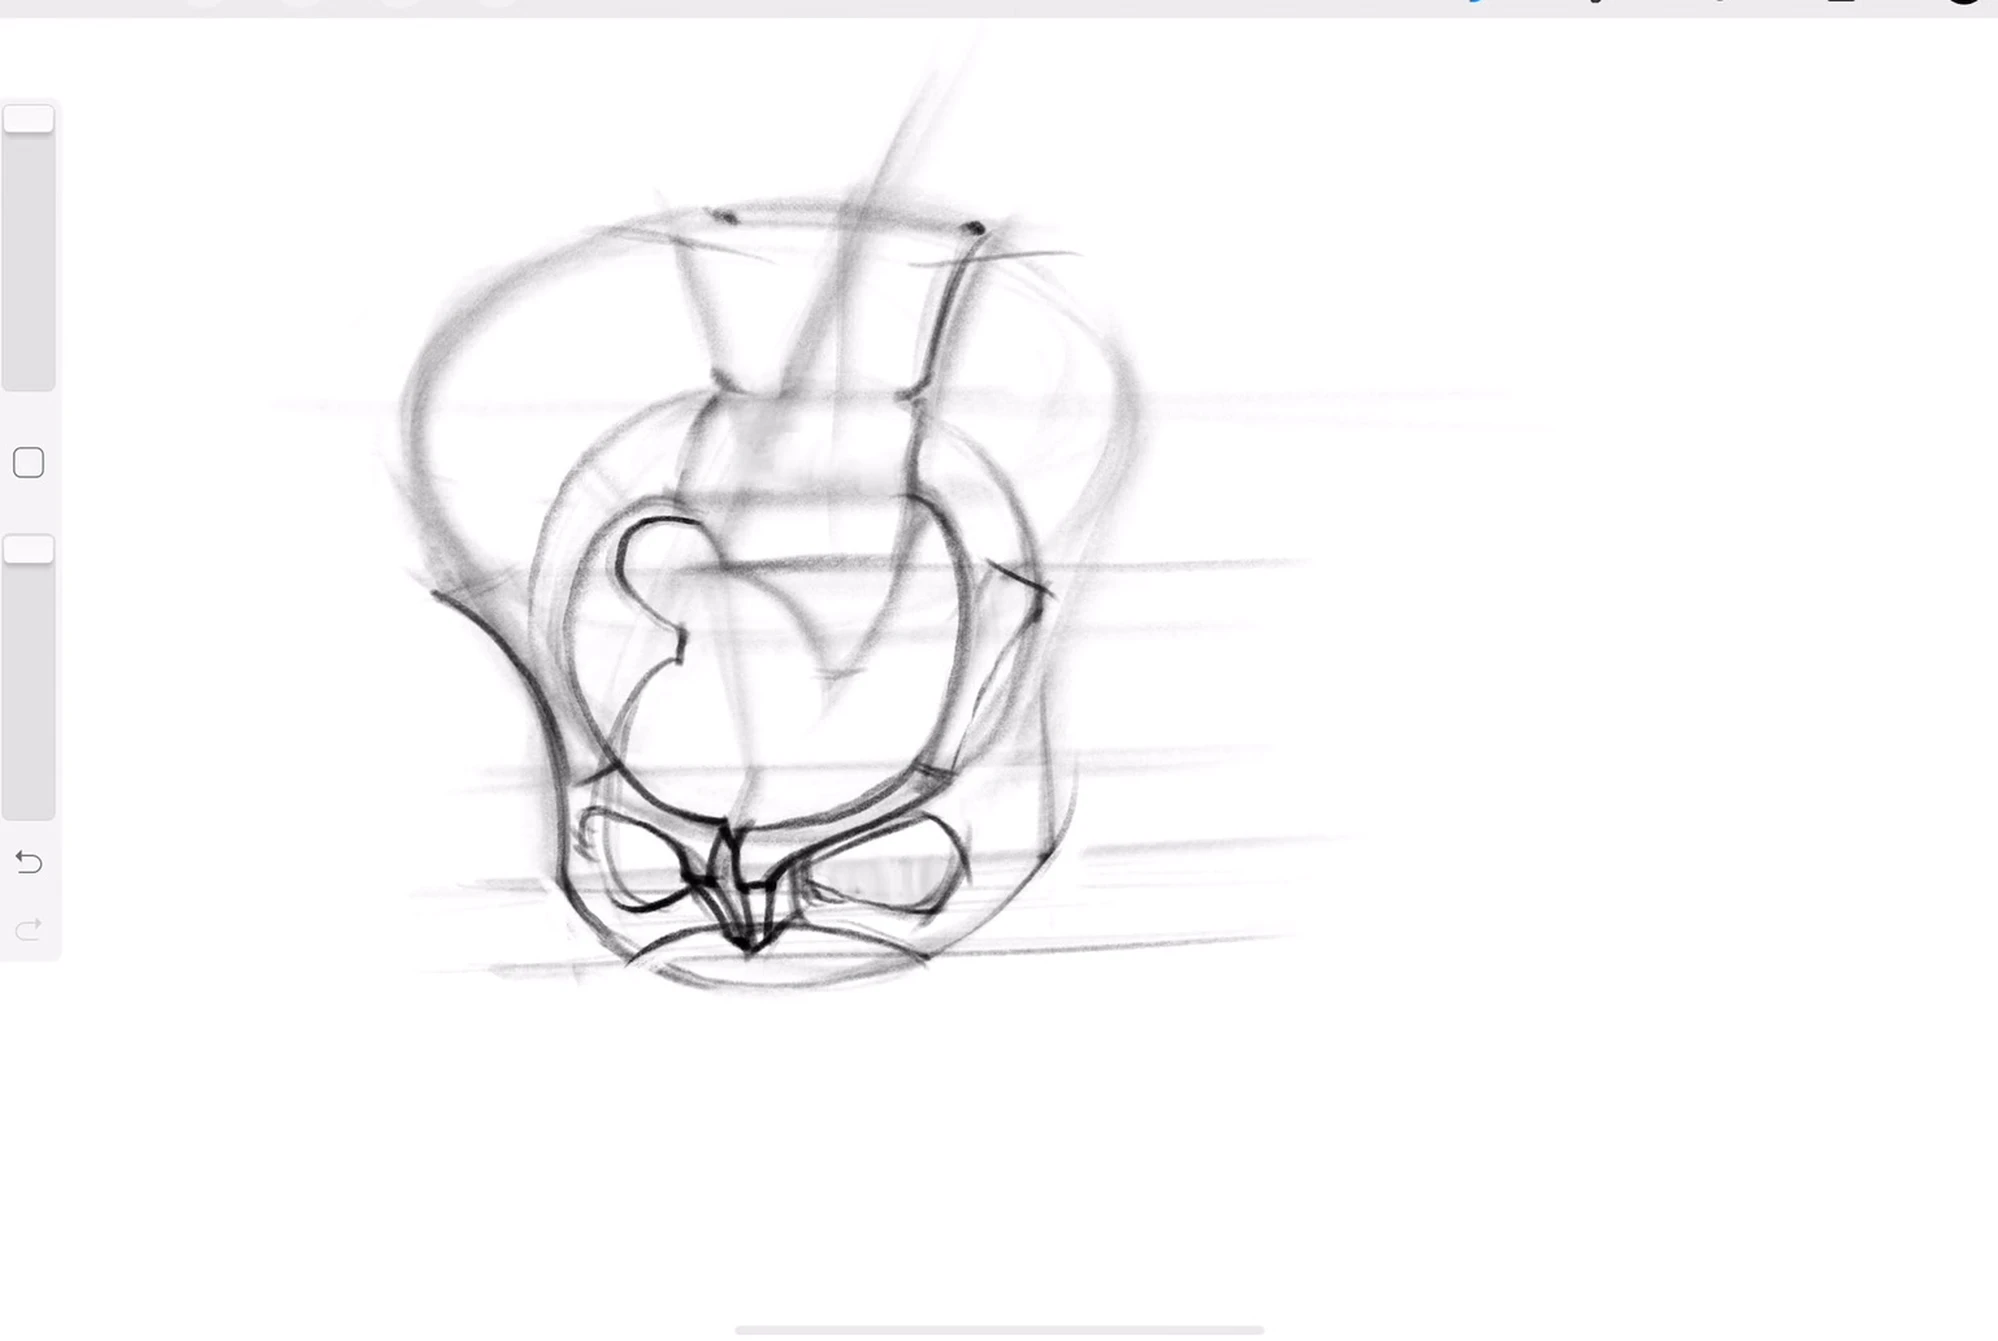
The structure of the pelvis
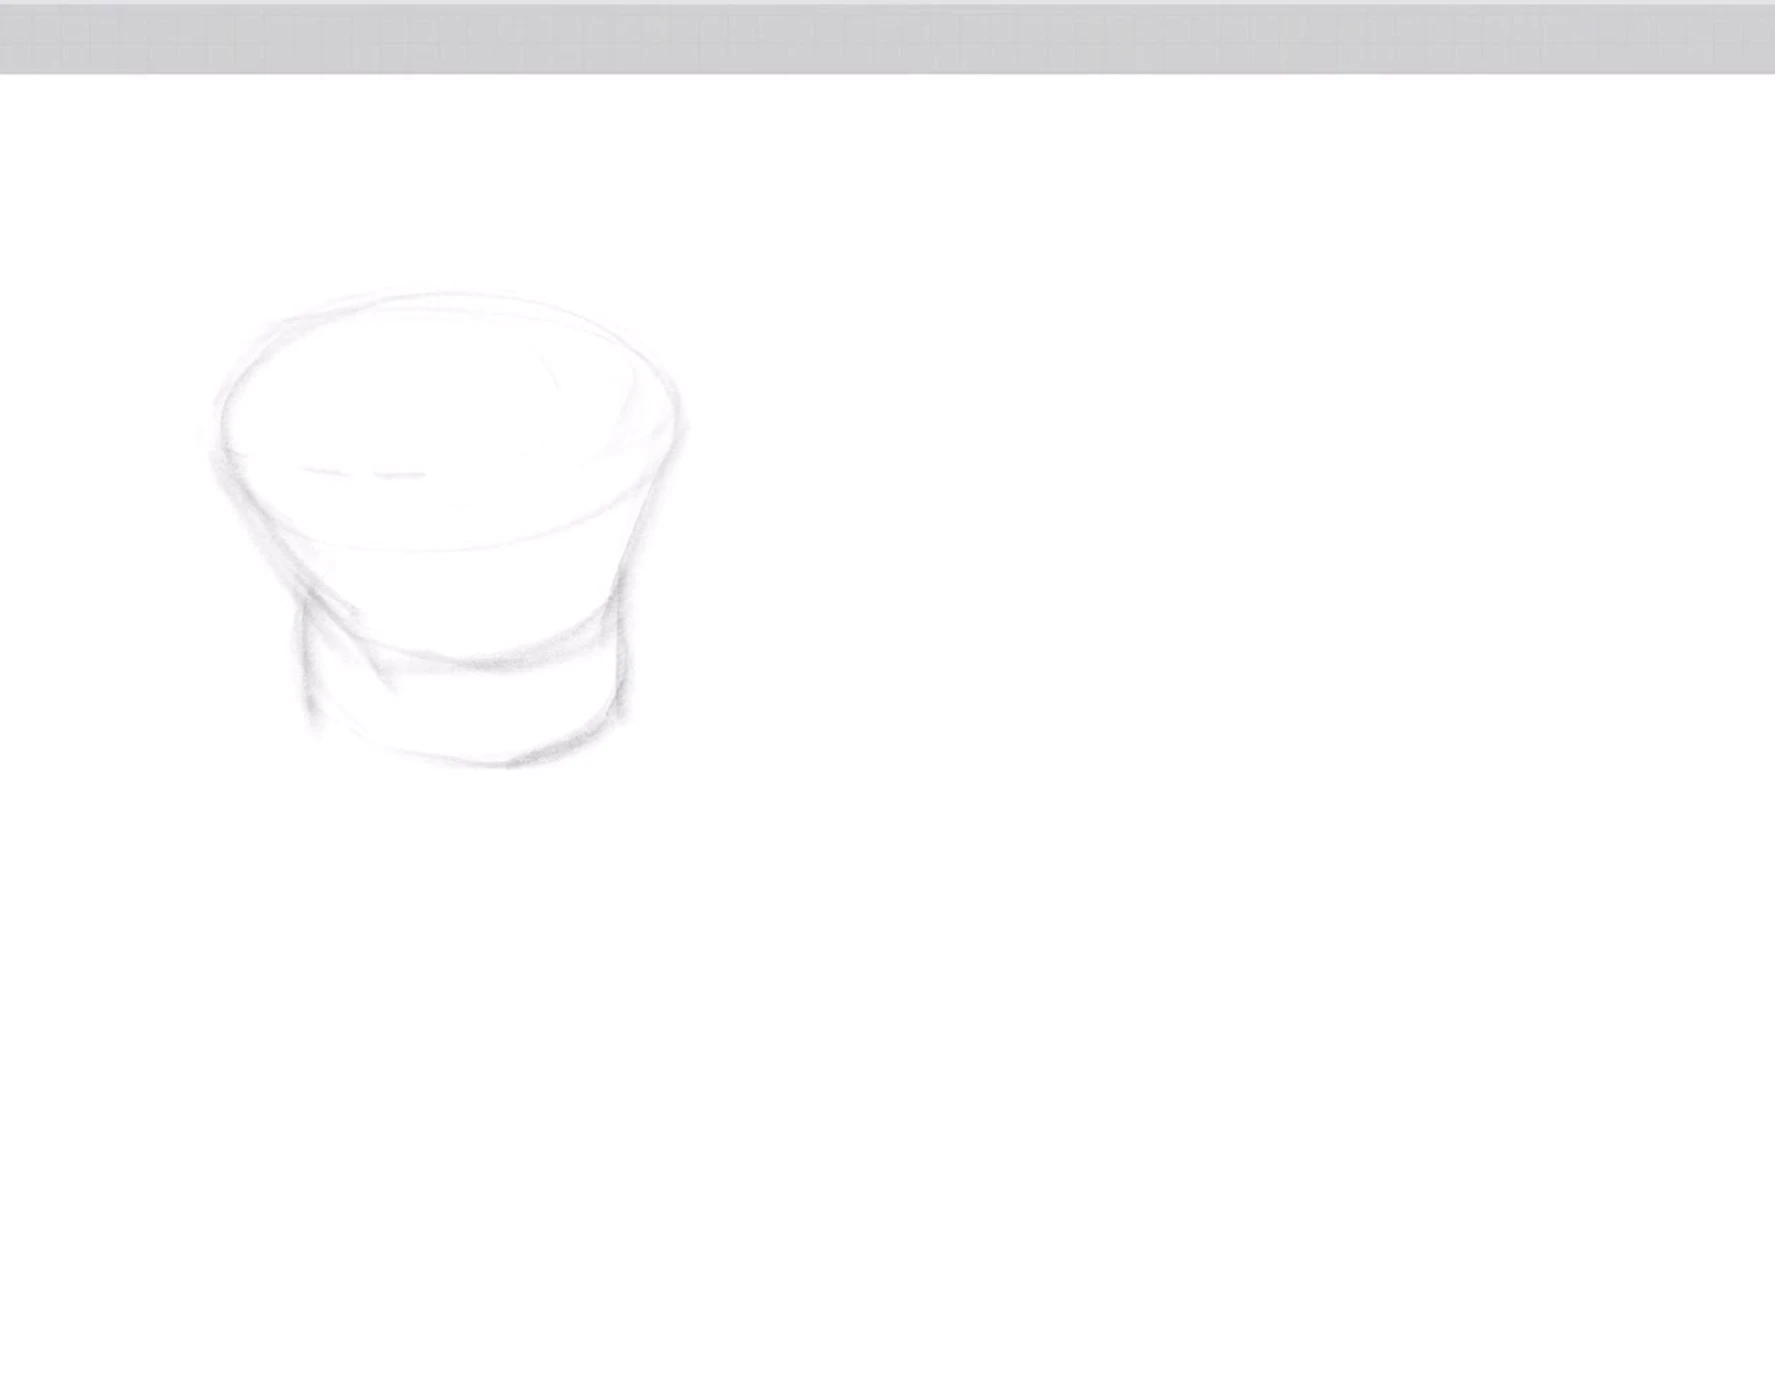
Concept: Cone and Cylinder
I start the pelvis with a truncated cone and a cylinder underneath, setting the opening and drawing it large. Then I cut away the excess from the block, extrude, and carve out what's not needed. For now, it's just ovals and volumes; geometric precision isn't important since the shape will still change.

Iliac Crests and Perspective
On the upper plane, I show the midline and the spread of the iliac crests, their points, and height, with two heights on the sides. The pelvis is made of bones, so I construct everything in perspective: you can cheat with muscles, but any mistake with bones is visible. I make sure the horizontals don't drift off.
Sacrum, Coccyx, and Ischial Tuberosities
From the back, I show where the iliac crests end and insert the sacrum as a rectangular box: the spine fits into it, and the triangular coccyx extends downward. In the sacrum area, I mark the bony prominences that transition into the ischial tuberosities.
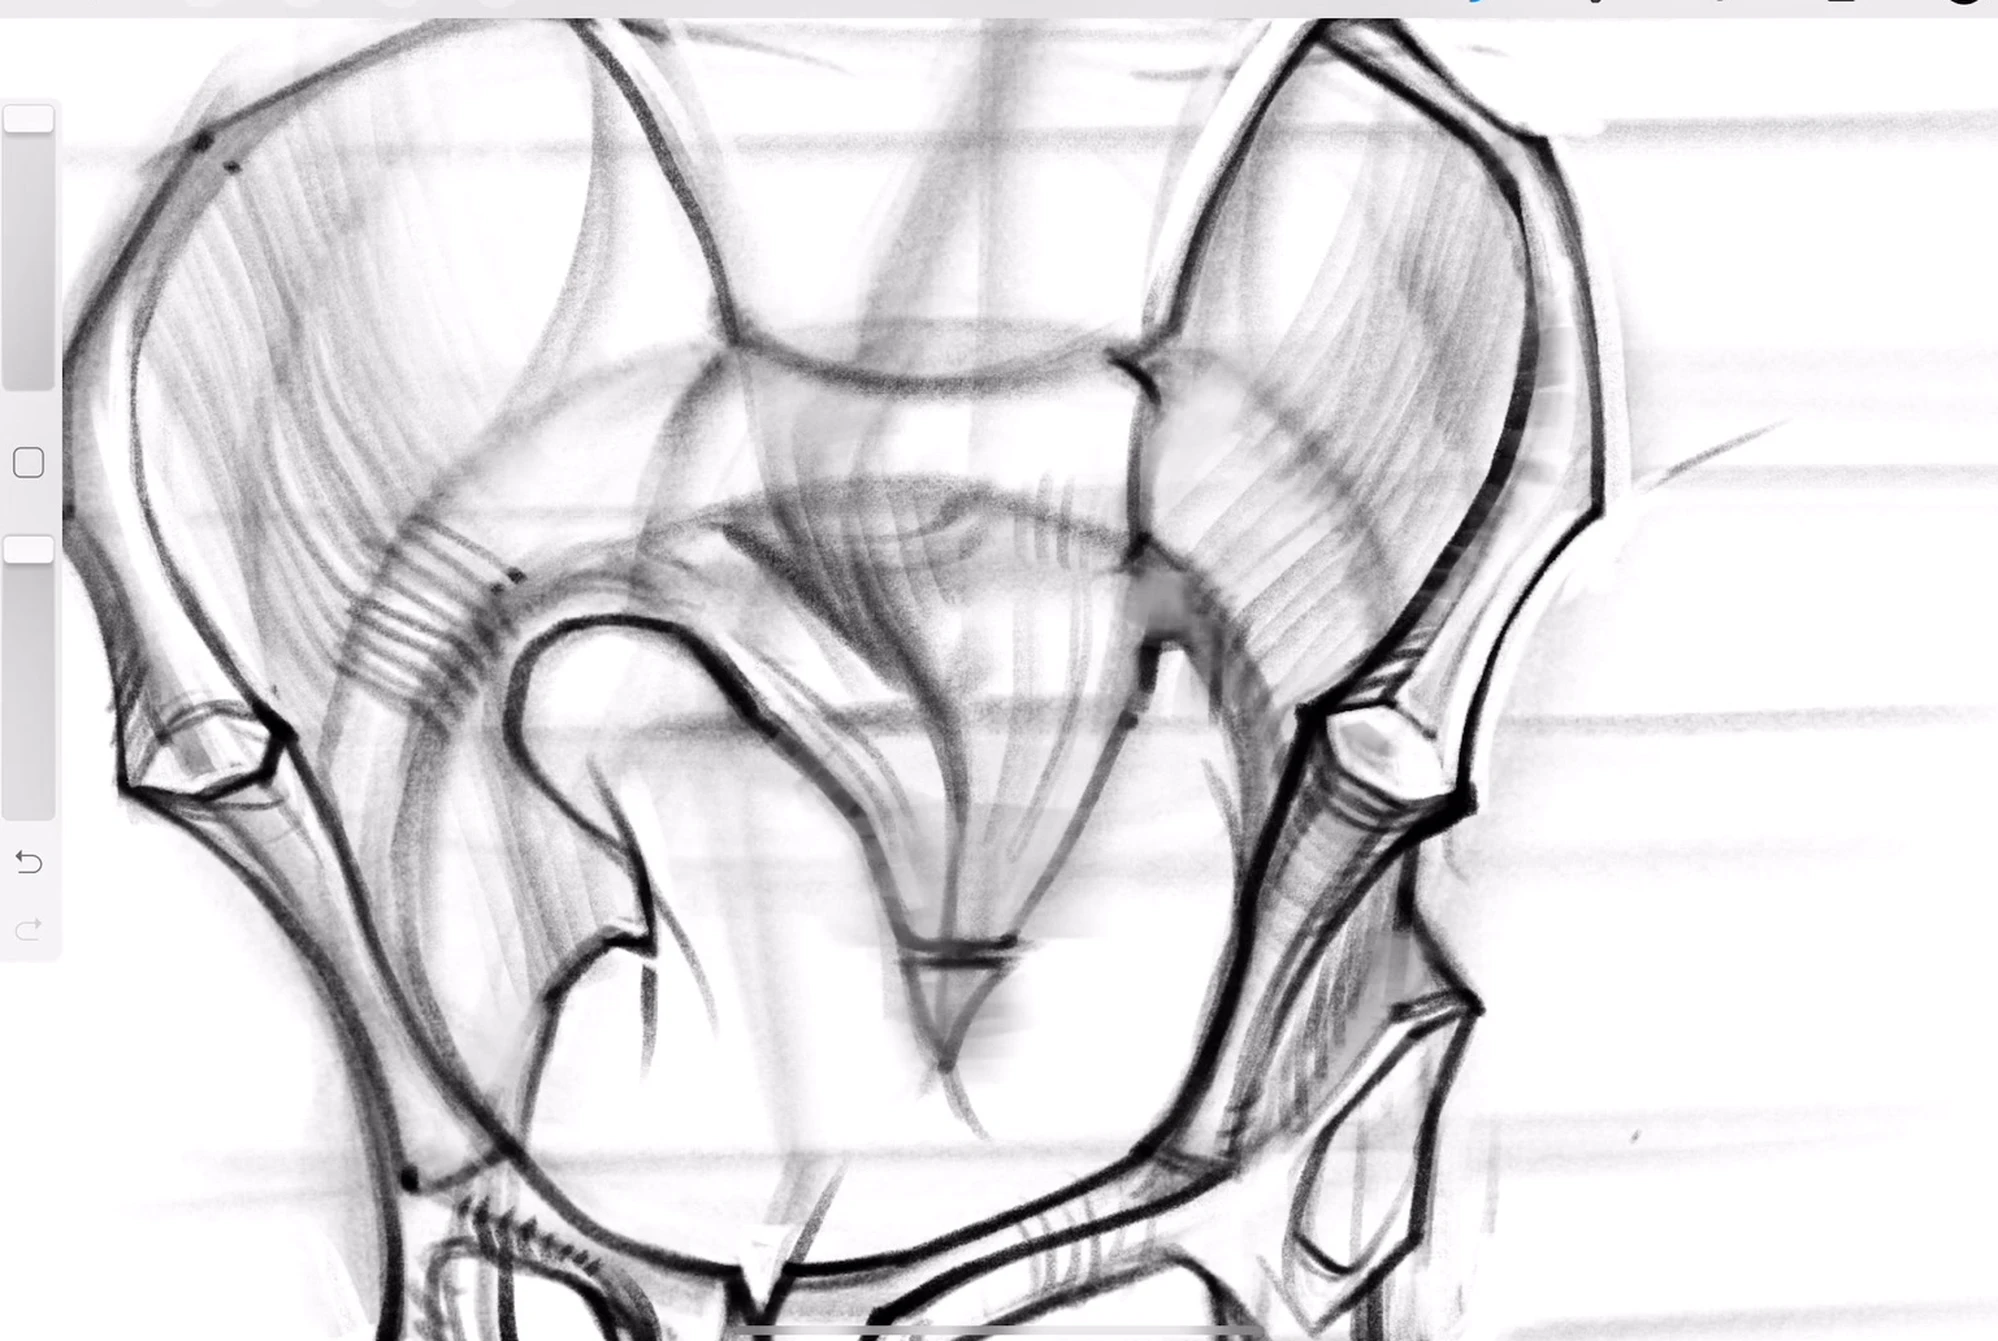
Pubic Symphysis and Planes
At the front, I cut out the lower part and show the pubic symphysis, that bone that transitions into the ischial tuberosities, and the two openings. I indicate the main fractures of the ridges: the pelvis is rounded, but the bones aren't perfectly smooth; the surface is bumpier on the outside and softer on the inside. In the final stage, I separate the planes: I draw the front ridges more actively and tone down the distant ones. The pelvis's plasticity even reminds me of something alien.
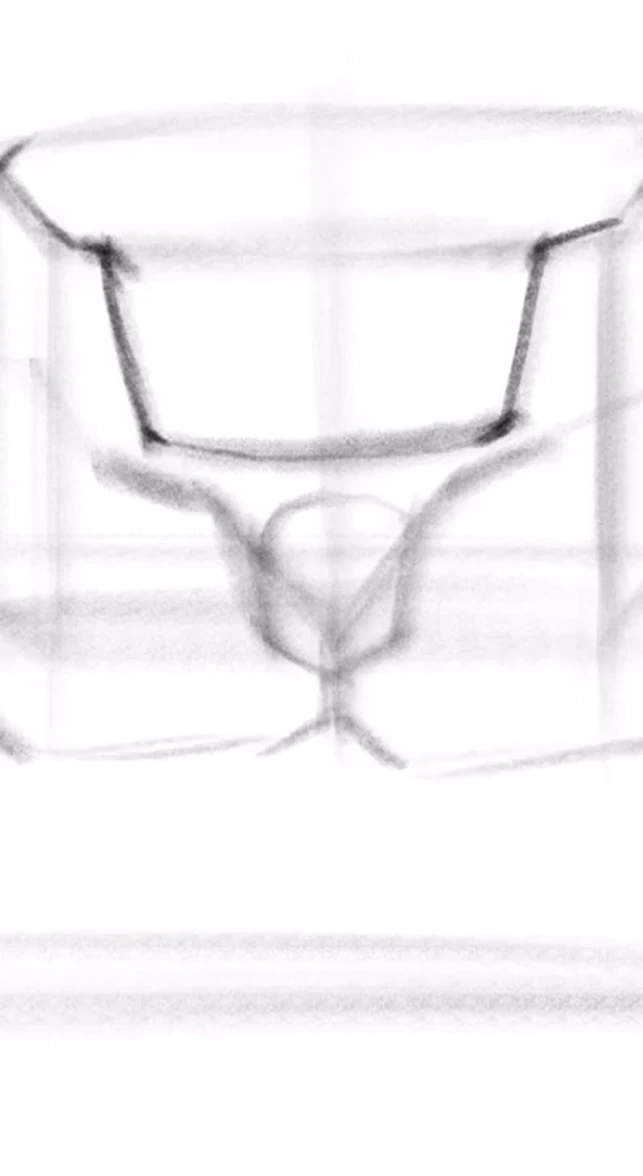
Drawing pelvis blocks
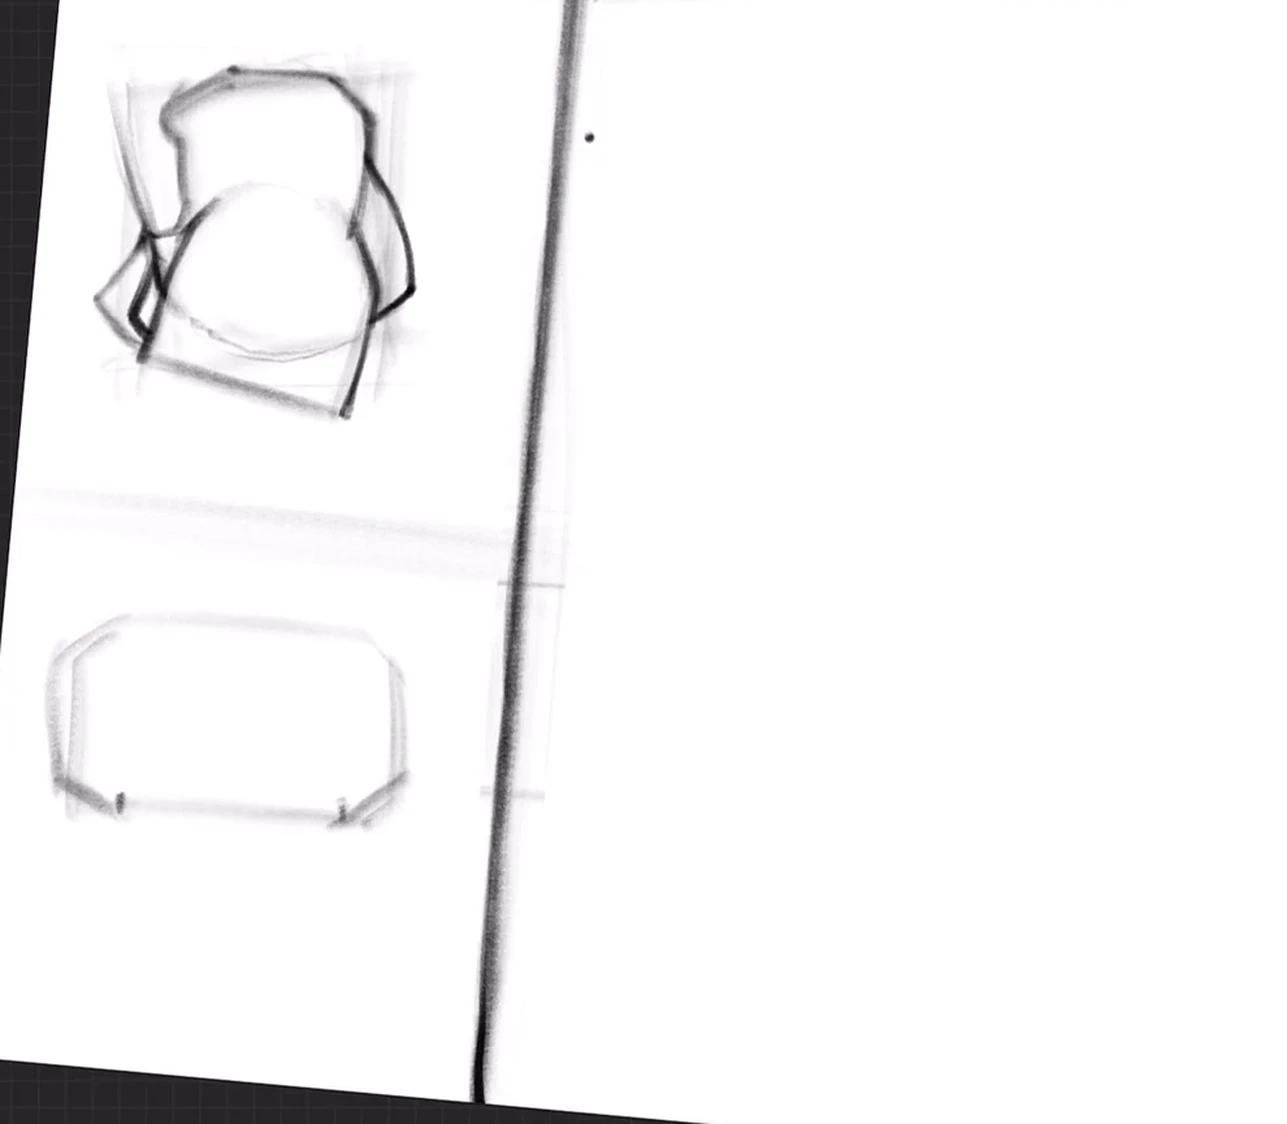
Pelvis block from the front
Here I get acquainted with the pelvis through a simple block. I draw a matchbox from the front and give it a slight opening because the pelvis is usually tilted towards the viewer, it's both a volume and a bit of a cylinder. I find the iliac crests and the pelvic notch, in the male version the notch is sharper. Below is the triangular pubic bone with a fat fold.
Pelvis with legs and greater trochanter
The pelvis is almost never drawn without legs, so I immediately outline the thighs. I place the greater trochanter at the level of the pubis and build the leg from it, you can make it a little longer. The most important thing is to show the transition from the pelvis to the thigh: the form follows the pelvis and turns to the thigh. I find the gluteal muscle with a line from the pubis, it sits approximately in the middle.
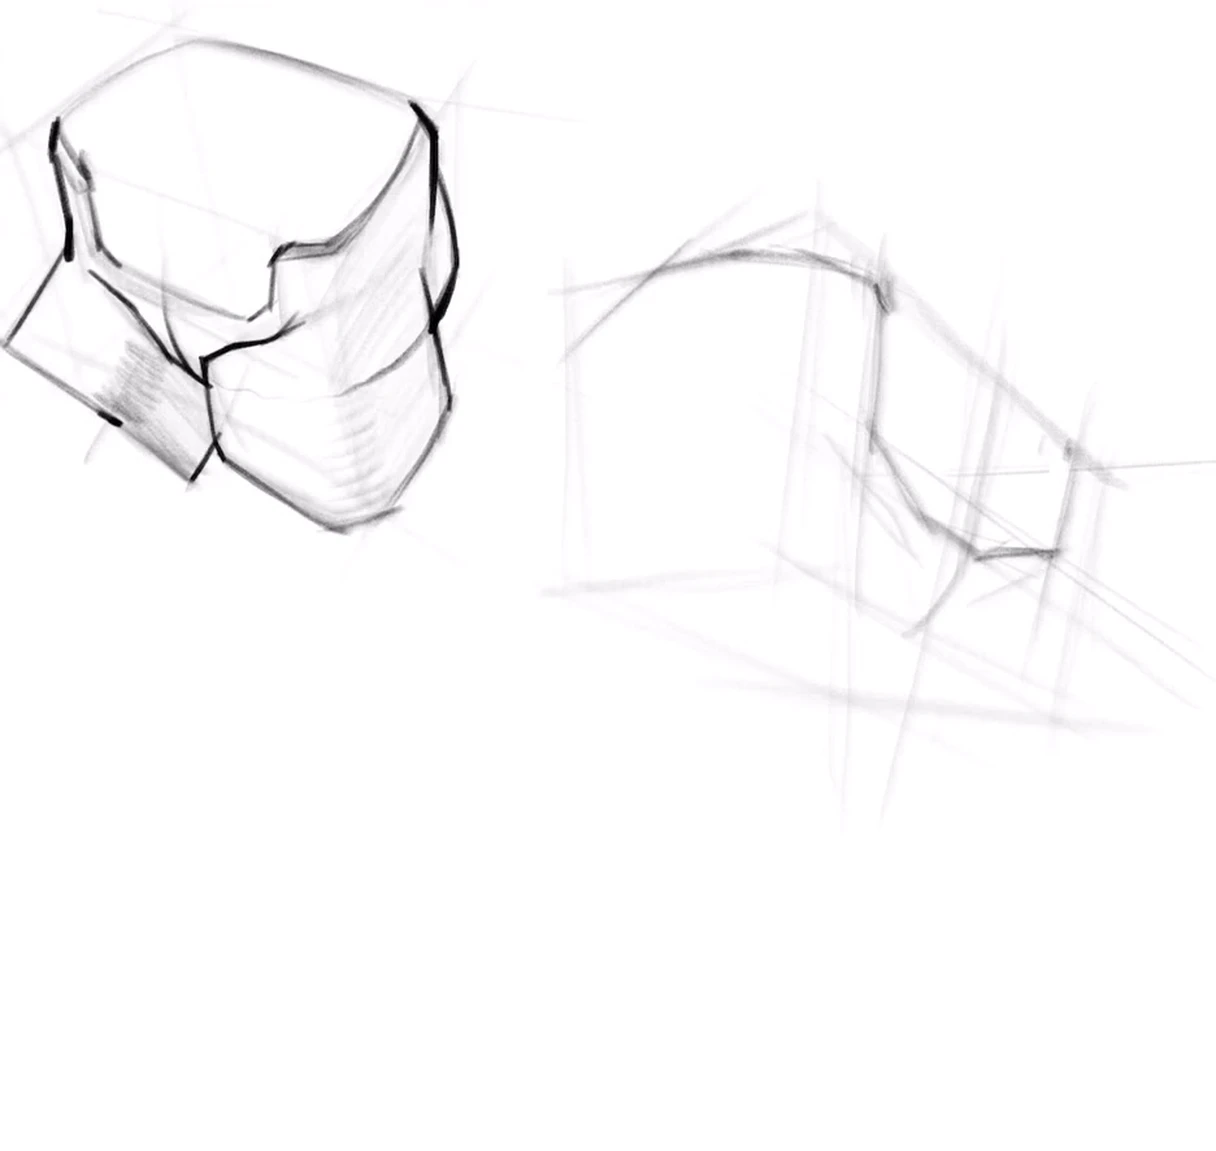
Pelvis in angles
I rotate the block in different views. In profile, the pelvis is tilted, the pubic bone protrudes forward, and the space above it is filled with the tummy. The top view shows the costal margins on the sides and the pubis. This way I understand what shape I have in my hands, even before detailed drawing.
Pelvis in perspective through boxes
Next, I draw my favorite boxes and insert the shape of the pelvis into them: the crests, the notch, the midline, the pubis, and the thigh. The thigh is a cylinder, but I distinguish its side and frontal parts. I keep the sketchiness and maximum simplicity, now the essence is more important than the details. Several pelvises in different angles on one sheet quickly enhance the understanding of the form.
Universal approach: the pelvis is a cone and a cylinder
The pelvis scares beginners with its bones, but I always build it from two simple shapes: a truncated cone and a cylinder underneath. It's a matchbox with a slight opening, because the pelvis is almost always slightly tilted towards the viewer. First, I draw this block large, and then I cut off the excess from it, carve and refine. I don't go into details until the large shapes are set.
On the top plane, I mark the midline and the spread of the iliac crests: two points on the sides and their height. Below is the pelvic notch, and under it is the triangular pubic bone. In the front, I have the pubic symphysis, in the back the spine fits into the sacrum box and the triangular coccyx goes away, and on the sides of the sacrum the ischial tuberosities come out. At the level of the pubis on the sides lies the greater trochanter, this is the hip joint where the thigh fits in.
An important point: the pelvis is bones, not muscles. A muscle can be slightly lengthened or shortened, but with bones any error in perspective is immediately visible, so I always construct the pelvis in perspective and make sure that the horizontals do not go anywhere.
Related courses
All courses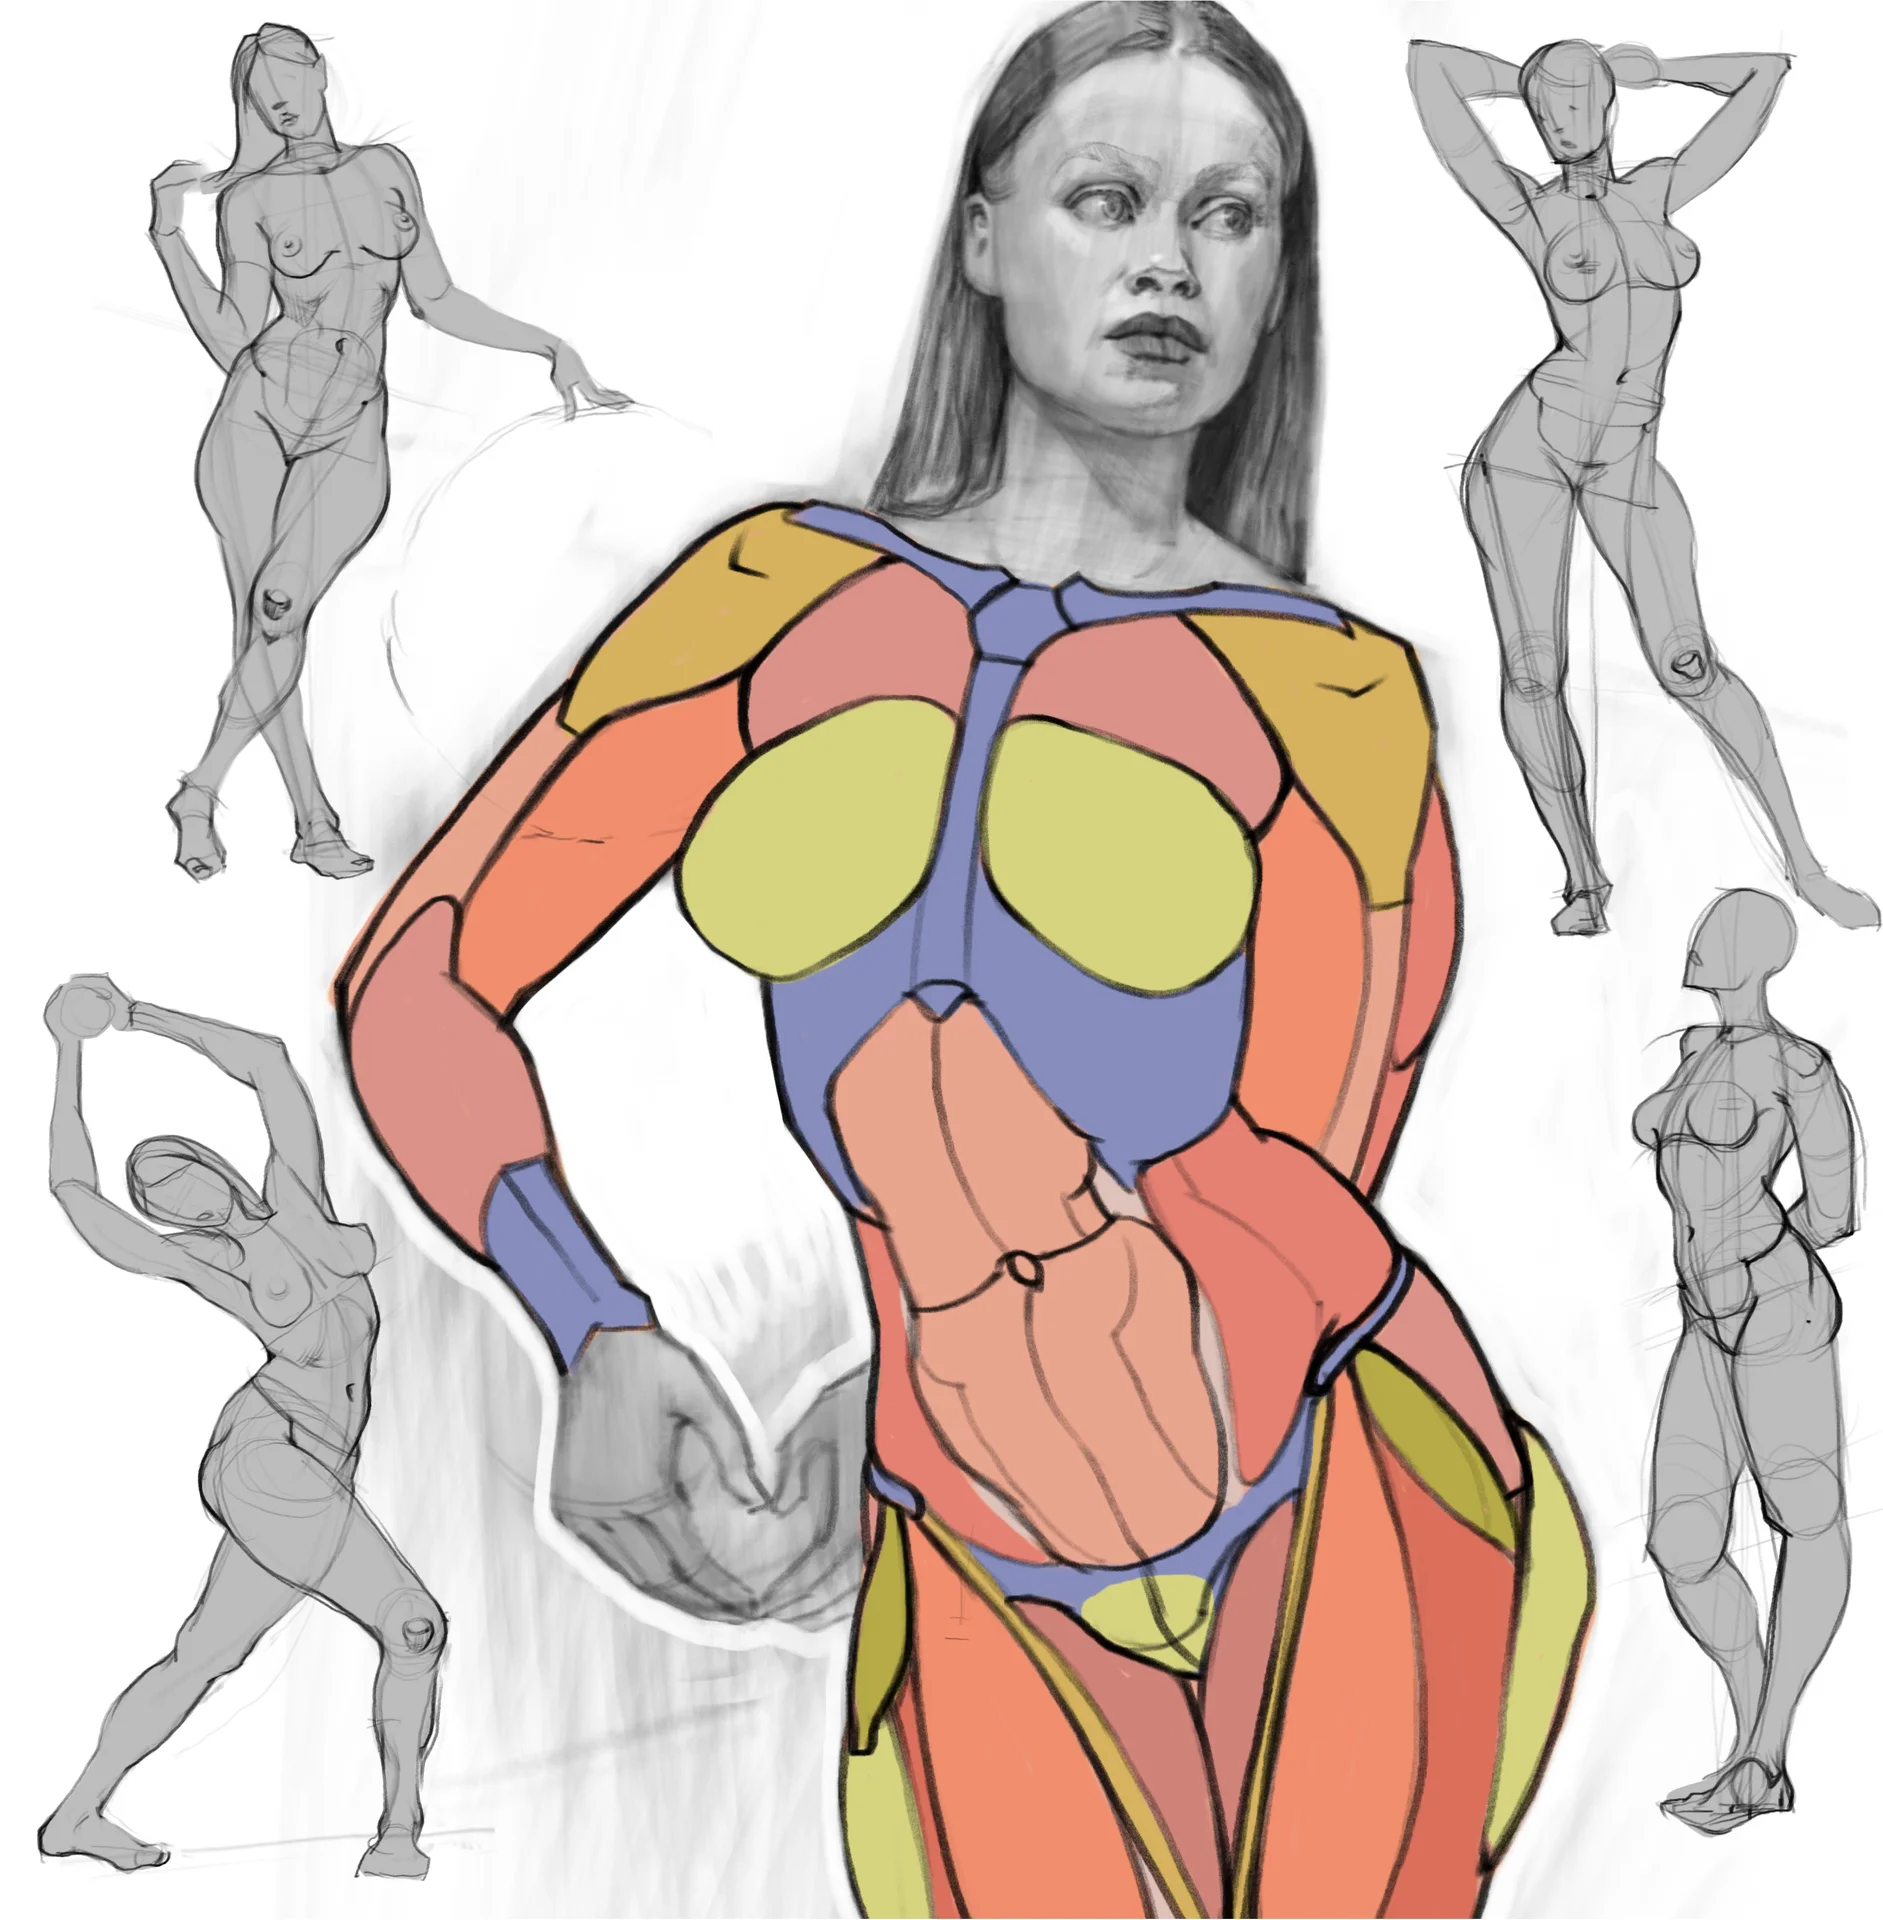
Моя первая фигура
5 000 ₽2 500 ₽

Prop concept: render and atmosphere
9 000 ₽3 900 ₽

Book illustration: The first page page
9 000 ₽3 900 ₽
How to fit the pelvis into the figure
The pelvis is almost never drawn alone, so I immediately outline the legs. The main thing is to show the break from the pelvis to the thigh: the form follows the pelvis and then turns to the thigh. I place the greater trochanter at the level of the pubis and build the cylinder of the thigh from it, distinguishing its lateral and frontal planes.
It's easy to lose the height of the gluteal muscle. I find it like this: I draw a line from the pubis towards the pelvis, and the gluteal is not on top or on the bottom, but about in the middle. In the front, the space under the pelvis is filled with the stomach with its volume, so in profile there is always a soft tummy between the pubis and the rib cage. At the end, I separate the planes: I make the front iliac crests more contrasting, I mute the distant ones, and the flat drawing turns into a volume.
Common mistakes
- Starting with bones, not with a block. First, a cone and a cylinder, then details.
- Forgetting about the tilt and perspective. The pelvis is almost always tilted, the horizontals should not go away, otherwise the construction will be skewed.
- Identical parallel forms. I lead the ridges and volumes along arcs of different lengths, otherwise the pelvis is dead.
- Losing the greater trochanter and the level of the gluteal. The trochanter is at the level of the pubis, the gluteal is in the middle.
- Flat result. If you don't separate the foreground and background, the volume will not work out.
Where to start right now
Draw the pelvis as a matchbox with a slight opening and tilt. Place the midline, two points of the iliac crests, the notch and the triangular pubis. This is already a recognizable pelvis. Then rotate this dummy in profile and from above. In the full versions of the lessons, I lead the whole way: from a cone and a cylinder to a detailed structure of bones and to a sheet of sketches of the pelvis from different angles.