Love Shake. Tutorial on 2D for beginners
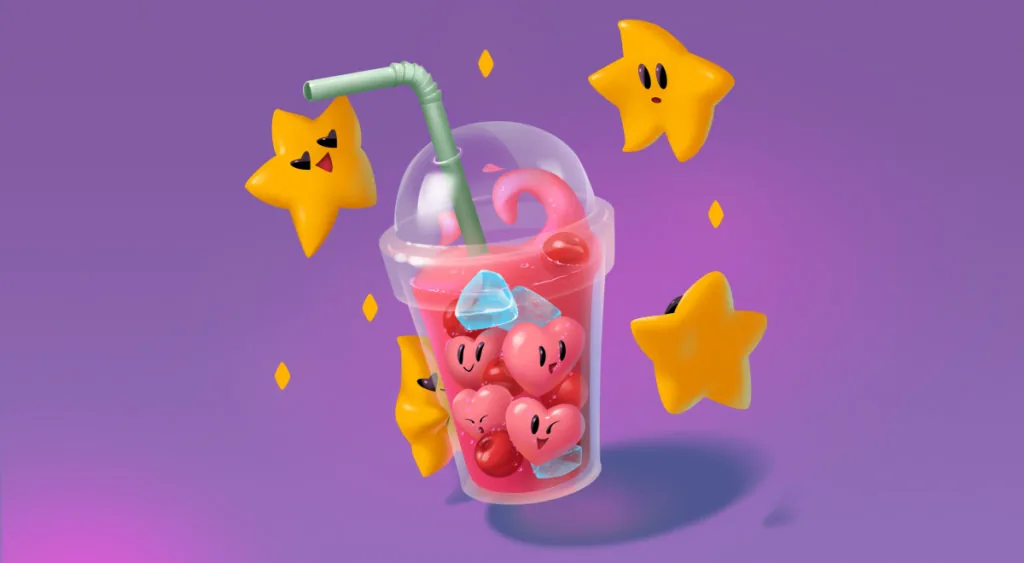
Tutorial on drawing a bright berry smoothie in Adobe Photoshop dedicated to February 14. Step-by-step description of the process.
This 2D tutorial is dedicated to all those who love straws, juicy berries, bright stars, lilac color, and cartoony graphics.
The tutorial was prepared by Tatyana Nazhimova. The work was done in Adobe Photoshop using vector and raster tools.
If you find this tutorial insufficient and want to work more with volume, tone, shadows, color, materials, you still have time to enroll in a 2D graphics course in the new semester. Tell our managers about your desire — they will help determine the level (Basic, Middle, High, Pro), tell you more about the training program, tutors, and payment options — any course can be paid in installments.
2D Graphics in Moscow / 2D Graphics in St. Petersburg
So, let's start drawing!
Step 1. Line
First, we need to build the glass linearly. The easiest way is to draw it vertically and then rotate it into a suitable composition on the canvas.
Take the Brush tool, at the top of the settings panel, select Symmetry -> Vertical. Sketch the approximate silhouette, then build ellipses using the Elliptical Marquee Tool.
Use the brush to mark the width of each ellipse, make the selection of the desired height, and carefully draw the lines of the ellipses — it's better to start from the bottom one. Connect all the resulting ellipses, creating the silhouette of the glass. Turn off symmetry and sketch the hole for the straw.
The straw is also better to draw vertically on a separate layer, and then insert it into the glass. Use Shift to keep the line straight.
The glass and straw are ready!
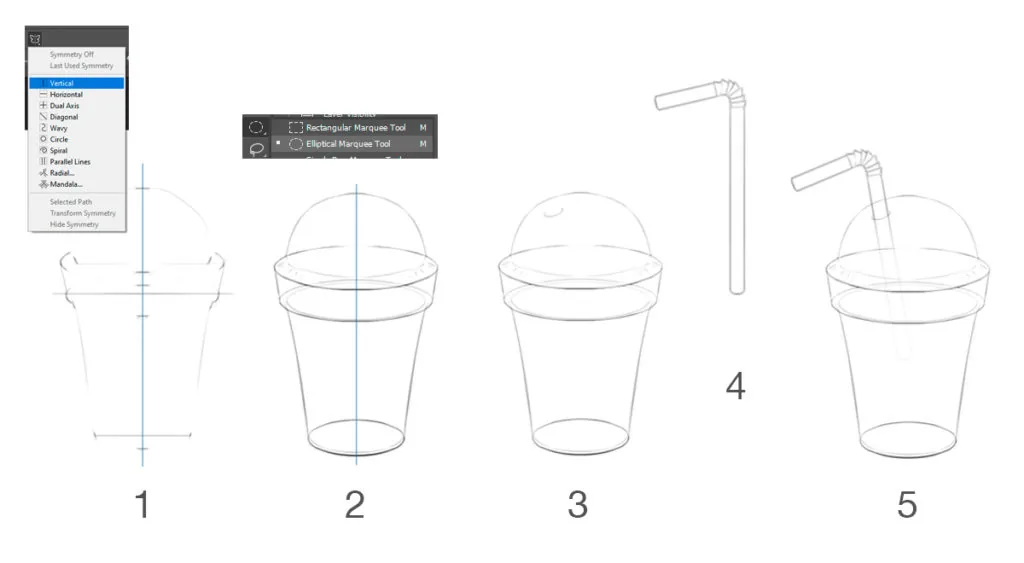
Now we need to set the angle for the glass with the straw — select both layers and use the Transform tool (Ctrl+T) to rotate the layers to the left. Finish drawing the hole in the straw and erase the part of the straw that is in the depth of the glass with the eraser.
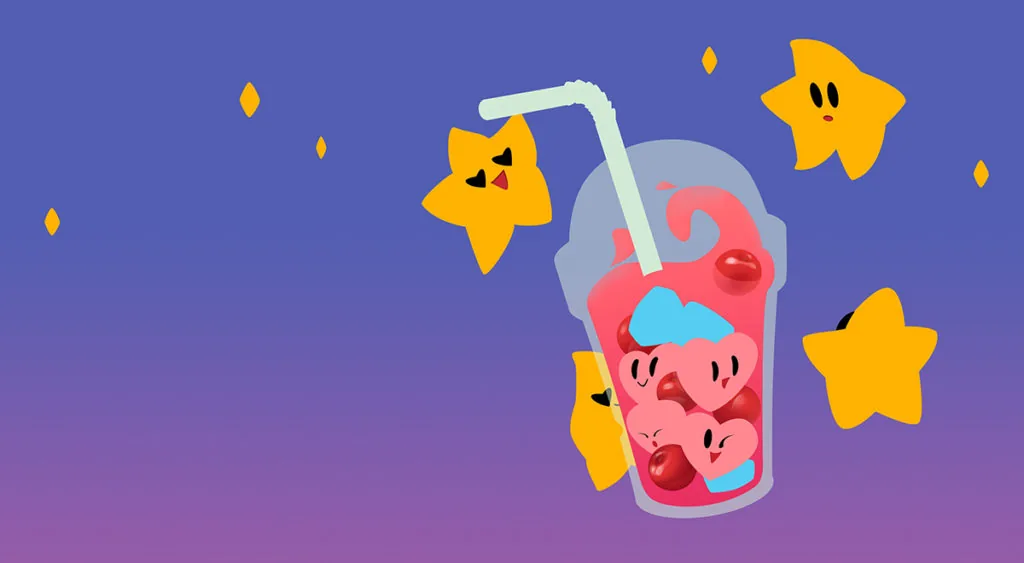
Create a new layer and finish drawing the contents and surroundings with stars using the brush in a freehand manner.

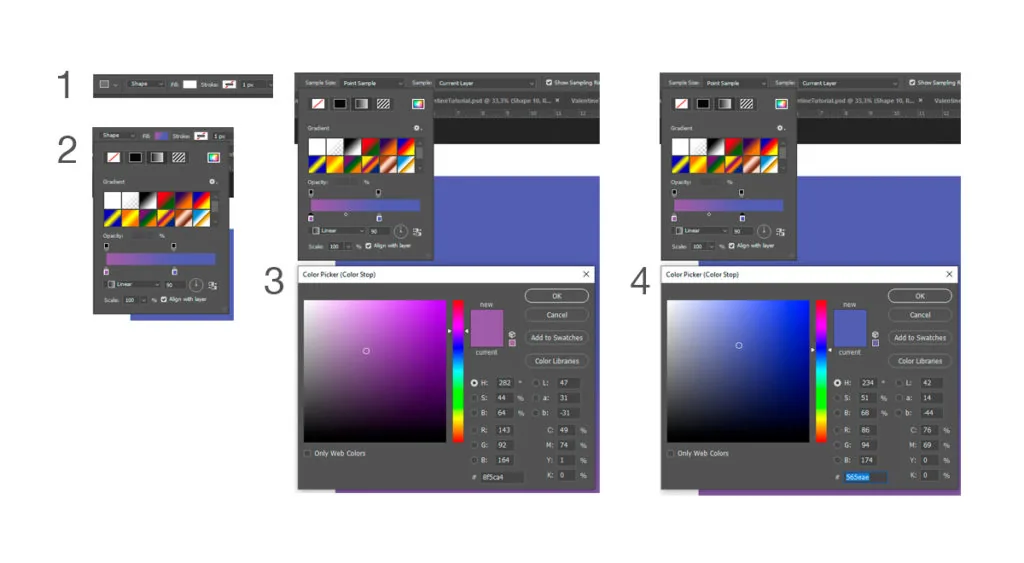
Step 2. Silhouettes
We make the silhouettes vector because vector silhouettes can be quickly corrected and it's easy to keep a sharp edge.
```We start with the background. Take the Rectangle tool and draw a rectangle. Move it under the line layers and adjust the color in the top menu — choose the third mode Gradient from the top and, by double-clicking on the sliders, set their colors.
Related courses
All courses
Book illustration: The first page page
9 000 ₽3 900 ₽

Векторная иллюстрация для начинающих
15 000 ₽12 000 ₽

Character Concept: My First Hero
10 000 ₽4 500 ₽
To draw silhouettes of all objects in the background, we use the Pen tool and Rounded Rectangle tool. Start with the glass, then draw the liquid and straw. Inside the liquid, there are cherries, ice, and hearts, and outside, there are stars. We'll draw eyes and mouths on the hearts and stars to make the work look cartoony.
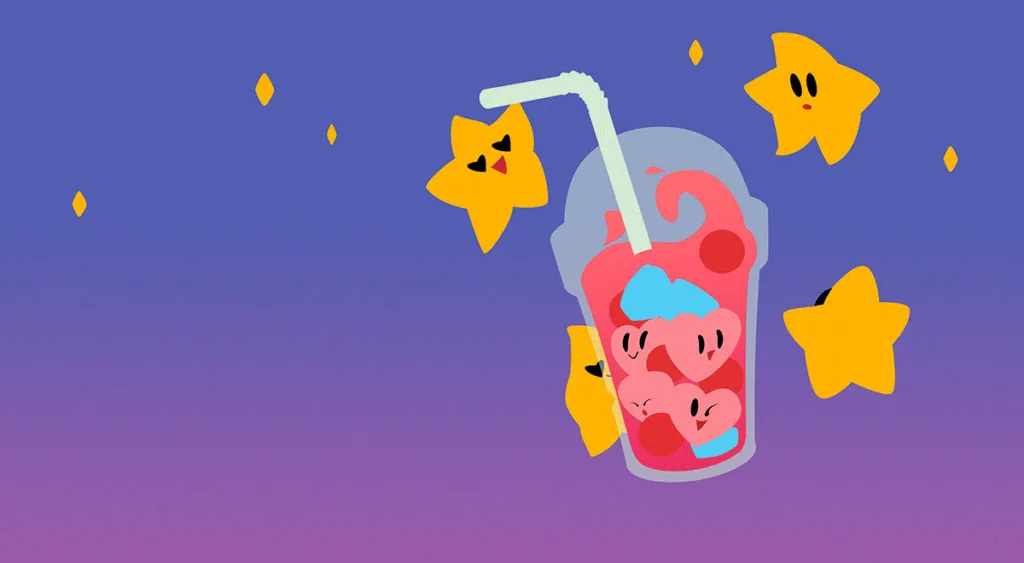
Each object must be done on a new layer and the silhouette of those objects that are partially overlapped by neighboring ones should be completed. This way, you will avoid accidental errors in construction and can easily move objects if you need to adjust the composition.
Step 3. Reference selection
Before we start drawing, we look for references — photos that will help us realistically convey the character of each object.
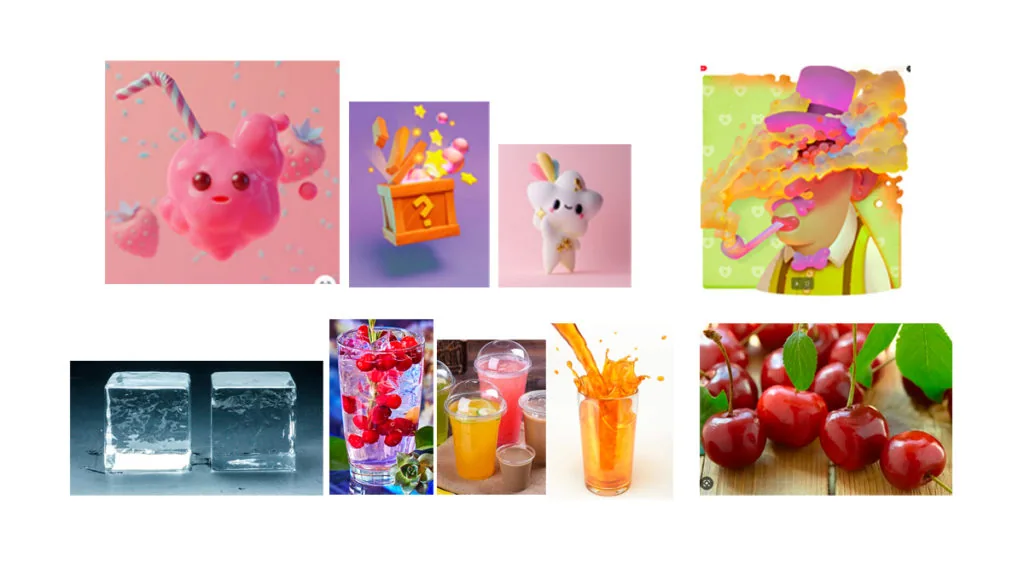
Don't neglect references because our memory is not perfect, and we may miss key details when drawing «from our head».
Step 4. Volume
We draw the volume — first, we indicate it on the cherries. To make the top cherry half-submerged in the juice, we assign a mask to its layer, click on the mask thumbnail, and use a black brush to make the cherry translucent from the bottom.
To draw the shadow on the cherry, we create a new layer and apply a clipping mask to it. On the «Shadows» layer, we draw the self-shadows with a soft standard brush.
We create another layer — «Highlights» — and use a semi-transparent brush with a sharp edge to draw the light areas on the cherry. Check the references — see how the volume of the fruit looks in the photos.
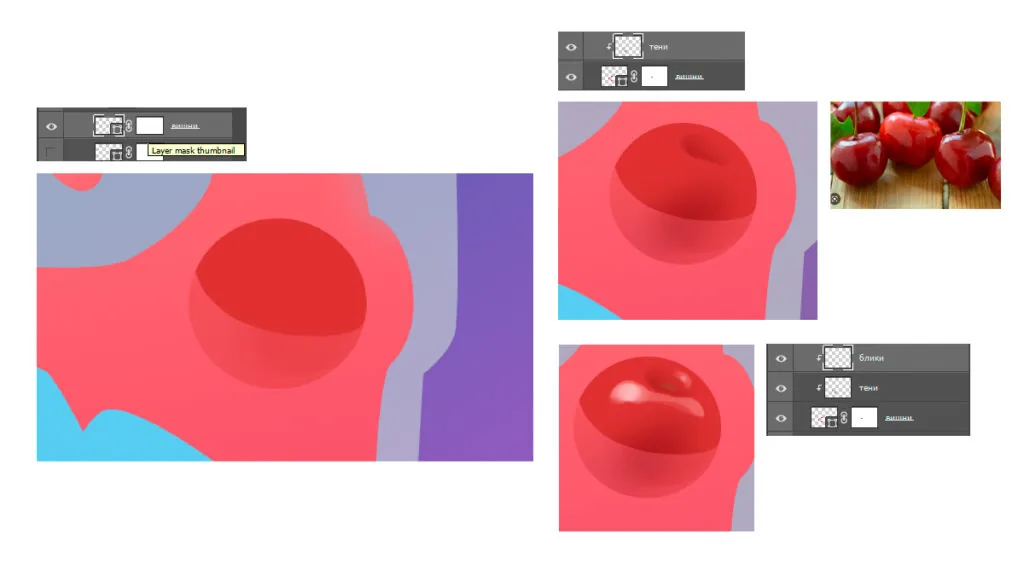
We do the same with the other cherries.
To draw translucent ice, we use a mask, draw directly on it: with a soft brush, we remove the tone inside the ice cube, then mute the back right part to give the ice cube depth. Then, with a second brush, we outline the edges of the ice cube. Just like in the reference, we draw the silhouette of the spots and make the edges a little brighter.
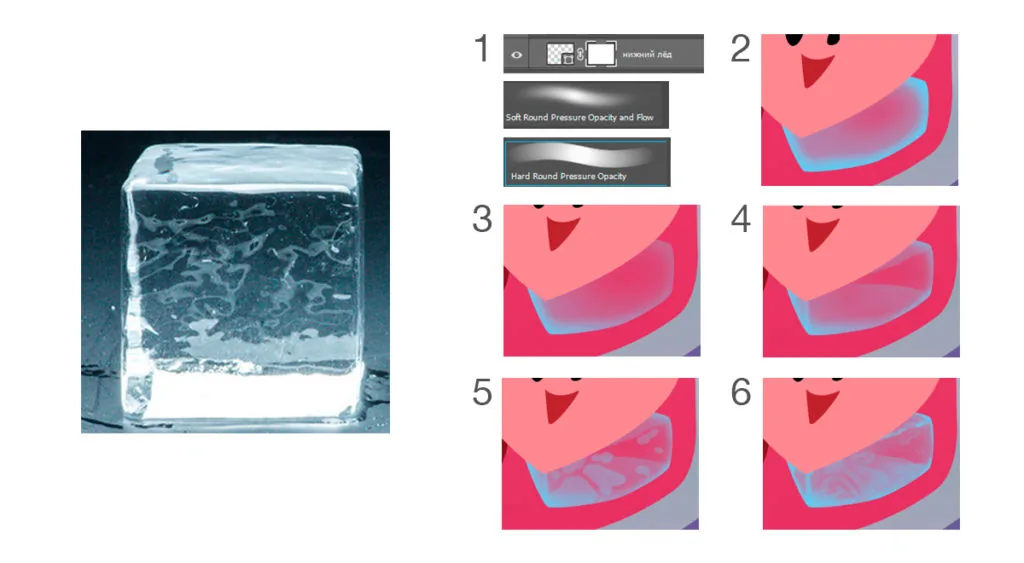
We draw the remaining ice cubes using the same principle. On the top ice cube, on an additional layer, we draw white highlights.
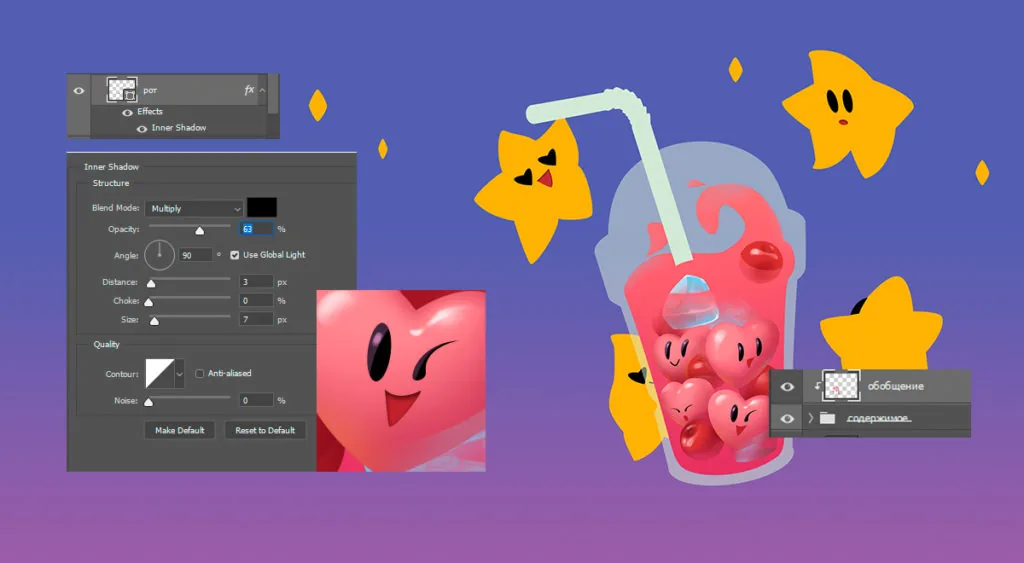
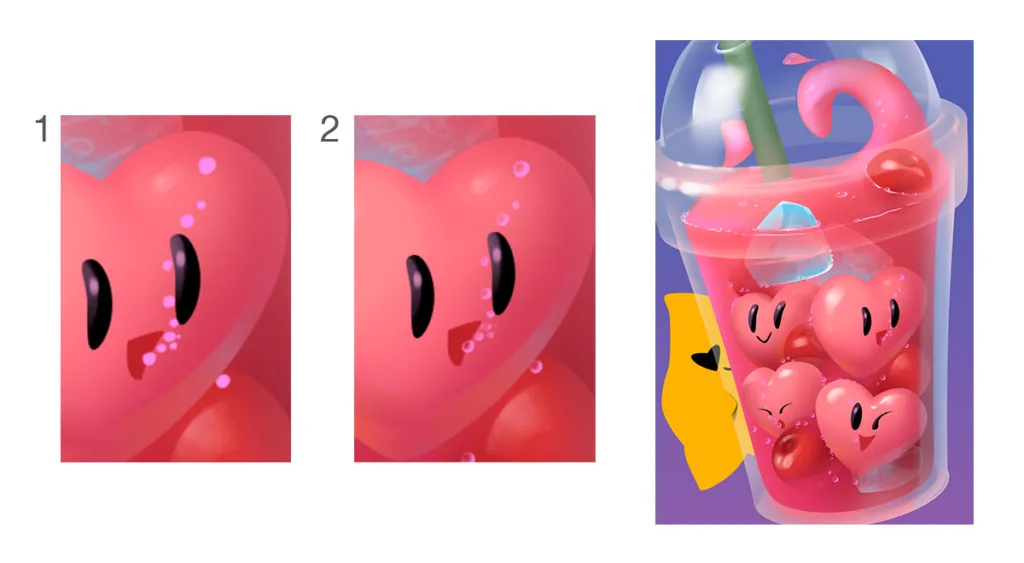
We draw the hearts exactly the same way as the cherries — we add two layers with a clipping mask «Shadows» and «Highlights».
We detail the mouth. To do this, we create an effect with settings as in the picture below.
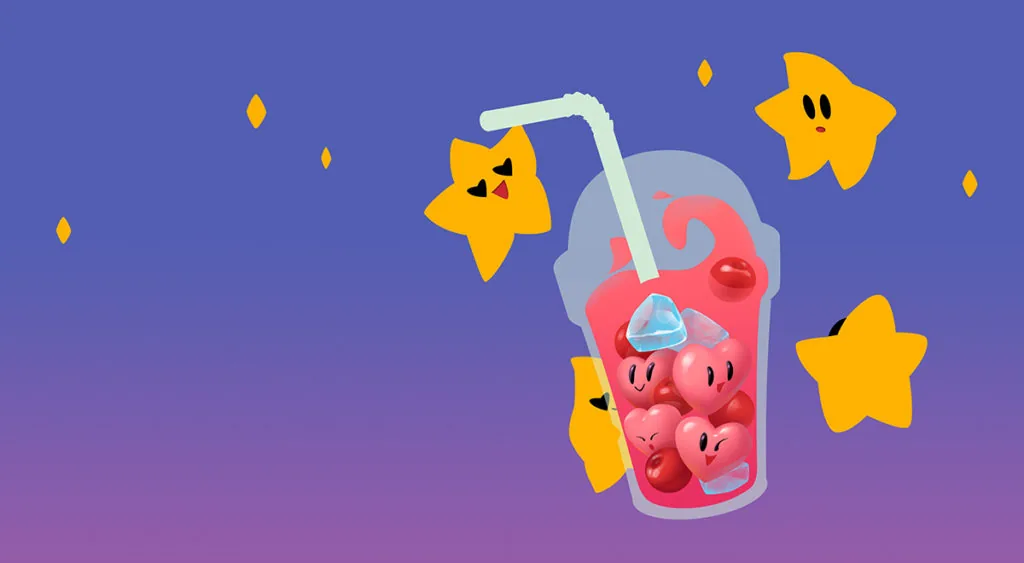
The contents of the drink are ready. It remains to generalize it and «drown» it in the juice. We combine all the layers with hearts, cherries and ice cubes into one group and create a new raster layer on top. On this layer, we take the distant edges of the objects into the depth, using the color of the juice.
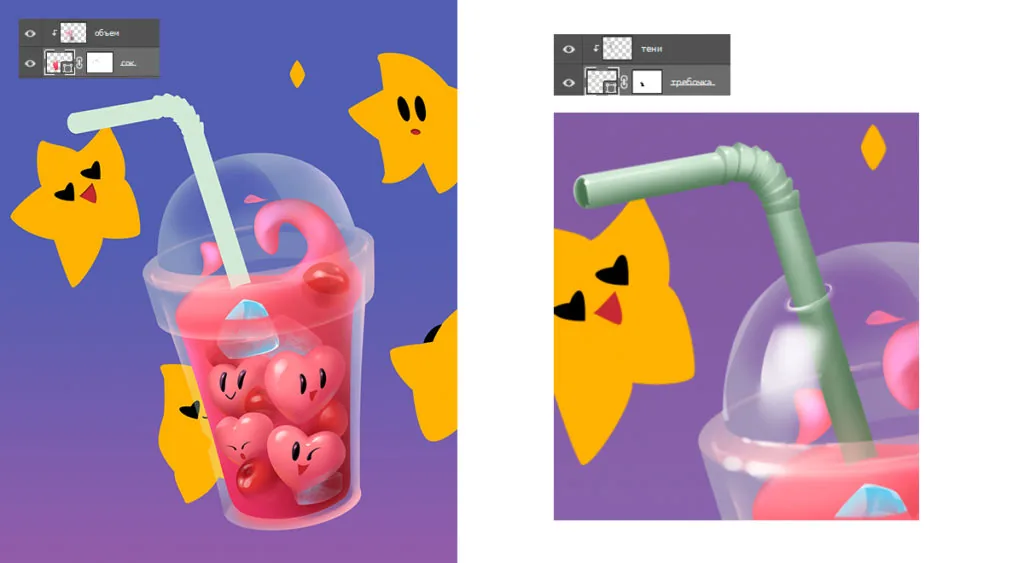
To draw the volume of the glass, it is enough to show its light areas. We make the vector layer of the glass silhouette translucent by 52%. We create two layers for highlights, place them above the content and straw layers and draw the light in the same way as on the references.
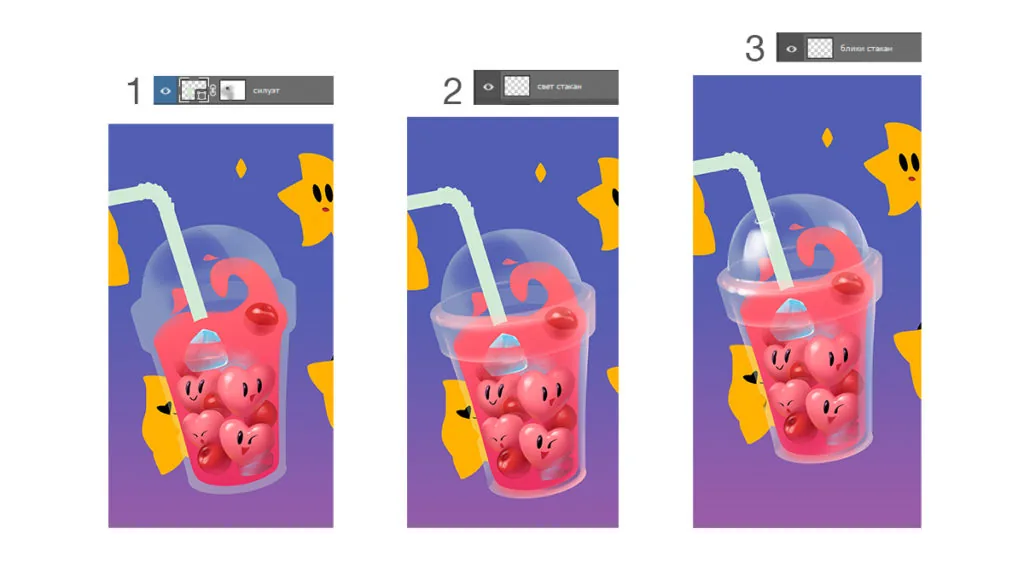
We draw the juice using the same principle as we drew the cherries. We add a shadow to it on the right side and cold light from the top left.
We draw the straw — the same way we drew the cherries and juice.
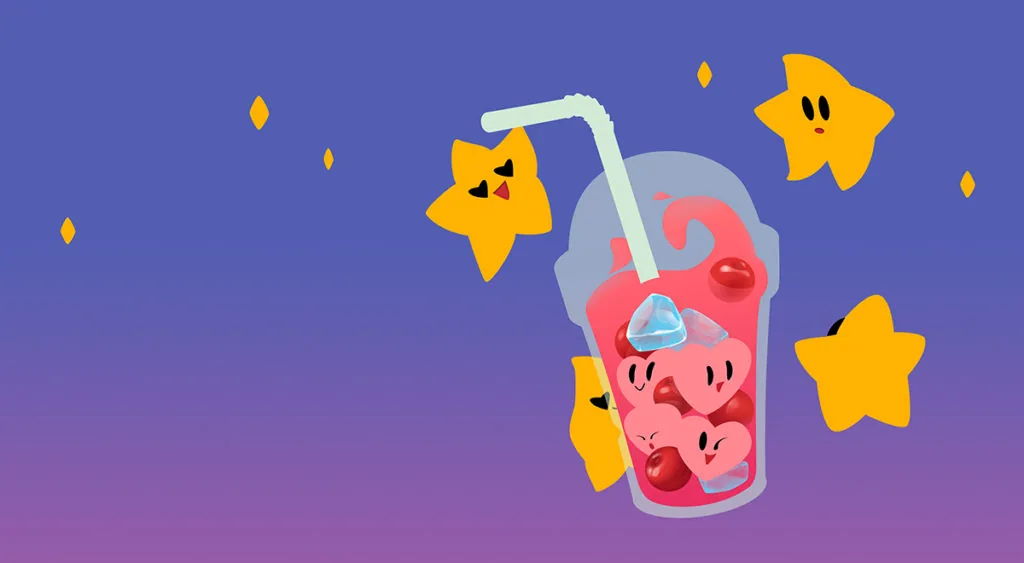
We proceed to the most entertaining stage — drawing the bubbles. They significantly add depth and completeness to the picture, and it's easy and quick to create them: we sketch their composition with a simple round brush — the bubbles accumulate at the junctions between objects and are released from the mouth. With a soft eraser, we erase the middles of the bubbles to make them transparent, and the excess inside them, shifting slightly to the left — it will be more believable.
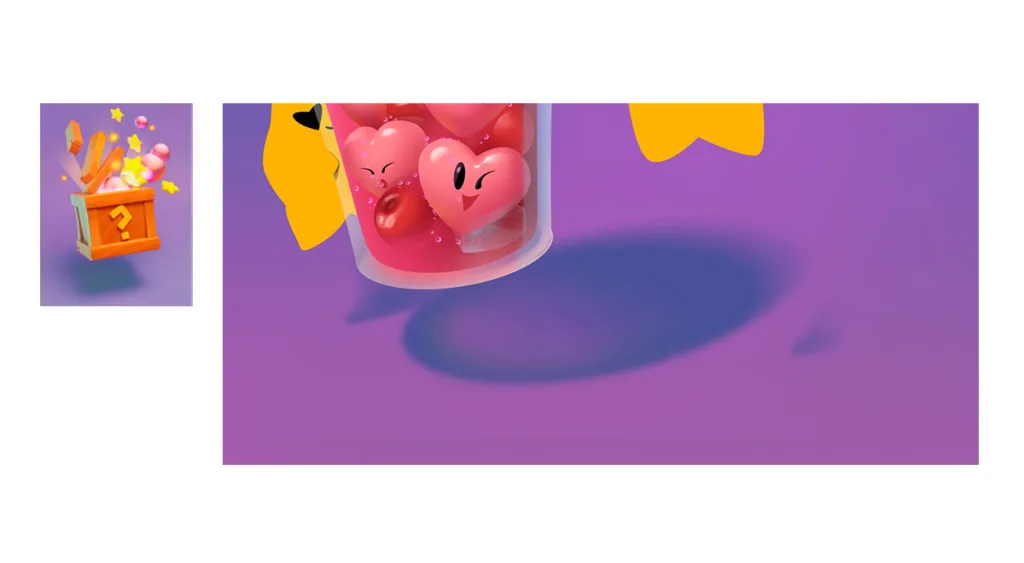
Under the glass, we draw a falling shadow — a reference with a wooden box will help us with this. In our case, it is easier to make the shadow raster, because there will be an additional shade inside it.
We draw an oval in one color, blur it slightly with a soft brush into the depth, and add a pink shade next to the front edge, a little brighter than the main color of the shadow. The second color in the falling shadow is the color of the juice. By adding it, we show that the glass is transparent.
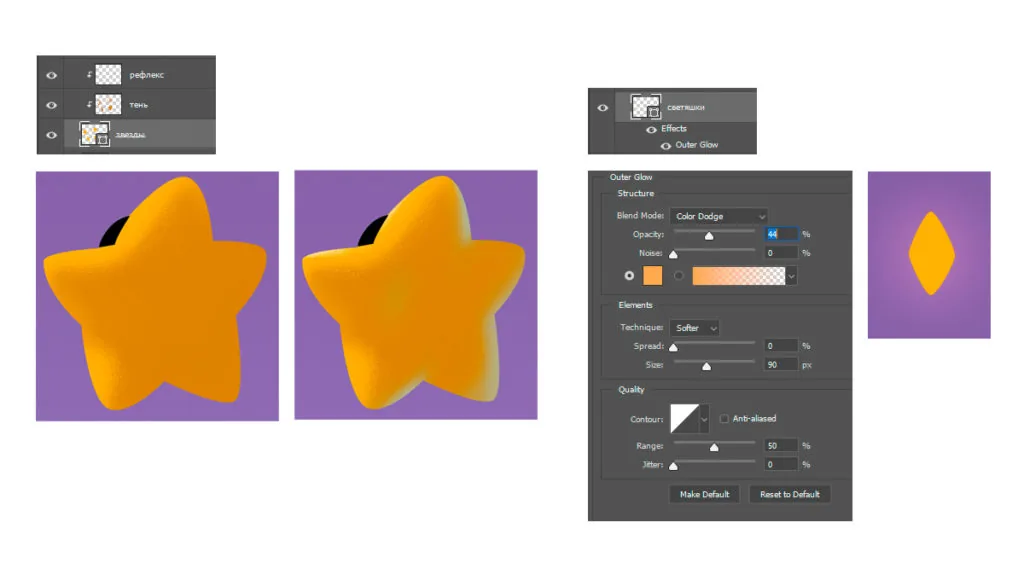
We are already close to the finish line! It remains to draw the stars next to the glass. To do this, we use the same techniques that we discussed above.
```Add the effect to the glowing objects next to the stars, as shown in the picture.
Our Love shake is ready! You know who to send this love potion to :)
And come to study — 2D graphics in Moscow / 2D graphics in St. Petersburg, there are still places available.
```Related materials

Blender 3D lessons for beginners
Sketching for beginners

Zbrush lesson for beginners

Pencil sketches for beginners

Digital painting for beginners

5 tips for a budding environmental artist
