TutorialUpdated: July 2, 2026
How to draw a mushroom in Photoshop
In short
Learn how to draw a mushroom in Photoshop by following our step-by-step lesson. Create a unique predatory mushroom from Uzbekistan by mastering digital drawing techniques.
2D artist
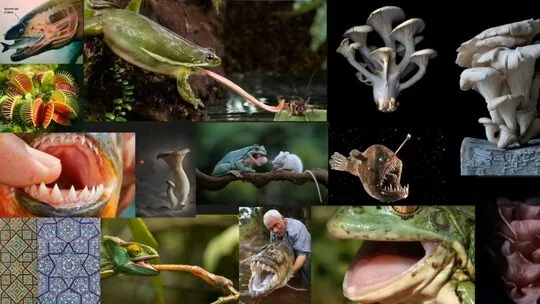
What will happen if you take an innocent mushroom and cross it with something dangerous and toothy, for example, a predatory fish or a frog? And then add some ornaments inspired by the mosaics of the ancient city of Samarkand…
Not a word more: let's start drawing a wonderful Something called Predatory Mushroom from Uzbekistan!
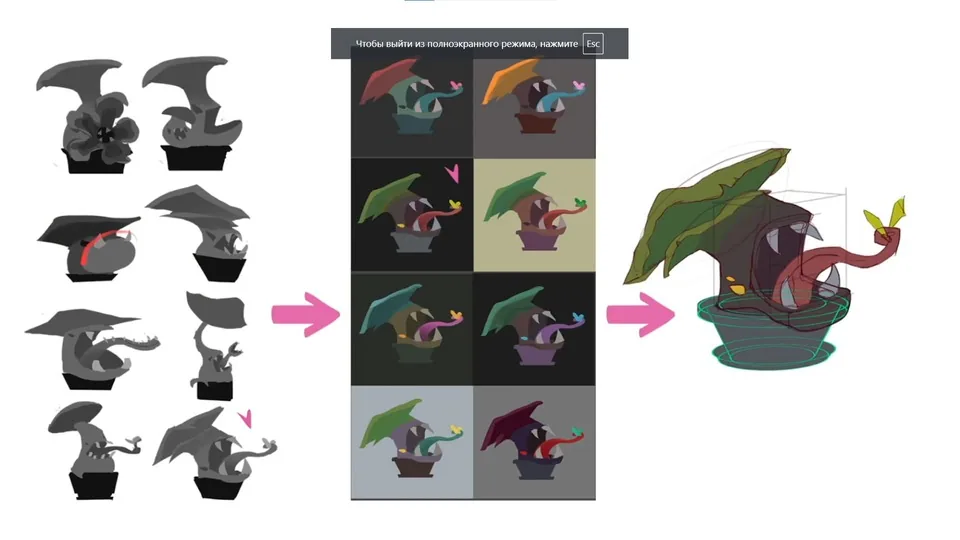
 Draw several sketches in three tones. First, you can make sketches of mushrooms with closed mouths, and then with open ones to show all the features: a sticky tongue, two pairs of jaws and others.
Choose the most successful sketch and develop several color options for it — from cheerful and carefree to gloomy and dangerous.
We refine the outline with a line and make color fills. Make sure that the spots are well readable and there are no tone overlaps.
Draw several sketches in three tones. First, you can make sketches of mushrooms with closed mouths, and then with open ones to show all the features: a sticky tongue, two pairs of jaws and others.
Choose the most successful sketch and develop several color options for it — from cheerful and carefree to gloomy and dangerous.
We refine the outline with a line and make color fills. Make sure that the spots are well readable and there are no tone overlaps.
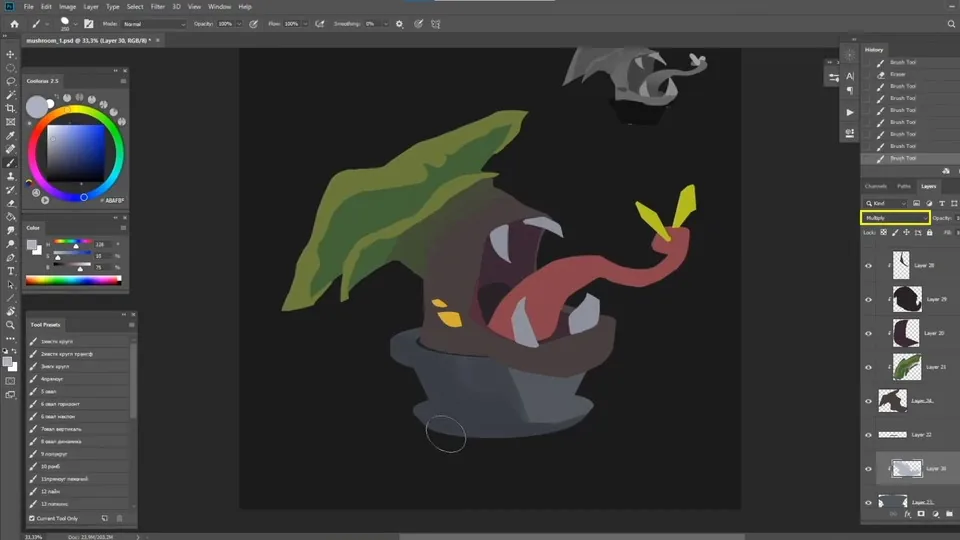
 We put shadows on the pot in Multiply mode.
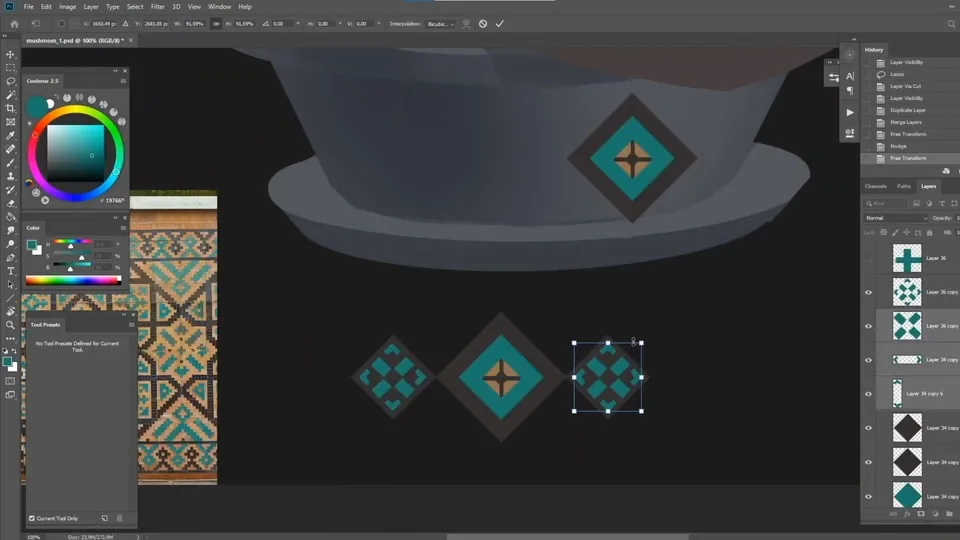
 We plan a pattern in the form of Samarkand mosaics.
 We make our own shadows and refine the main details.
 When the main details and shadows are sorted out, we proceed to occlusion and light.
 We plan how the falling shadows will go. In theory, light will fall on the pot from the top left, but for the integrity of the composition we remove this spot.
 We start looking for the texture of the mushroom body.
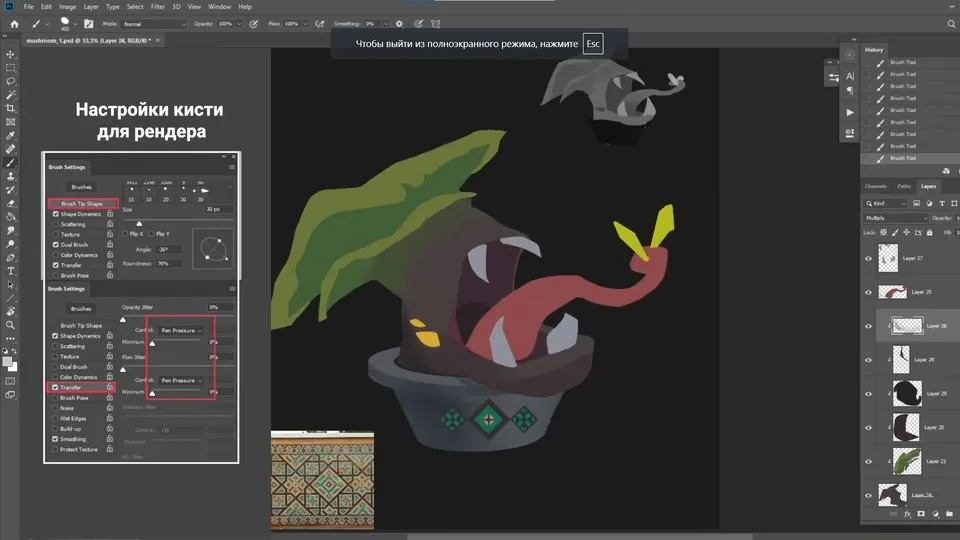
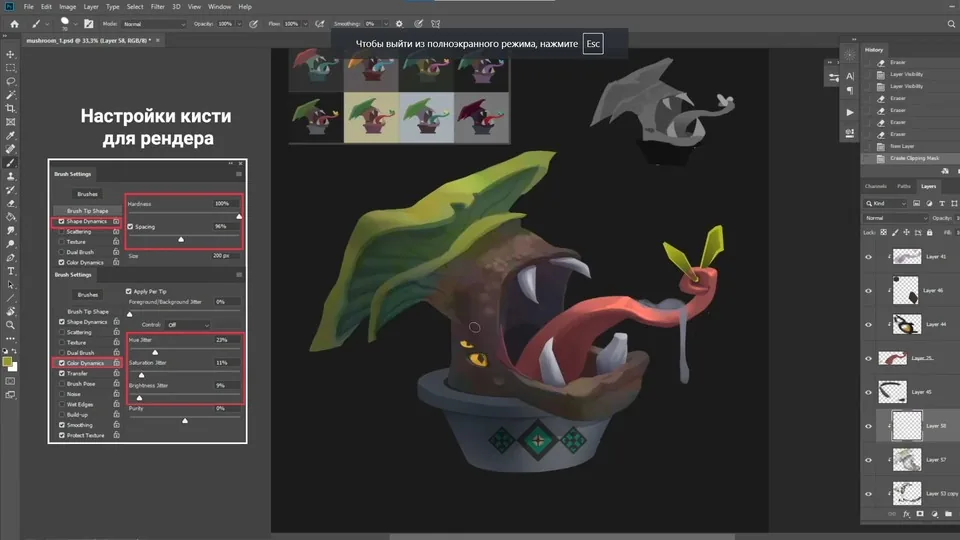
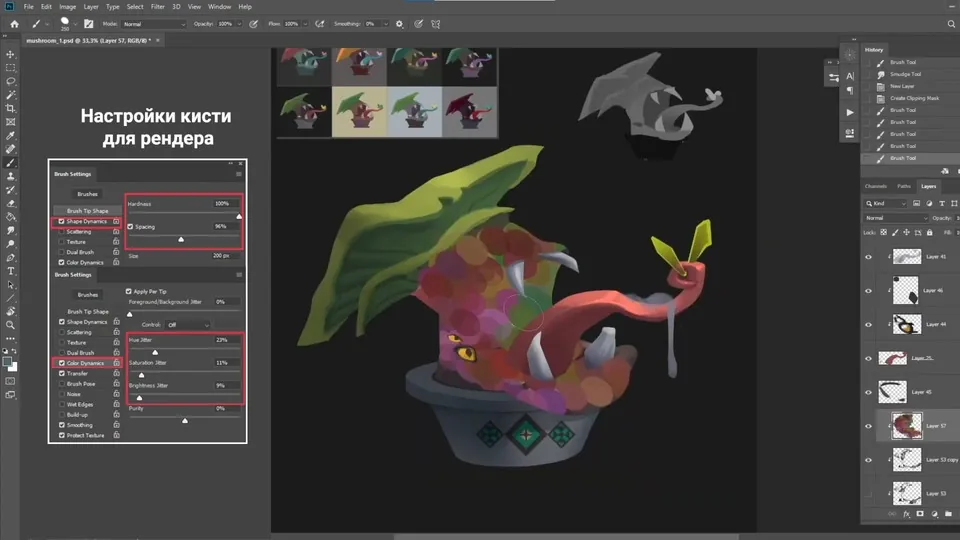 Add a little color vibration: for this you need a regular stiff brush with a large spacing and color dynamics enabled. Draw with such a brush on a new layer, convert the layer to color mode and lower the transparency.
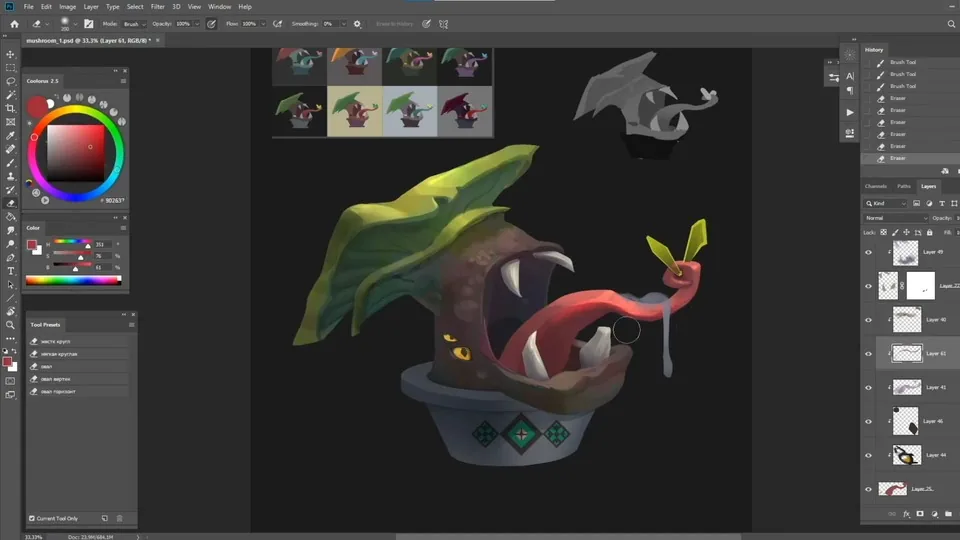
 Add a rich color to the tongue at the light-color boundary and give it a shine.
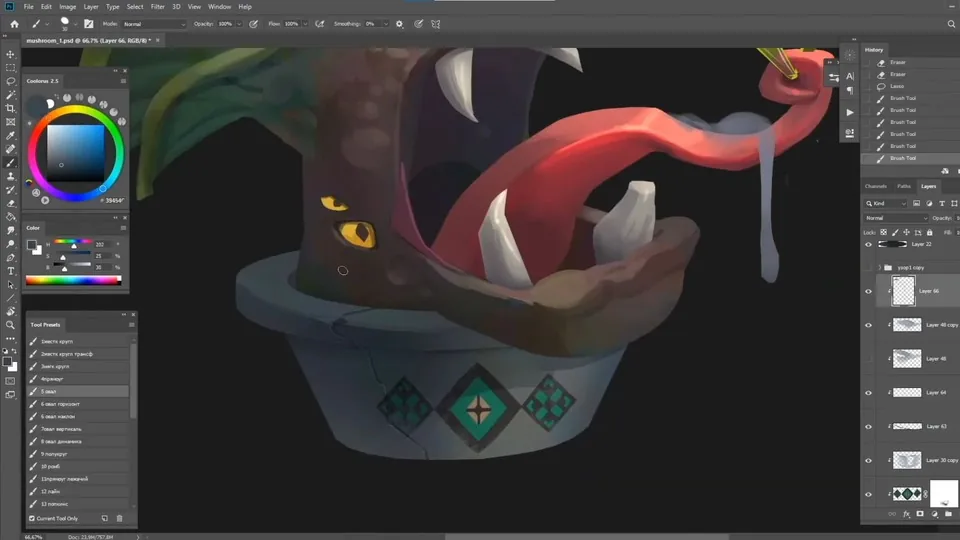
 Now, the pot has started to lag behind other parts of the picture in terms of elaboration, so we add details and light dynamics to it.
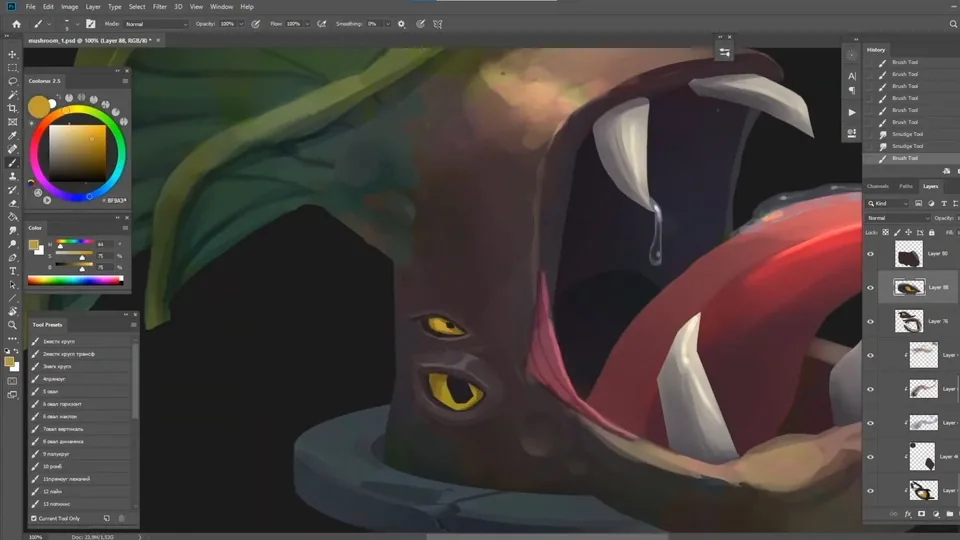
 We show the transparency of the mucus by drawing what we would see through it and putting highlights on the most convex places.
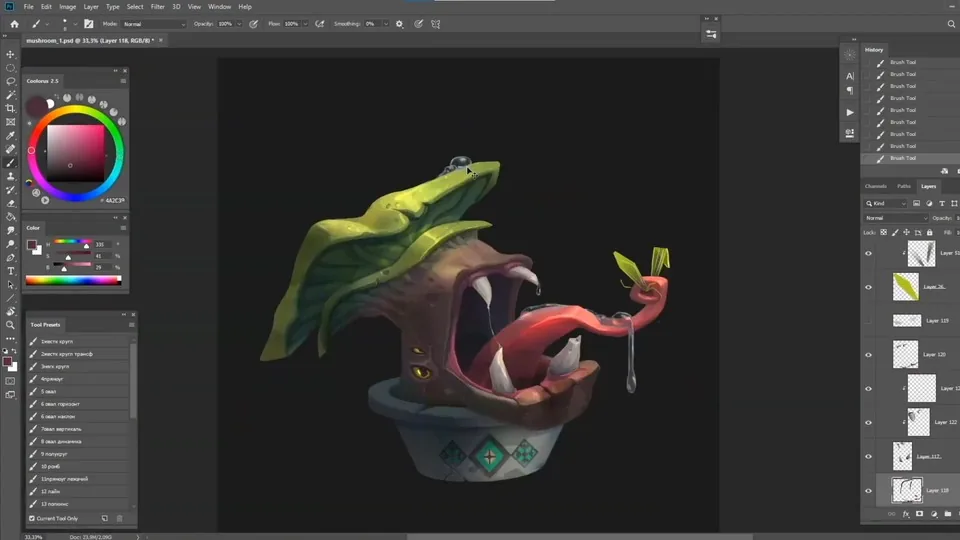
 To make the mushroom look more predatory and not surprised, we remake its eyes.
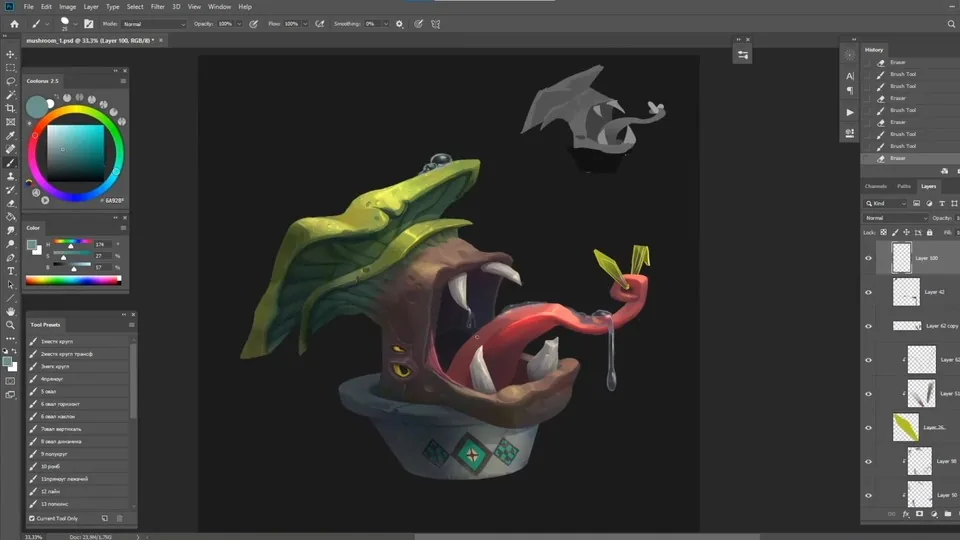
 To improve the transition from the cap to the body, we put a reference closer to see how the plates and the cap as a whole go.
 We tilt the pot a little to make it look more dynamic, but we abandon this idea because the mushroom itself seems not very stable.
 The teeth need to grow from somewhere, so we draw gums for them. We make the upper teeth smaller and more even so that there is no repetition with the lower teeth in shape.
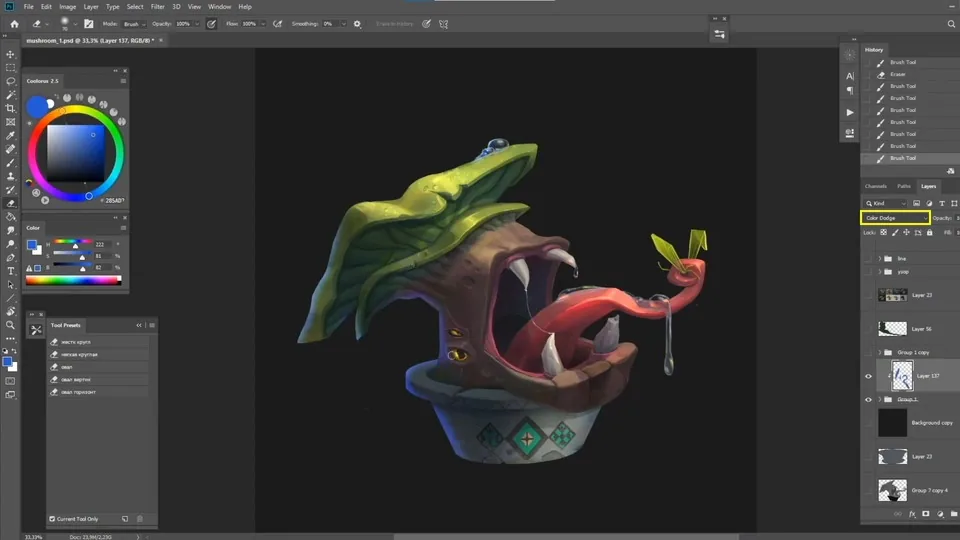
 When the picture is practically complete, we add rim light to emphasize the shape.
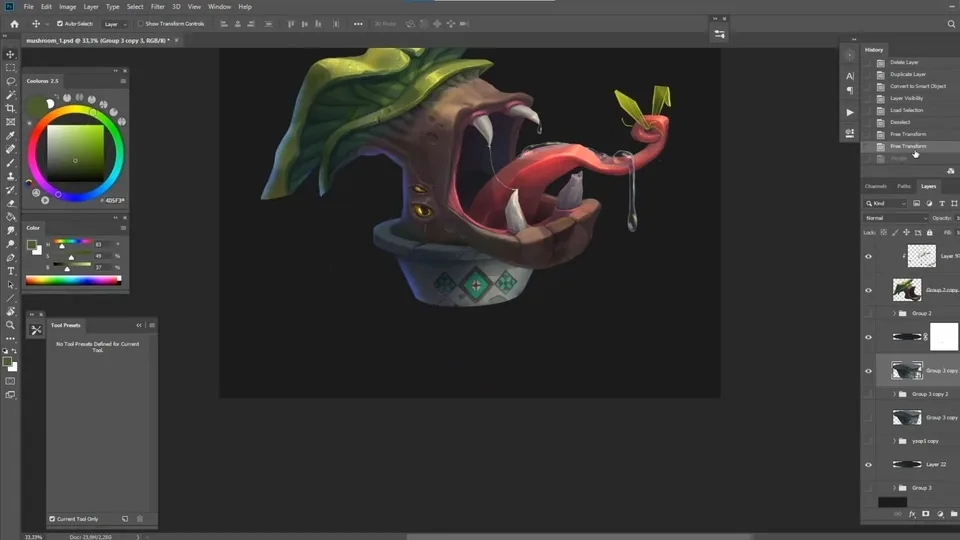
 In the end, we will make the pot a little smaller so that the grip on its background looks even more massive.
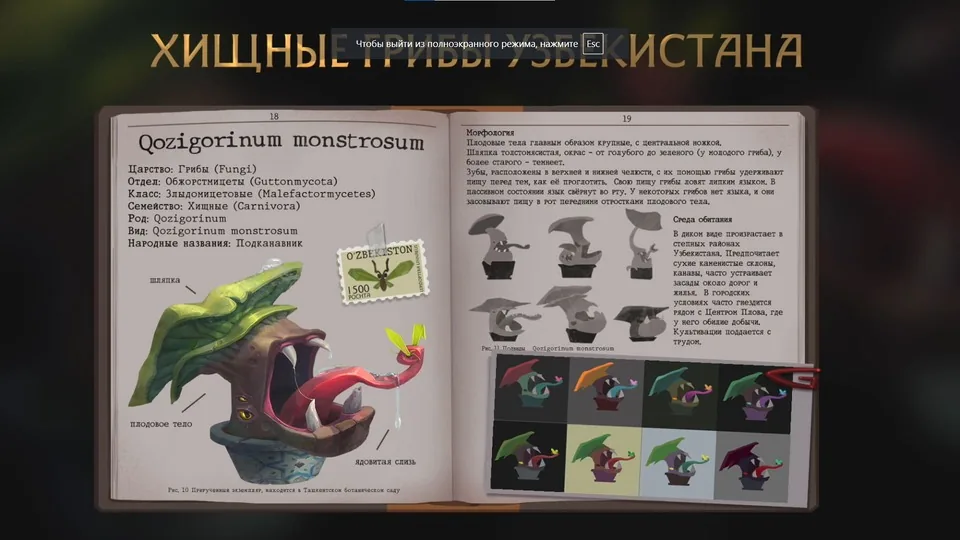
 We add a design stylized under an encyclopedia to make the project look more impressive. We come up with a short story to complement the image and attach our sketches.
In general, the design — an important part of the work that will help to make the final look of your picture more interesting and atmospheric.
We add a design stylized under an encyclopedia to make the project look more impressive. We come up with a short story to complement the image and attach our sketches.
In general, the design — an important part of the work that will help to make the final look of your picture more interesting and atmospheric.
 Your predatory mushroom is ready! Now you can combine the incompatible and come up with your own crazy project.
Draw several sketches in three tones. First, you can make sketches of mushrooms with closed mouths, and then with open ones to show all the features: a sticky tongue, two pairs of jaws and others.
Choose the most successful sketch and develop several color options for it — from cheerful and carefree to gloomy and dangerous.
We refine the outline with a line and make color fills. Make sure that the spots are well readable and there are no tone overlaps.
We put shadows on the pot in Multiply mode.
We plan a pattern in the form of Samarkand mosaics.
We make our own shadows and refine the main details.
When the main details and shadows are sorted out, we proceed to occlusion and light.
We plan how the falling shadows will go. In theory, light will fall on the pot from the top left, but for the integrity of the composition we remove this spot.
We start looking for the texture of the mushroom body.
Add a little color vibration: for this you need a regular stiff brush with a large spacing and color dynamics enabled. Draw with such a brush on a new layer, convert the layer to color mode and lower the transparency.
Add a rich color to the tongue at the light-color boundary and give it a shine.
Now, the pot has started to lag behind other parts of the picture in terms of elaboration, so we add details and light dynamics to it.
We show the transparency of the mucus by drawing what we would see through it and putting highlights on the most convex places.
To make the mushroom look more predatory and not surprised, we remake its eyes.
To improve the transition from the cap to the body, we put a reference closer to see how the plates and the cap as a whole go.
We tilt the pot a little to make it look more dynamic, but we abandon this idea because the mushroom itself seems not very stable.
The teeth need to grow from somewhere, so we draw gums for them. We make the upper teeth smaller and more even so that there is no repetition with the lower teeth in shape.
When the picture is practically complete, we add rim light to emphasize the shape.
In the end, we will make the pot a little smaller so that the grip on its background looks even more massive.
We add a design stylized under an encyclopedia to make the project look more impressive. We come up with a short story to complement the image and attach our sketches.
In general, the design — an important part of the work that will help to make the final look of your picture more interesting and atmospheric.
Your predatory mushroom is ready! Now you can combine the incompatible and come up with your own crazy project.
Video lesson on drawing a predatory mushroom from Uzbekistan
Related courses
All courses
from 4 000 ₽
-80%
Photoshop for the artist
20 000 ₽4 000 ₽
Learn more

Free
Free course «First steps in game dev»
Enroll

Free
Free course «Digital painting. Dive into illustration»
Enroll
Related materials

Tutorial
Drawing stones
March 10, 2025
Tutorial
How to draw a house
October 25, 2024

Tutorial
How to draw a child?
January 13, 2025

Tutorial
How to draw a torso
December 18, 2024

Tutorial
How to draw highlights
December 17, 2024

Article
3 tips for a beginner character artist. How to draw emotions
September 18, 2023

News
Прекрасные цветы в стиле аркейн, нарисованные вручную и воплощённые в 3D
May 15, 2026